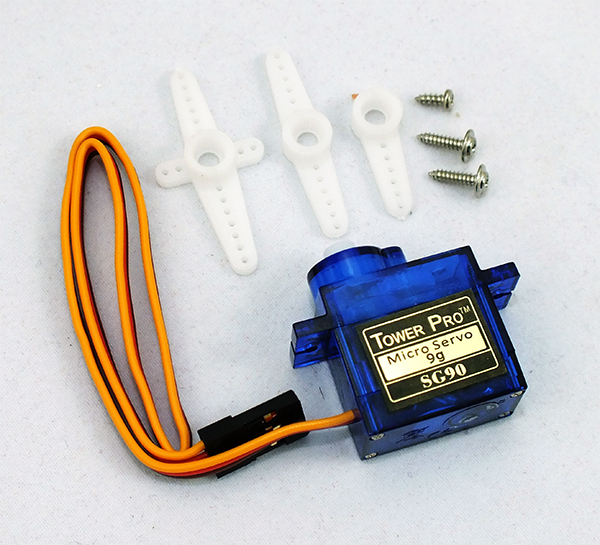
SG90 is a mini servo. In this post, we will show how to use pcDuino3 to control SG90.
pcDuino3 can directly control SG90 using the GPIO pins as shown in post. In this post, we will how to control SG90 using the Linker servo module.
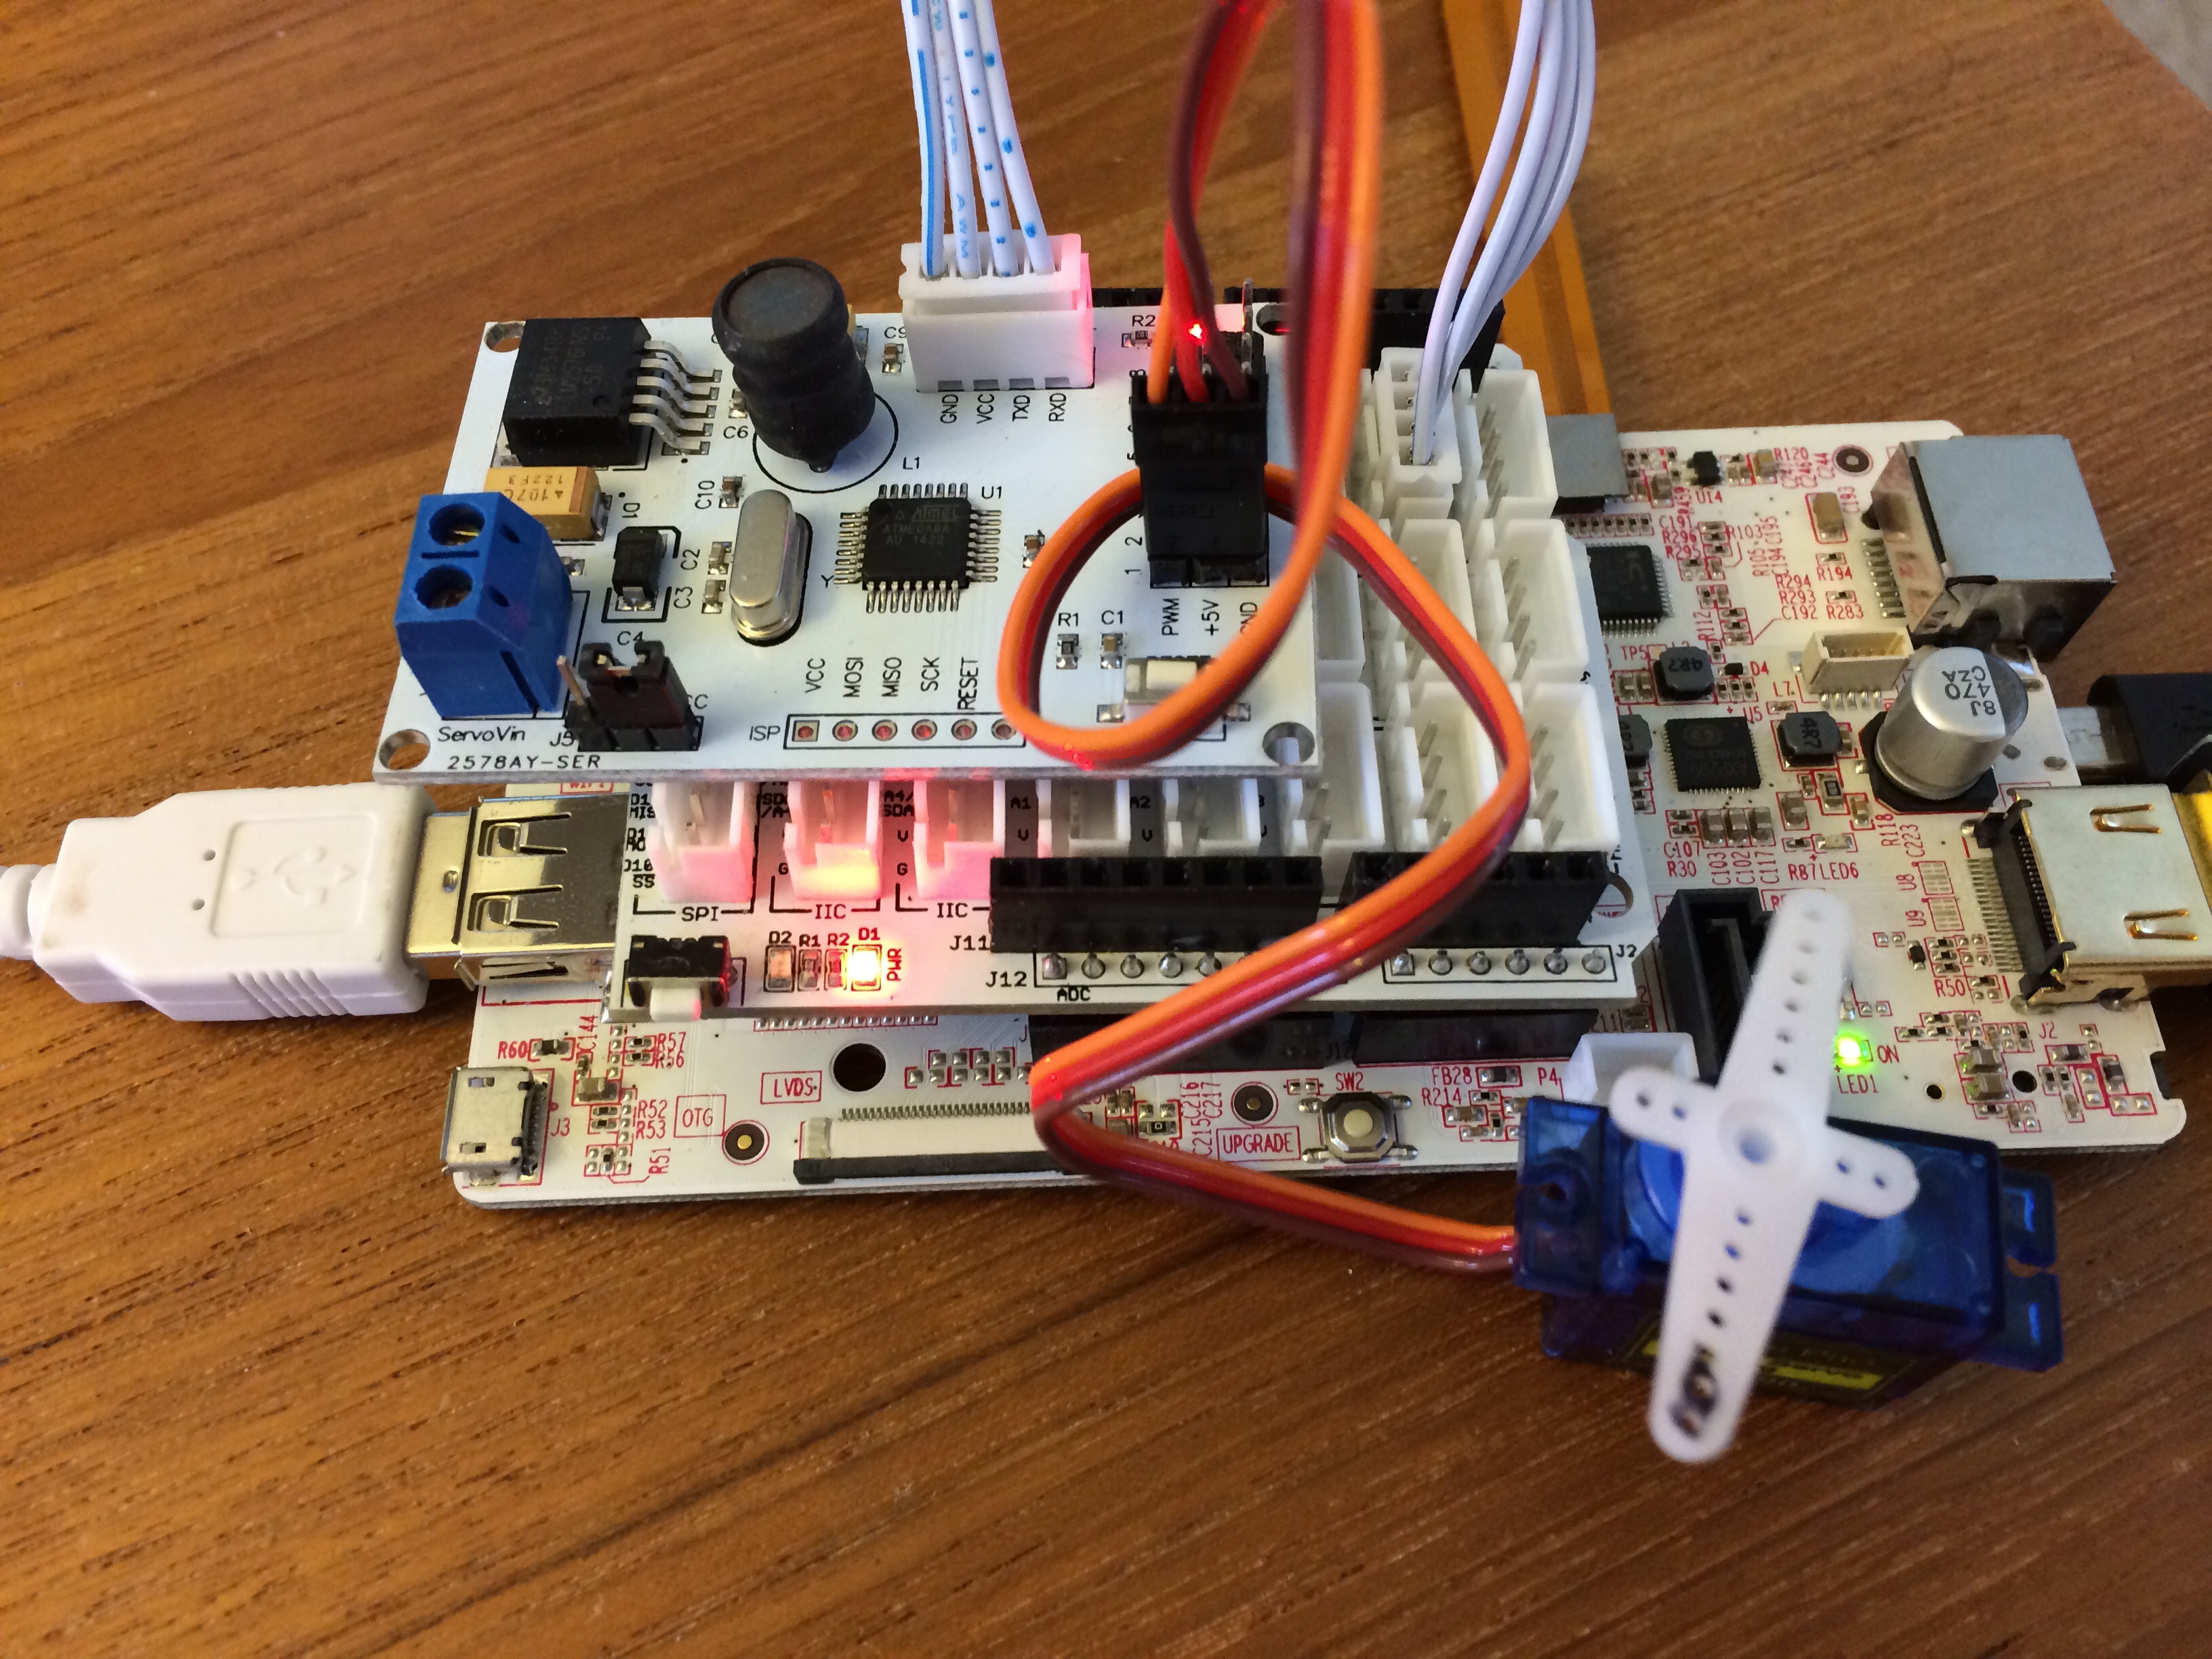
Linker Servo Module is connected to the Linker Base Shield on [D1 D2 V S], which is installed on pcDuino3. The picture of the whole setup is shown below:
The code used in the Arduino-ish programming is shown below:
#include <core.h>

void setup()
{
  Serial.begin(9600);
  delay(100);
}

unsigned int i;

void loop()
{
   //cammand : S + PWM + Duty_H + Duty_L + E
   for(i=100;i<450;i++)
   {
     //PWM 1
     Serial.print('S');   //Start
     Serial.print(char(1)); //PWM channel selection
     Serial.print(char(i/0xFF)); //Duty HIGH
     Serial.print(char(i%0xFF)); //Duty LOW
     Serial.print('E'); //End

   }

    for(i=450;i>100;i--)
   {
     Serial.print('S');
     Serial.print(char(1));
     Serial.print(char(i/0xFF));
     Serial.print(char(i%0xFF));
     Serial.print('E');
     delay(5);
   }
}
When it runs, we can set SG90 rotate to continuous positions:
Leave a Reply
You must be logged in to post a comment.