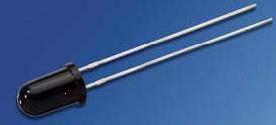
[vc_row][vc_column width=”1/1″][vc_tour][vc_tab title=”Introduction of Flame Sensor ” tab_id=”1395236526-1-75″][vc_column_text]Flame sensor (i.e, a type of infrared receiver ) is a device used to detect the presence of fire flame.
 [/vc_column_text][/vc_tab][vc_tab title=”Basic Theory” tab_id=”1395236526-2-58″][vc_column_text]Infrared flame sensor is very sensitive to the characteristics of the flame. The output signal level changes with the brightness of the fire flame, which is then feed into the ADC of the MCU to be converted to a digital reading.[/vc_column_text][/vc_tab][vc_tab title=”Wiring Diagram” tab_id=”1395239609130-2-0″][vc_column_text]Wire Diagram:
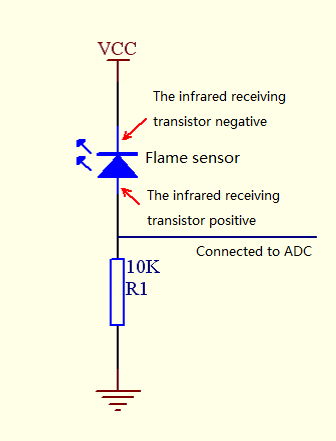
The short lead of the infrared sensor is cathode, and the long lead is positive. The negative lead is connected to 5V and the positive lead connect to the GND through a 10K ohm resistor. When the intensity of infrared light changes, the resistance of the sensor changes too, which then lead to the change of voltage.[/vc_column_text][/vc_tab][vc_tab title=”Setup and Results” tab_id=”1395239806588-3-3″][vc_column_text]1. Parts List
- 1 x Flame sensor
- 1 x [bigcommerce link=”/buzzer-module-of-linker-kit-for-pcduino-arduino/” target=”_blank”]Buzzer[/bigcommerce]
- 1 x 10k ohm resistor
- Several jumper wires
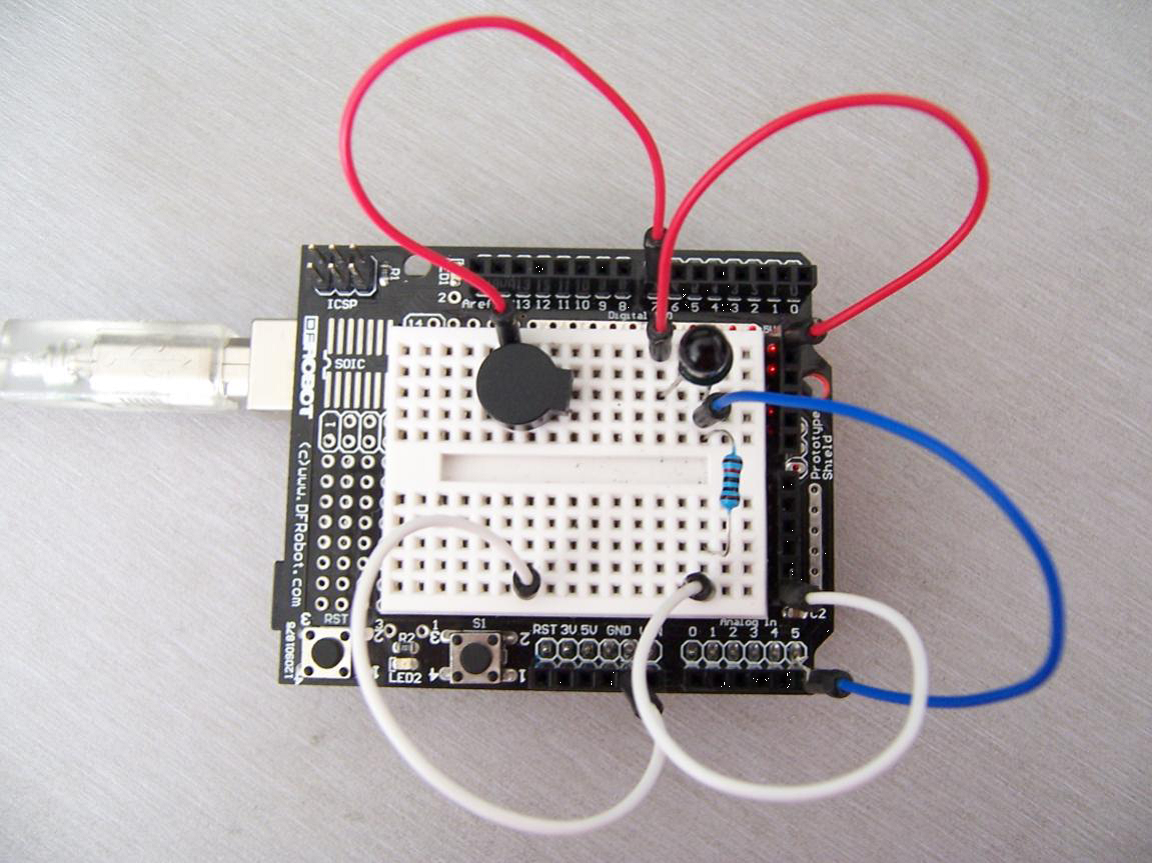
2. Wiring instructions
1)Wire the buzzer
First, connect one end of the buzzer to digital pin 8 of Arduino, and the other end of the buzzer to Arduino.
2) The flame sensor connection
Please refer to the previous section for flame sensor wiring instructions. The completed setup is shown below.
3. The sample code
int flame = A5 ;/ / define the flame interface analog 0 interface
int Beep = 8 ;/ / buzzer interface defines the interface number 7
int val = 0 ;/ / define numeric variables
val void setup ()
{PinMode (Beep, OUTPUT) ;/ / define LED as output interface
pinMode (flame, INPUT) ;/ / define the buzzer as the input interface
Serial.begin (9600) ;/ / set the baud rate to 9600
}
void loop ()
 {val = analogRead (flame) ;/ / read the analog value flame sensor
Serial.println (val) ;/ / output analog values, and print them out
if (val> = 600) / / When the analog value is greater than 600 when the buzzer sounds
{DigitalWrite (Beep, HIGH);} e
lse {digitalWrite (Beep, LOW);}
}
The buzzer will alarm when there is a presence of fire.[/vc_column_text][/vc_tab][/vc_tour][/vc_column][/vc_row]
Leave a Reply
You must be logged in to post a comment.