[vc_row][vc_column][vc_column_text]Description:
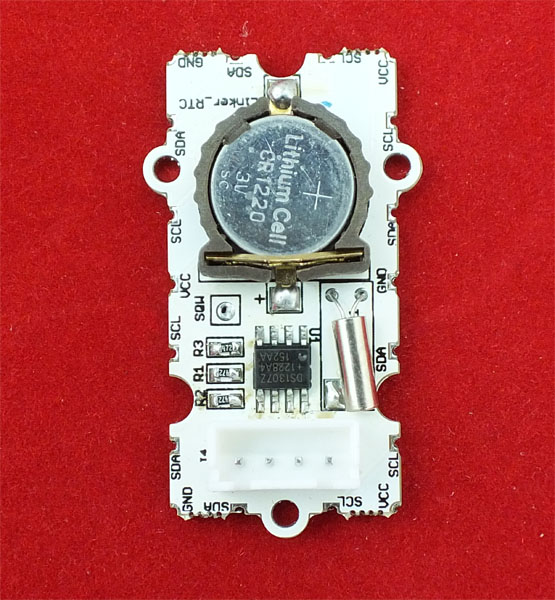
This is a RTC module with Linker kit standard connection. It has an I2C interface.
Note: The battery is NOT included, and the button battery model is CR1225.
 [/vc_column_text][/vc_column][/vc_row][vc_row][vc_column width=”1/1″][vc_tour][vc_tab title=”Parts list” tab_id=”1394085903-1-94″][vc_column_text]a arduino uno
a Linker base shield
a Linker kit 20cm cable
a Linker RTC[/vc_column_text][/vc_tab][vc_tab title=”Wiring diagram” tab_id=”1394085903-2-82″][vc_column_text]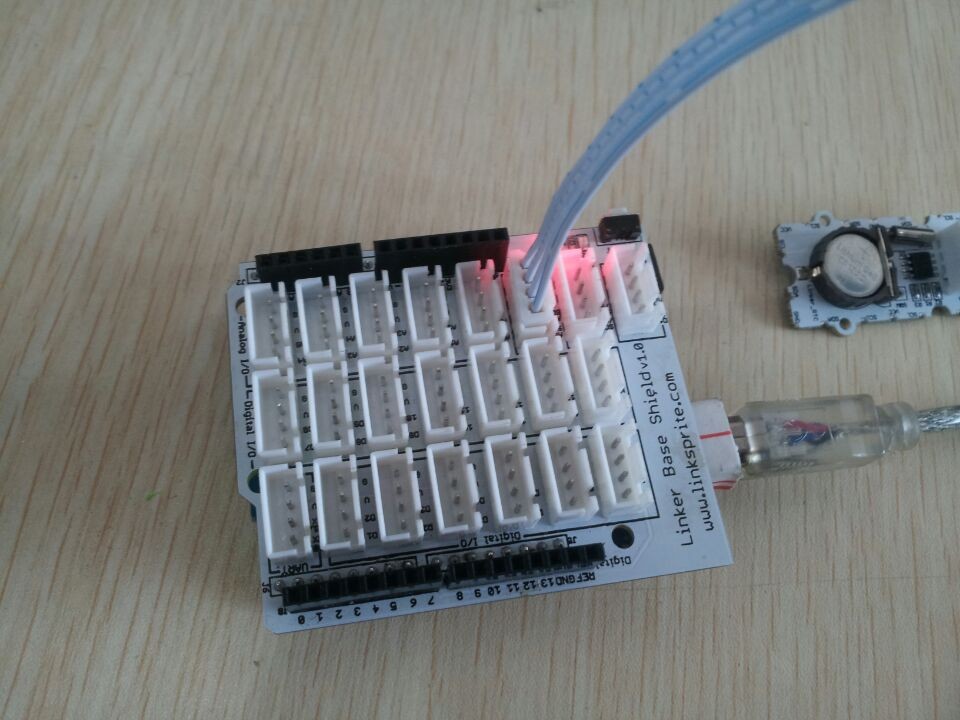
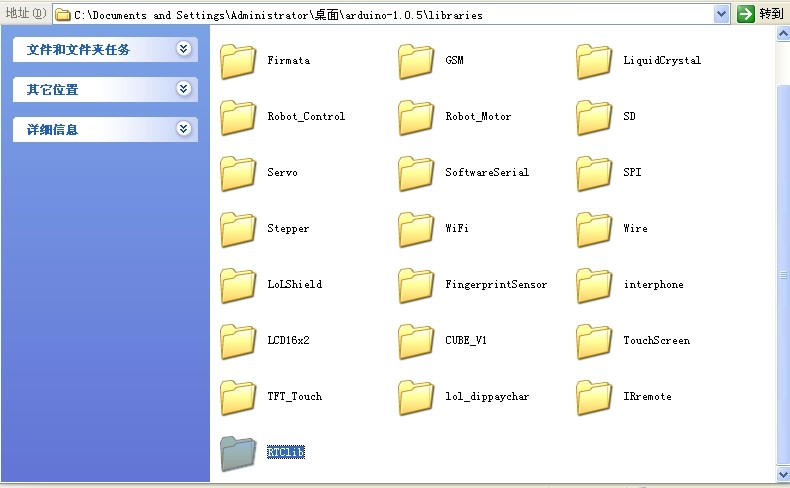
Insert the base shield on arduino, connect Linker RTC to base shield SCL(A5) and SDL(A4) via linker kit.[/vc_column_text][/vc_tab][vc_tab title=”Test code” tab_id=”1394086526085-2-7″][vc_column_text]1 click to download the RTC module arduino library: RTClib
2 put the library files extraction into arduino library file path
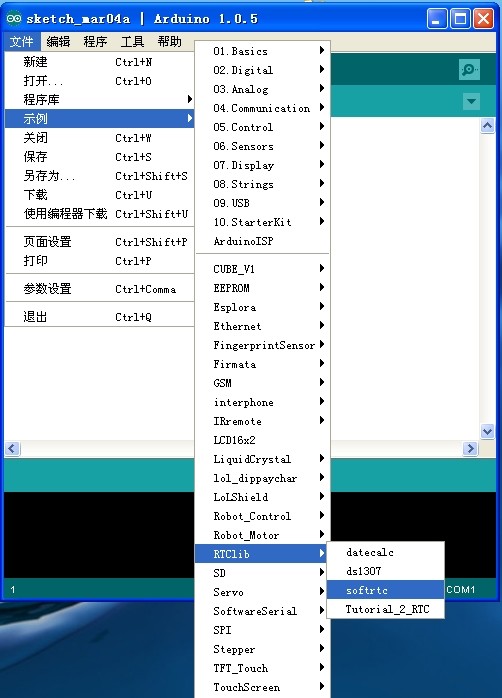
3.Open routine operation ,burn program
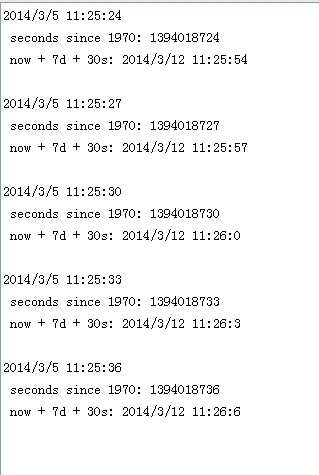
 [/vc_column_text][/vc_tab][vc_tab title=”The results” tab_id=”1394086527241-3-1″][vc_column_text]Open arduino ide serial tools, time and date are shown on the screen.
 [/vc_column_text][/vc_tab][/vc_tour][/vc_column][/vc_row]
Leave a Reply
You must be logged in to post a comment.