Material preparation
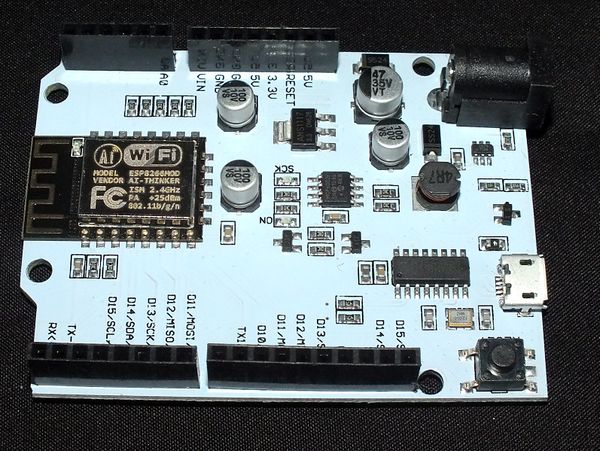
- LinkNode D1 x 1
- Arduino IDE
Step
1. Login linksprite.io ,and record the “Device ID” and “API key”
- 1. Register www.linksprite.io and Login this account
- 2. My Profile -> API key

- 3. My device->Create DIY Device
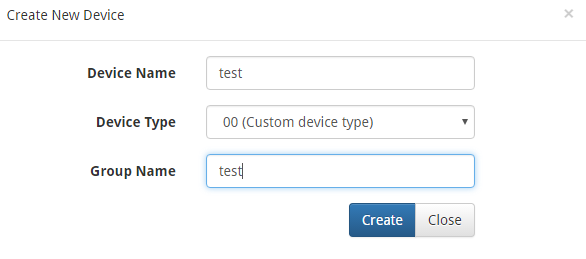
Enter Device Name,Device Type , Group Name , the device number is 00, device name and device grouping can be any.
Note: Device Type must be selected 00(Custom device type) .
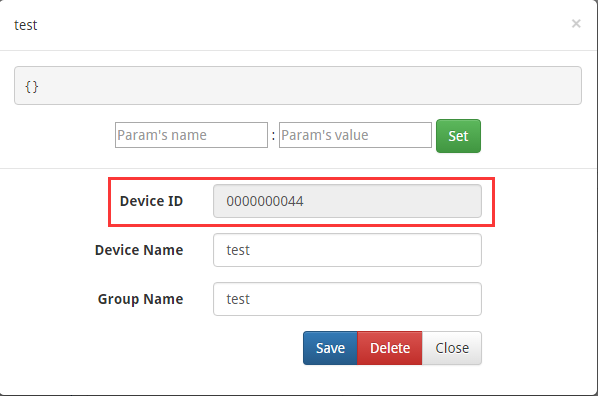
Now you can see “test” in My Devices, Click “test” and record the Device ID.
2. Download and run the code
- 1. Download the source files
git clone https://github.com/delongqilinksprite/LinkSpriteIO.git
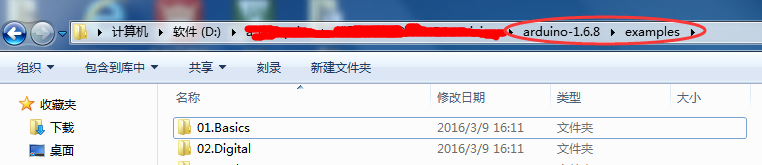
- 2. Put the code in the following directory(examples under Arduino installation directory )
- 3. Open the Arduino IDE, File -> Example -> LinkSpriteIO-> LinkSpriteIO.ino
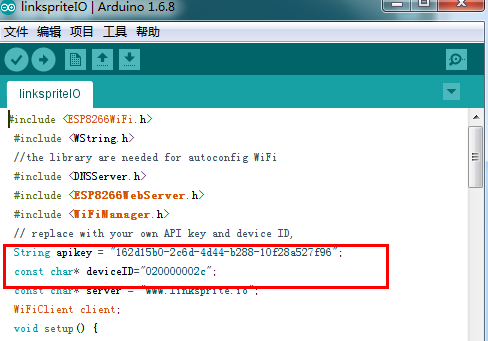
- 4. Modify the “deviceID” and “apikey” with your own
- 5. Configure LinkNode D1 Engineering Environment

- 6. compile and run the code
Results
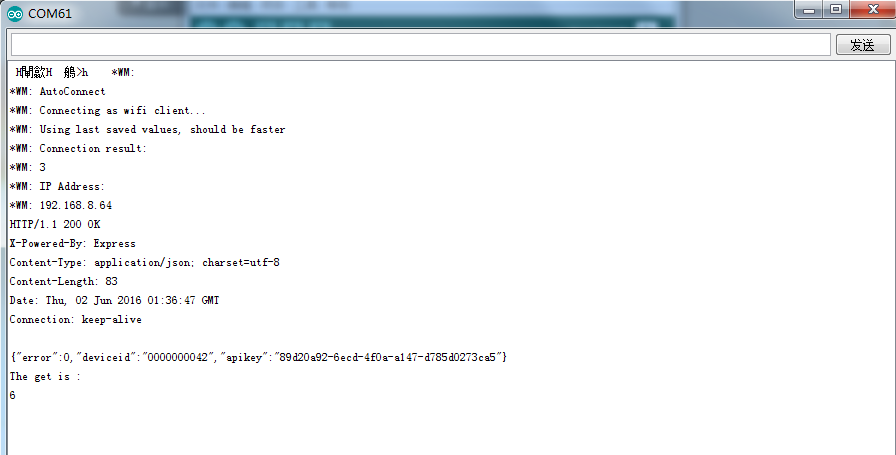
Open the serial port and www.linksprite.io to observe phenomena.
serial port
www.linksprite.io
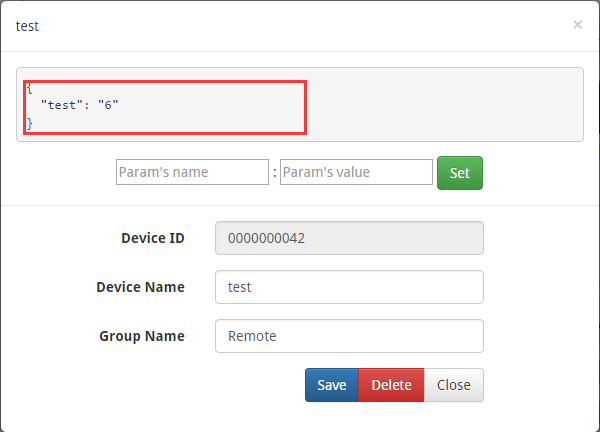
Here we can see communication of LinkNode D1 and linksprite.io.
Note:
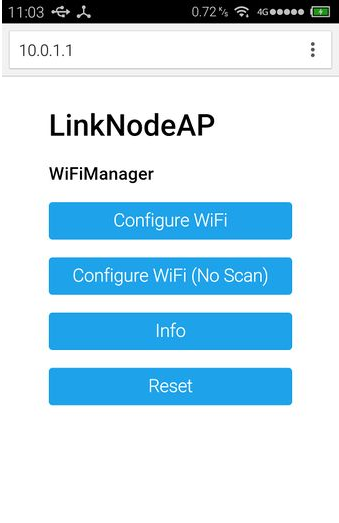
The first use of LinkNode D1 need to connect the WiFi, the specific operation, please refer to the linksprite wiki Tutorial 4 .
Leave a Reply
You must be logged in to post a comment.