Note: This post is for a pre-released version of Acadia that has onboard EMMC.
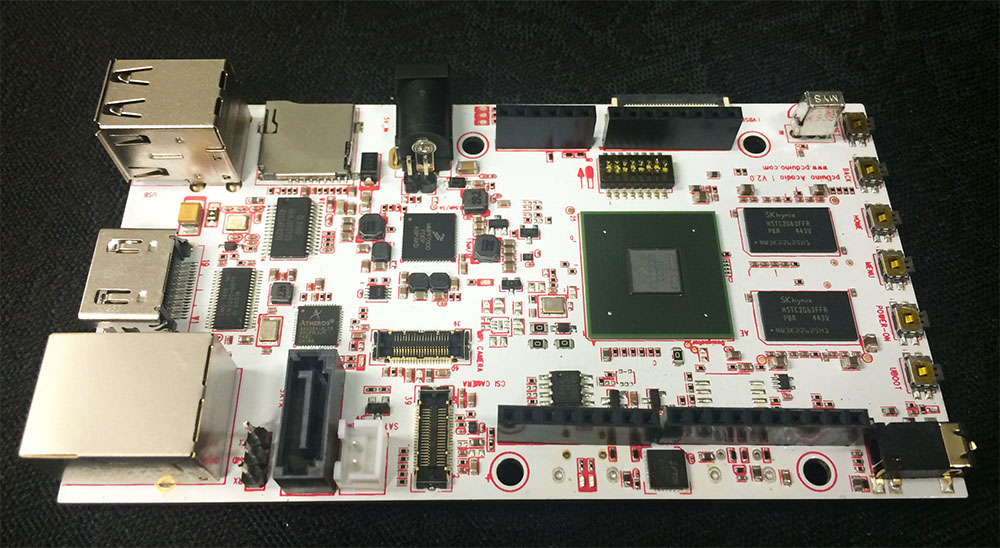
In this tutorial, we show the steps on how to flash LinkSprite Acadia, a single board computer that is powered by Freescale Quad-core i.MX6. Note: Right now, you need to do the following work on a Windows PC.
I. Download all relevant files
The file named Mfgtools-Rel-4.1.0_Acadia_MX6Q_UPDATER.zip can be downloaded from the download page at: http://www.linksprite.com/?page_id=1112.
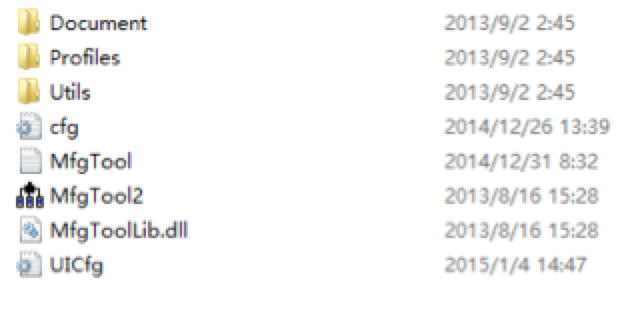
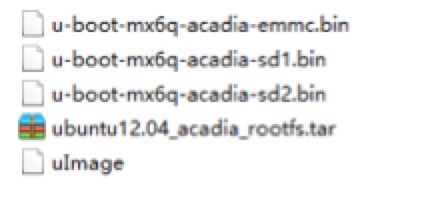
The directory structure is shown below:
II. Flash image to on-board emmc, and boot from on-board emmc:
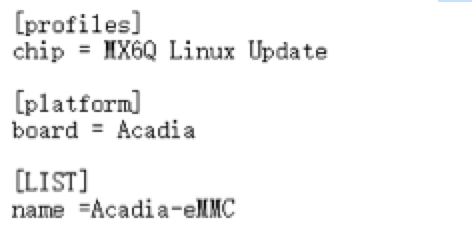
1. Navigate to the tools directory, open cfg.ini, and make change so that:
[ LIST ]-->name = Acadia-eMMC
Part of the file content is shown below:
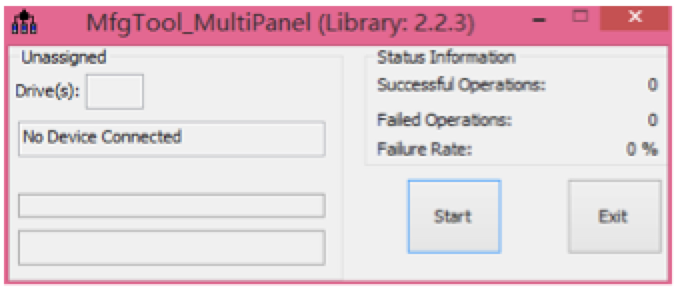
2. Open the flashing tool MfgtTool2:
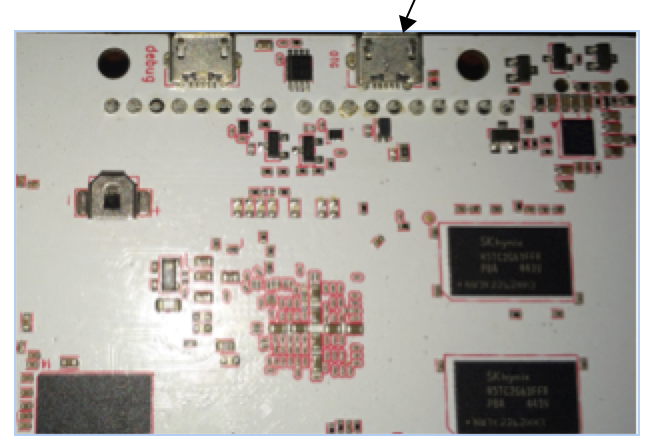
3. Connect Acadia’s OTG USB port to the PC using a Micro USB cable:
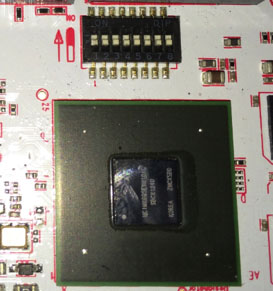
4. Configure the boot switch to be all OFF positions:
| Switch | 1 | 2 | 3 | 4 | 5 | 6 | 7 | 8 |
| Off | Off | Off | Off | Off | Off | off | Off |
5. Power up Acadia. PC will detect the presence of the Acadia, and install the USB driver automatically:

Click Start to begin the flashing process. The LEDs on Acadia will blink to indicate that the flashing is in progress.
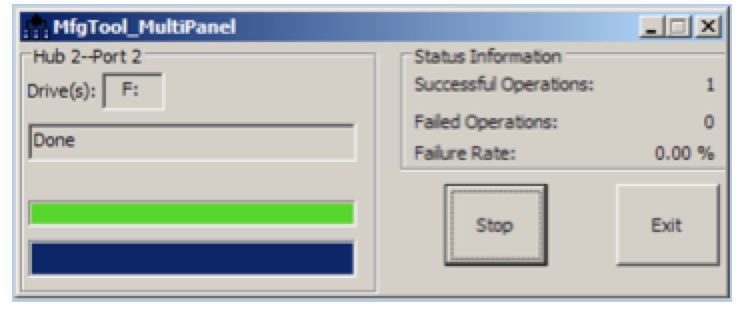
After the progress finished, click STOP and power off Acadia.
6. Configure the boot switch to be following so that Acadia will boot from emmc:
| Switch | 1 | 2 | 3 | 4 | 5 | 6 | 7 | 8 |
| ON | ON | Off | ON | Off | ON | ON | Off |
III. Flash SD card, and boot from SD
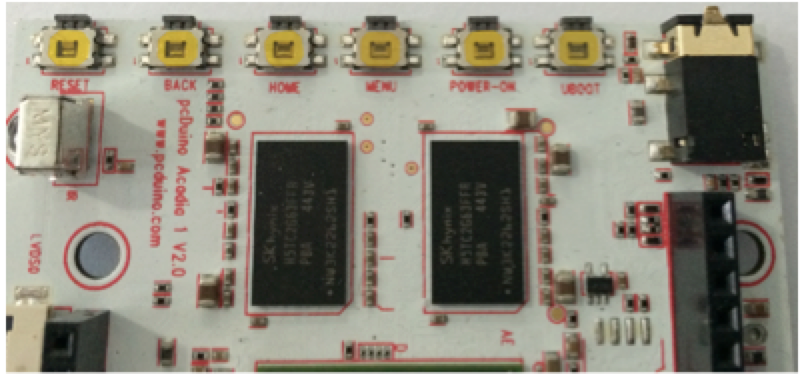
1. There are two SD slots on Acadia, the front (SD1) and the back (SD2).
Configure the file cfg.ini. If we need to boot from SD1, change it to:
[ LIST ]–>name = Acadia-SD1
If we need to boot from SD2, change it to:
[ LIST ]–>name = Acadia-SD2
Then we shut down and launch the flashing tool: MfgtTool2.
2. Insert the SD card to the corresponding SD card slot.
3. The flashing process is same as the steps to flash emmc.
4. After flashing, please configure the boot switch according to below:
Boot from SD1:
| Switch | 1 | 2 | 3 | 4 | 5 | 6 | 7 | 8 |
| Off | On | Off | Off | Off | Off | On | Off |
Boot from SD2:
| Switch | 1 | 2 | 3 | 4 | 5 | 6 | 7 | 8 |
| On | Off | Off | Off | Off | Off | On | Off |
IV. Notes
1. If there are existing old systems on the emmc and SD card, we can use the same approach above. But we have another option: we can press uboot button during power cycle, or hold uboot and then press RESET. Wait for several seconds, the board will enter into flashing mode.
2. If we only want to re-flash kernel or uboot, we can edit cfg.ini, and change the following lines:
name = Acadia-eMMC-kernel //for emmc
name = Acadia-SD1-kernel //for sd1 slot
name = Acadia-SD2-kernel // for sd2 slot
Put the corresponding uboot and kernel uImage under
Mfgtools-Rel-4.1.0_Acadia_MX6Q_UPDATER\Profiles\MX6Q Linux Update\OS Firmware\files
Change the files to be same as below:
Relaunch MfgtTool2 to flash the system.
Leave a Reply
You must be logged in to post a comment.