The tools, drivers and Android image for Arches (pcDuino8 beta) can be downloaded from: http://www.linksprite.com/?page_id=861
There are two ways to re-flash the image: a production SD card method and OTG method.
1. Production SD card method
We use PhoenixCard_V309 to create a production SD card. Please don’t use the SD card reader built-in of the laptop as it may not support the special writing that is needed when creating production SD card. We use a USB card reader instead.
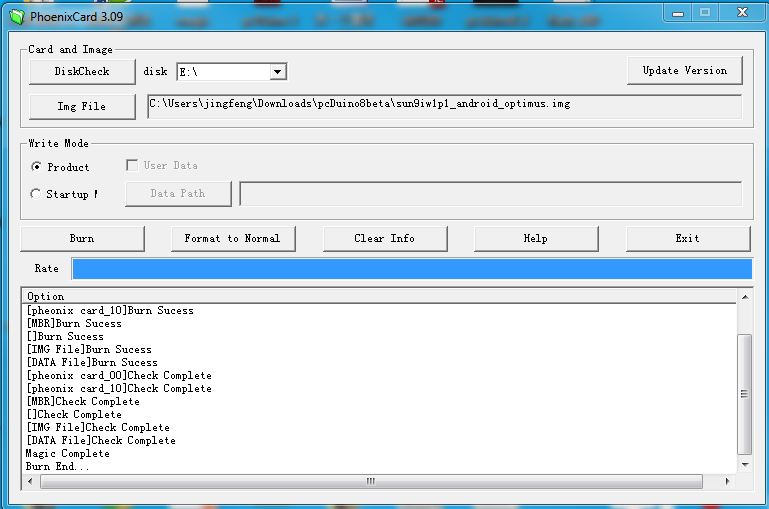
After we create it successfully, put the SD card in the SD slot of pcDuino8 beta and power cycle it. There is NO LED on the board to indicate it is working or not. After waiting for around 8 minutes, we remove the SD card and reboot the device. If it is successful, we will see Android asking us for configuring it as it is powered on for the first time.
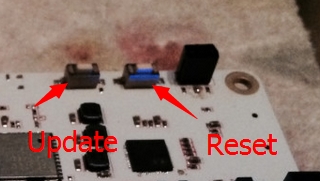
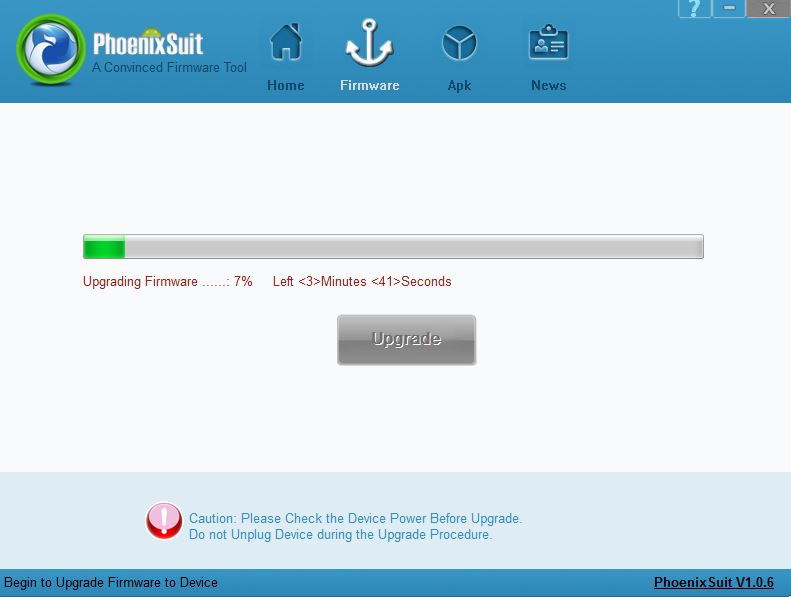
2. Flashing using PhoenixSuite through OTG
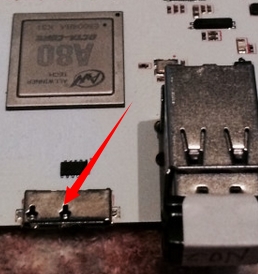
The USB3.0 port is a OTG port, and can be used to flash image.
We may need to use the USB driver in the download page in order for the windows pc to recognize the pcDuino8 beta.
We launch Phoenixsuite as shown in the this post. The update button is marked as below:
Leave a Reply
You must be logged in to post a comment.