[vc_row][vc_column width=”1/1″][vc_column_text]Its holiday season! We will hang the lights again. In this post, we are going to show how to control the LED strip, and open a whole one possibility of intelligent decoration. To drive the LED strip, we need a LED strip driver, which can be found at LinkSprite Wiki.[/vc_column_text][vc_tour][vc_tab title=”Wire Diagram” tab_id=”1382027013-1-45″][vc_column_text]
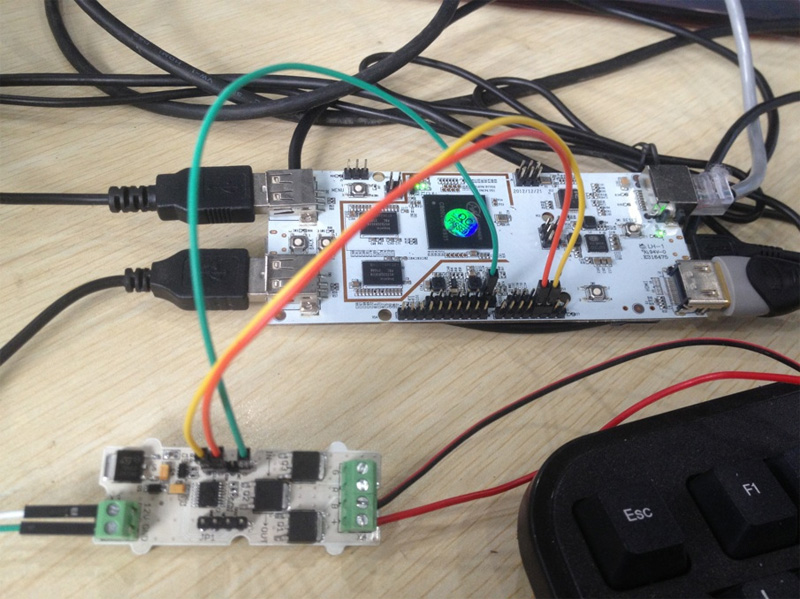
On the DATA in side of LED strip driver, there is a 12V/2A power supply supplying power.
- CLK –> pcDuino D2
- DIN –> pcDuino D3
- GND –> pcDuino GND
The red line of strip is connected to ‘+’, and black color is connected to ‘B’ channel.
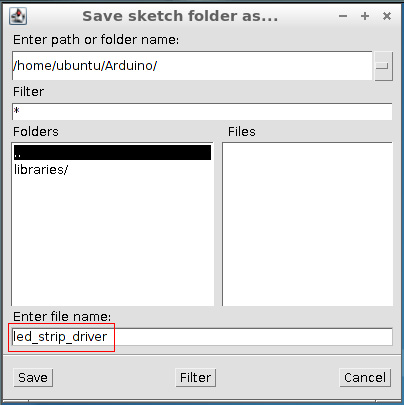
[/vc_column_text][/vc_tab][vc_tab title=”Use Arduino IDE comes with pcDuino” tab_id=”1382027013-2-44″][vc_column_text]Lunch the Arduino IDE that comes with pcDuino, and enter into the code:
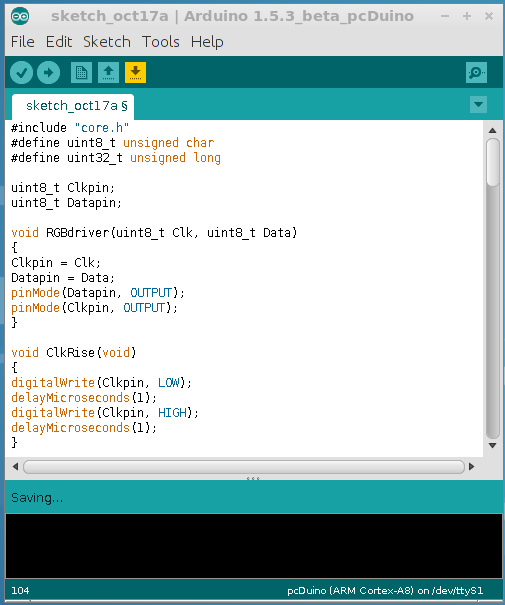
The code used above can be downloaded here.[/vc_column_text][/vc_tab][vc_tab title=”Run” tab_id=”1382027584529-2-1″][vc_column_text]Click ‘upload’ to compile and run the code, the following screen will pop up:
LED strip will begin to breath:
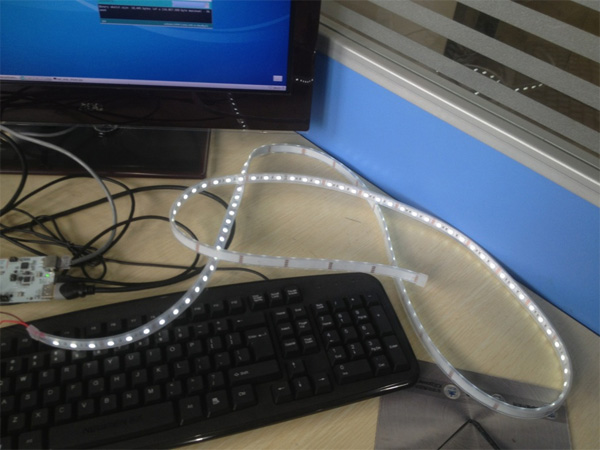
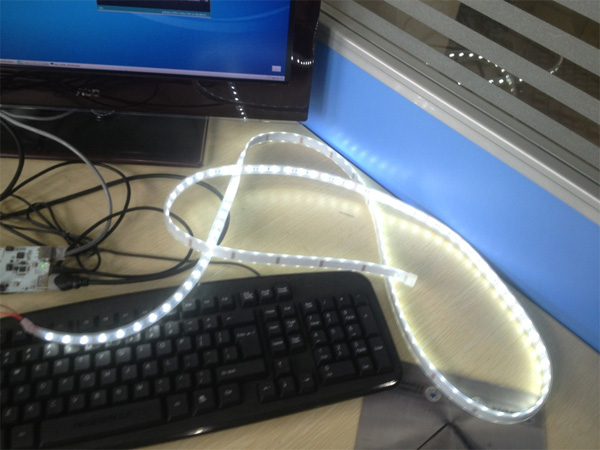
It will keep going until we press ‘CONTROL+C’.[/vc_column_text][/vc_tab][/vc_tour][/vc_column][/vc_row]
Leave a Reply
You must be logged in to post a comment.