[vc_row][vc_column width=”1/1″][vc_column_text]In this tutorial, we show how to use LinkSprite touch LCD shield on pcDuino.
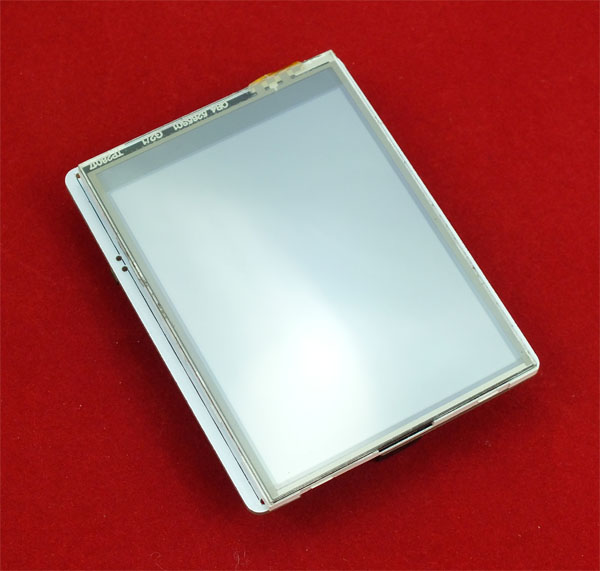
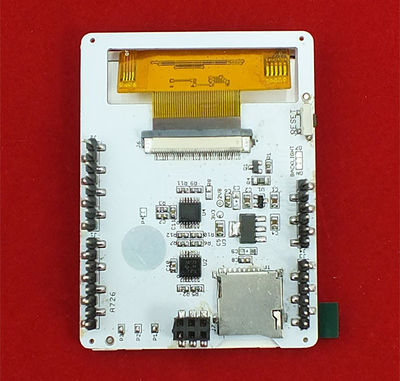 [/vc_column_text][vc_tour][vc_tab title=”Specification” tab_id=”1385694300-1-68″][vc_column_text]Touch LCD is a multifunctional Arduino/Arduino Mega compatible resistive touch screen. It can be used as display device or sketch pad. With a SD card module integrated also on this shield, this shield provides great room for other expansions to your project.
| Item | Min | Typical | Max | Unit |
|---|---|---|---|---|
| Voltage | 4.5 | 5 | 5.5 | VDC |
| Current | / | / | 250 | mA |
| LCD Panel Size | 2.8 | inch | ||
| View angle | 60~120 | Deg | ||
| Resolution | 320×240 | / | ||
| LCD color | 65k | / | ||
| Backlight Type | LED | / | ||
| LCD driver IC | ILI9341 | / | ||
| Interface Type | SPI | / | ||
| Touch Screen | 4-Wire resistive touch screen | / | ||
| Active area | 43.2*57.3 | mm | ||
| ESD contact discharge | ±4 | KV | ||
| ESD air discharge | ±8 | KV | ||
| Dimension | 72.5×54.7×18 | mm | ||
| Weight | 24±2 | g | ||
[/vc_column_text][/vc_tab][vc_tab title=”Interface Function” tab_id=”1385694300-2-23″][vc_column_text]Used for TFT screen control:
D4: TF_CS, SD card select input pin
D5: TFT_CS, TFT chip select input pin
D6: TFT_D/C, TFT Data/Command control pin
D7: BACKLIGHT, TFT backlight control pin
SPI interface:
D10: SPI chip select
D11: SPI MOSI pin
D12: SPI MISO pin
D13: SPI serial clock pin
For Touch function:
A0 – Touch Screen Y- input pin.
A1 – Touch Screen X- input pin.
A2 – Touch Screen Y+ input pin.[/vc_column_text][/vc_tab][vc_tab title=”Debug” tab_id=”1385697064199-2-7″][vc_column_text]You will need a pcDuino and a Touch LCD Shield.
The sample code is shown below:
#include "TFTv2.h"
#include <SPI.h>

void setup()
{
    TFT_BL_ON;      // turn on the background light
    Tft.TFTinit();  // init TFT library
    Tft.drawString("welcome",30,50,4,RED);
    Tft.drawString("to",90,110,4,YELLOW);
    Tft.drawString("pcDuino!",30,170,4,CYAN);
    Tft.drawString("16/03/2013",80,280,2,WHITE);
}

void loop()
{

}
[/vc_column_text][/vc_tab][vc_tab title=”Compile and Run” tab_id=”1385962125185-3-7″][vc_column_text]The ibrary can be downloaded from here.
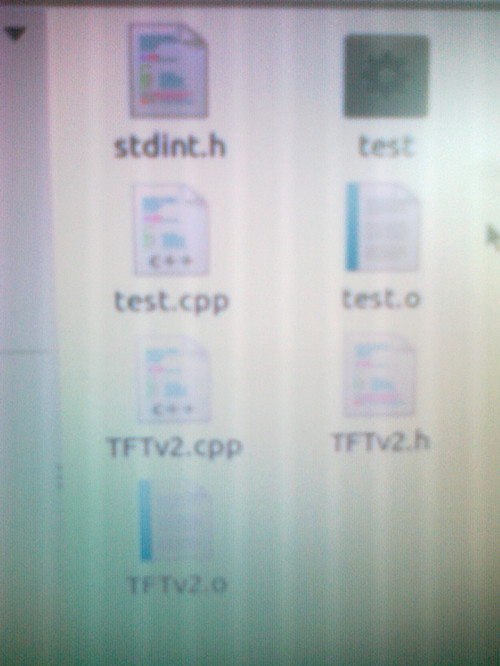
1. The screen shot before compile:

2. Compile libraries:
ubuntu@ubuntu:~/Arduino/TFTtouch$ gcc -c TFTv2.cpp
3. Compile main file test.cpp:
ubuntu@ubuntu:~/Arduino/TFTtouch$ gcc -c test.cpp
4. Linking target file and library:
ubuntu@ubuntu:~/Arduino/TFTtouch$ gcc test.o TFTv2.o -o test -larduino
5. Screen shot after compile:
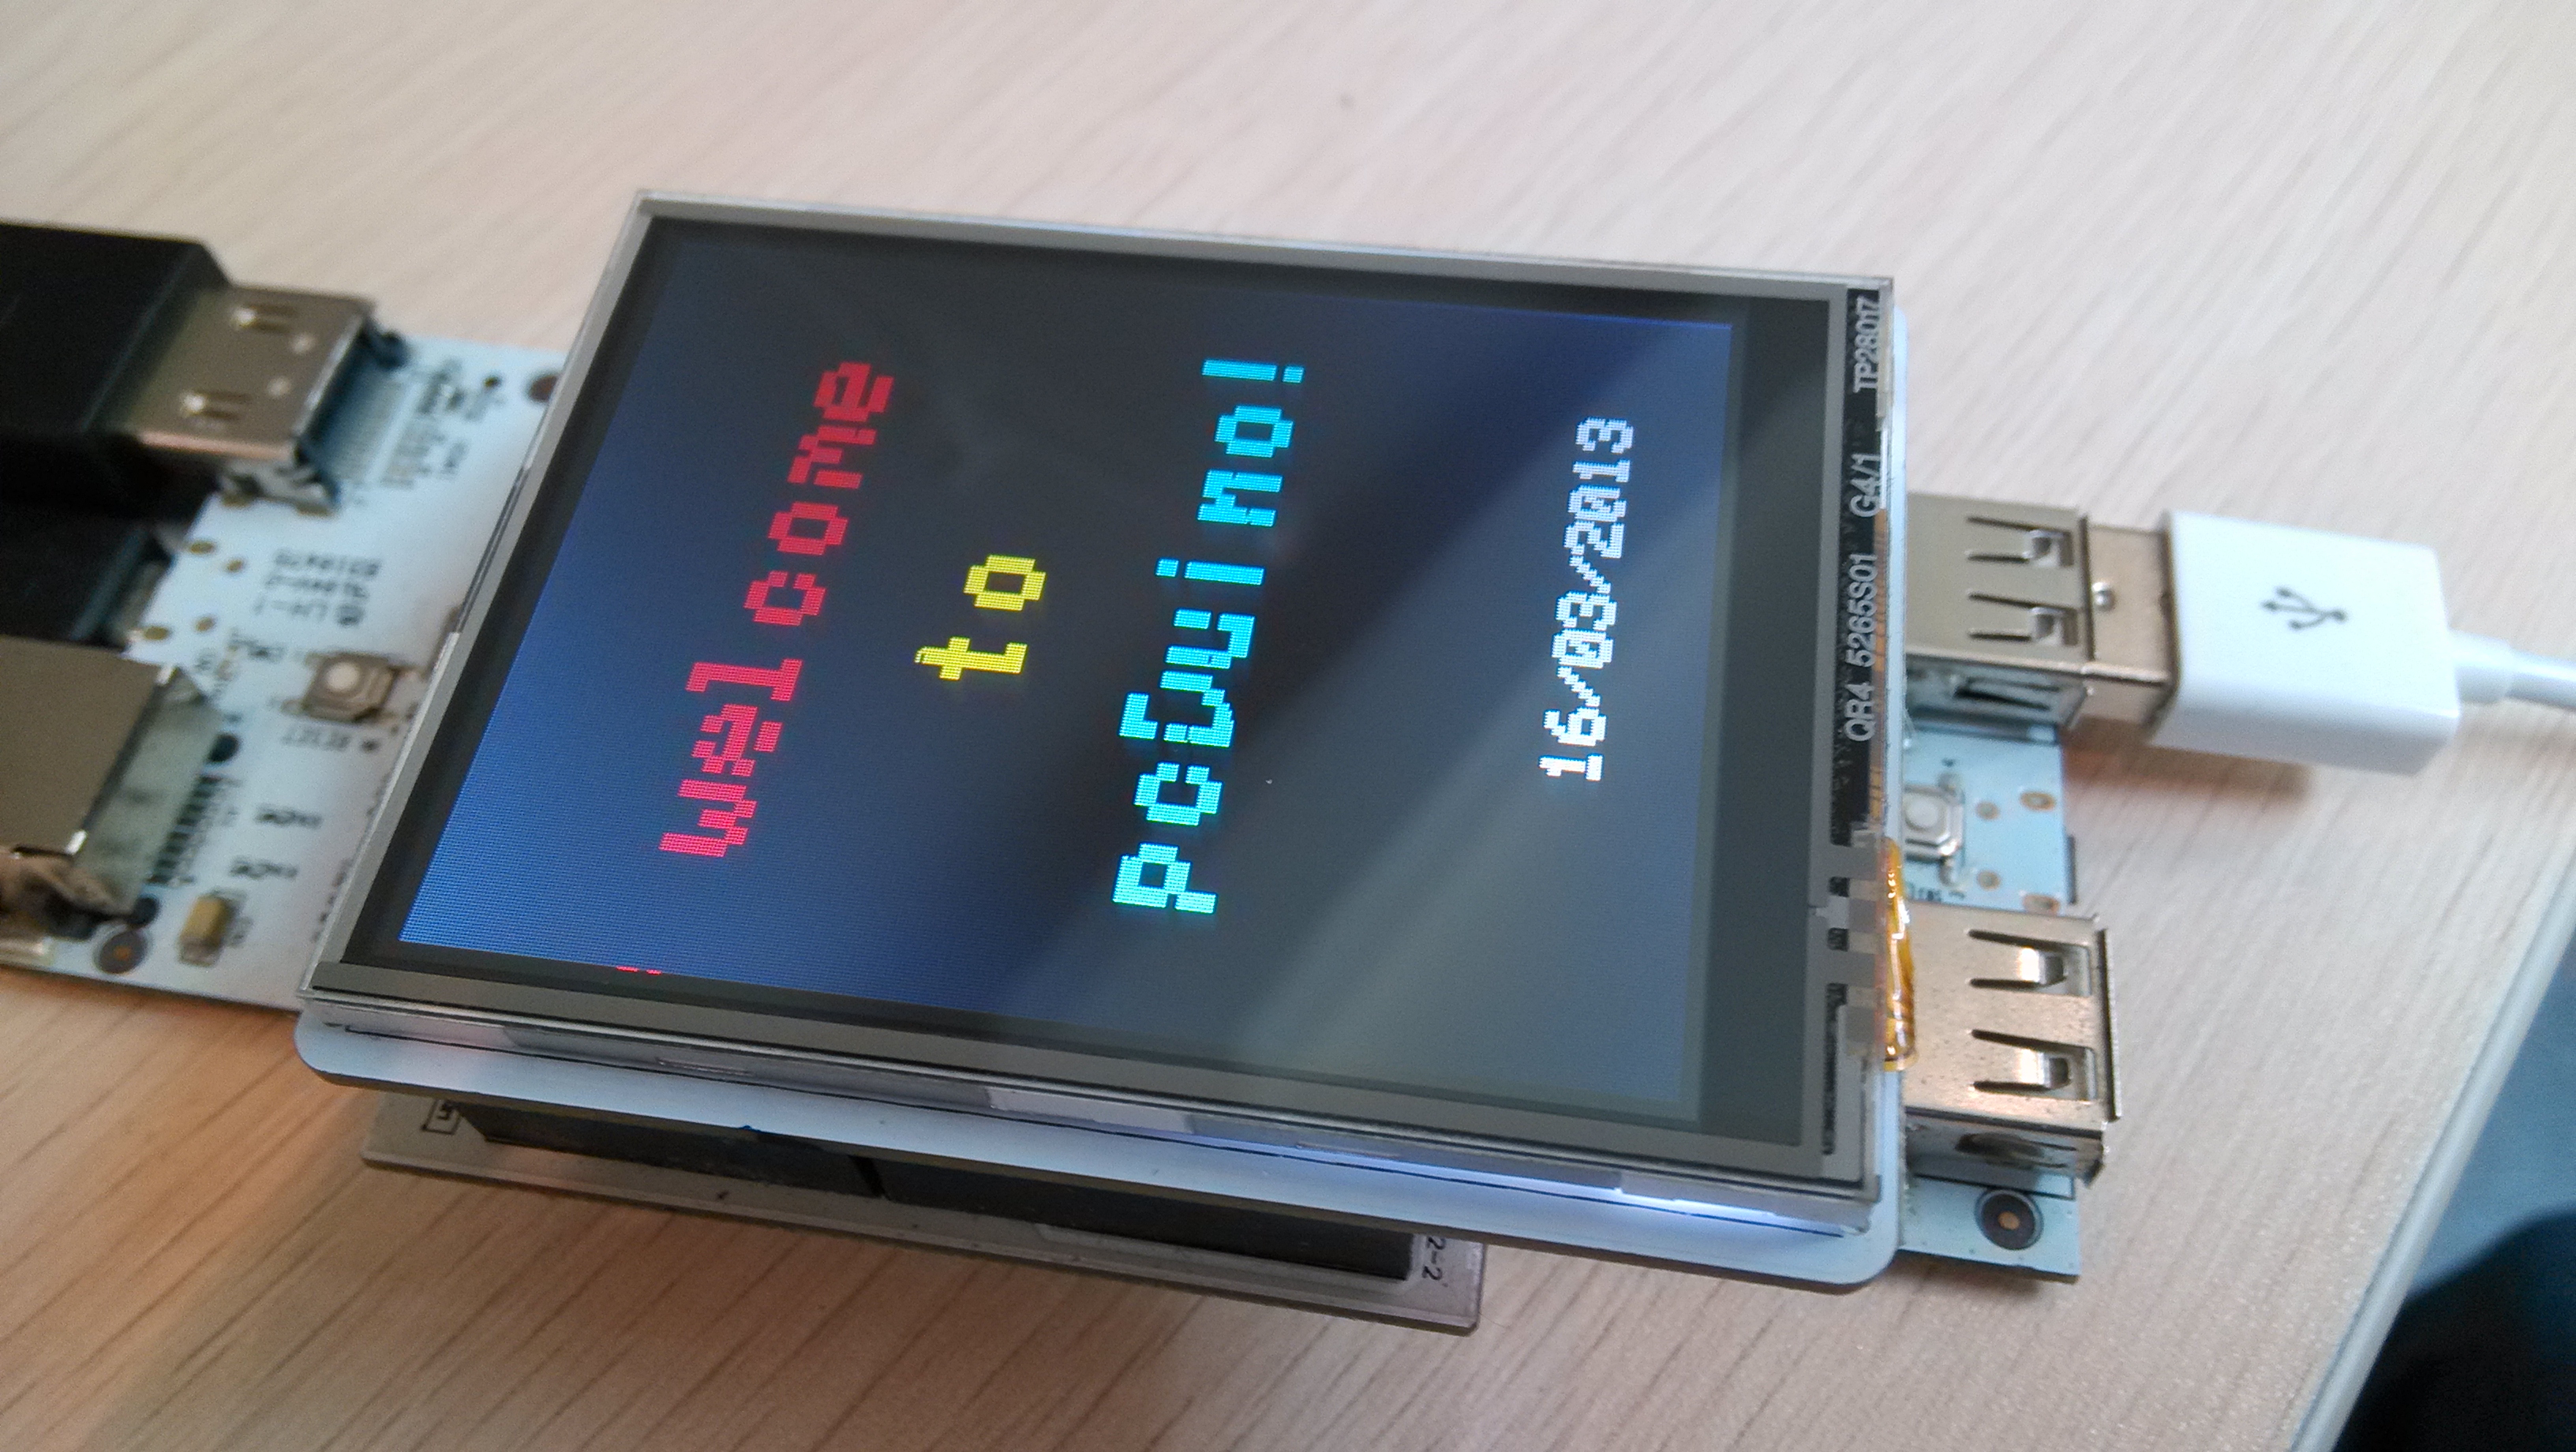
6. Screen shot of running
ubuntu@ubuntu:~/Arduino/TFTtouch$ ./test
 [/vc_column_text][/vc_tab][/vc_tour][/vc_column][/vc_row]
Leave a Reply
You must be logged in to post a comment.