[vc_row][vc_column width=”1/1″][vc_column_text]Xbee shield allows pcDuino communicates via Zigbee technologies.
 [/vc_column_text][vc_tour][vc_tab title=”Parts List” tab_id=”1387847862-1-39″][vc_column_text]
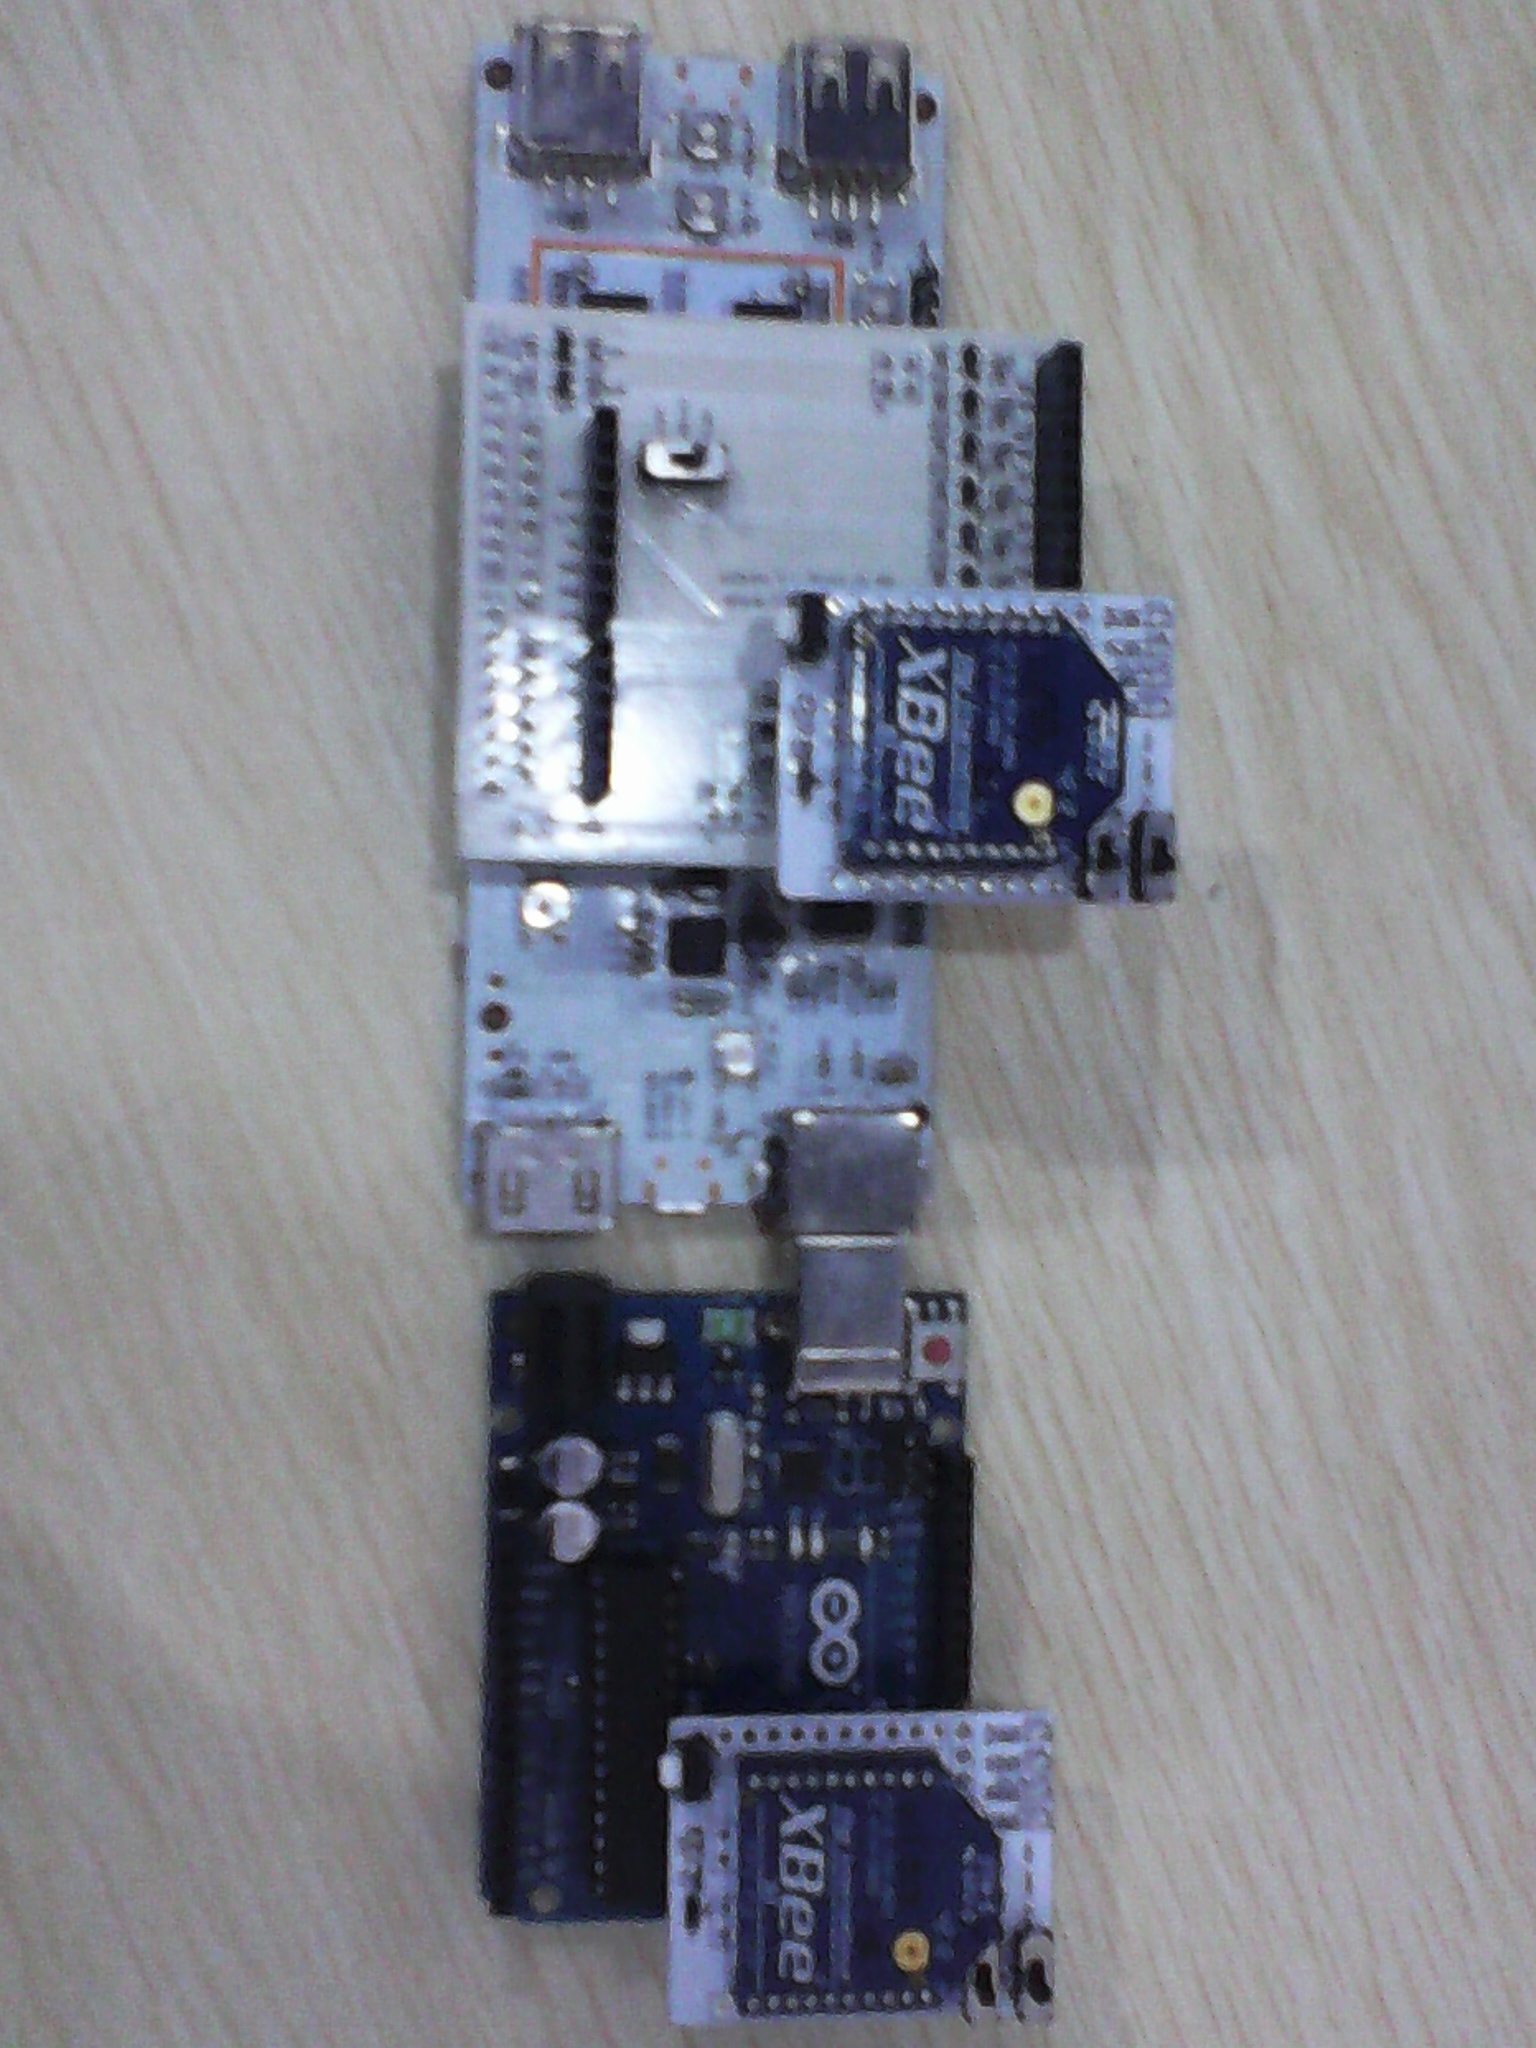
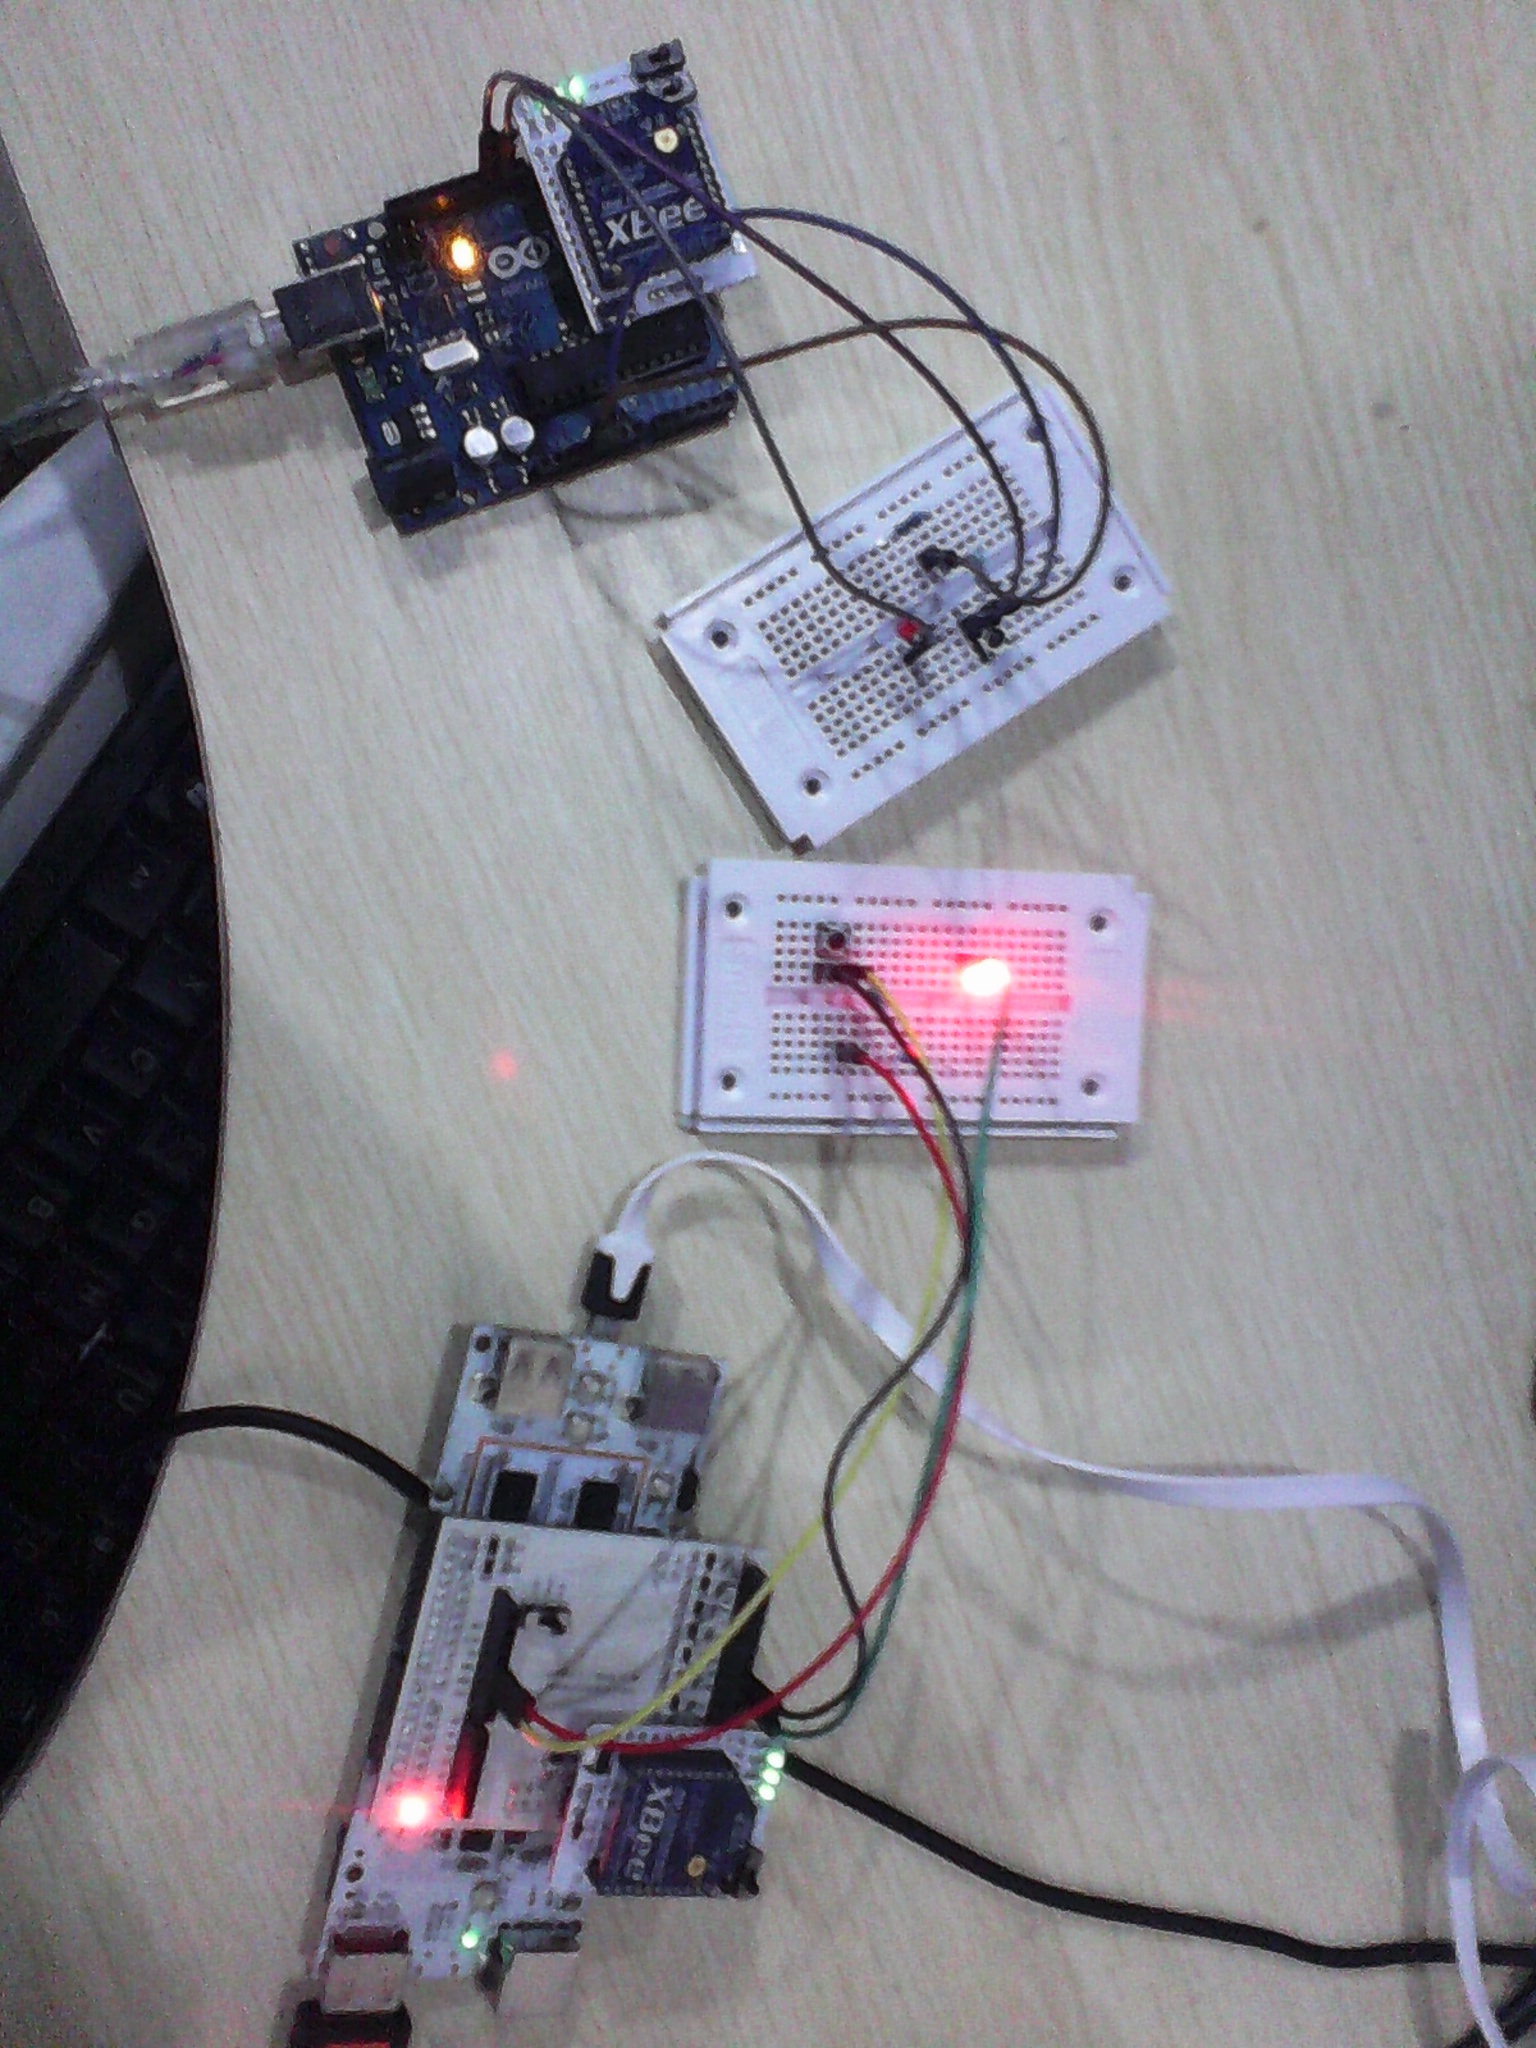
- 1 x Arduino
- 1 x pcDuino
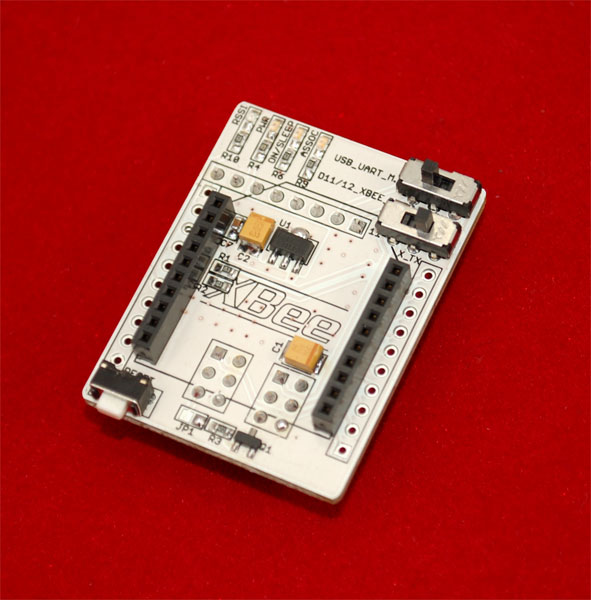
- 2 x Xbee Shield
- 2 x Xbee module
- 1 x T-board x
- 2 x Breadboard
- Several Jumper Wires
[/vc_column_text][/vc_tab][vc_tab title=”Wire Diagram” tab_id=”1387847862-2-43″][vc_column_text]
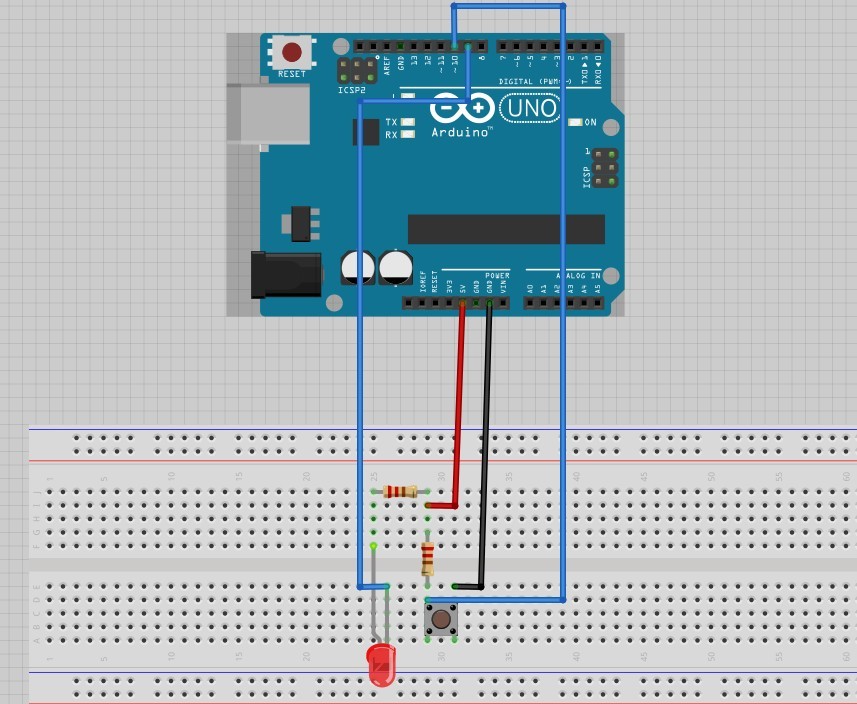
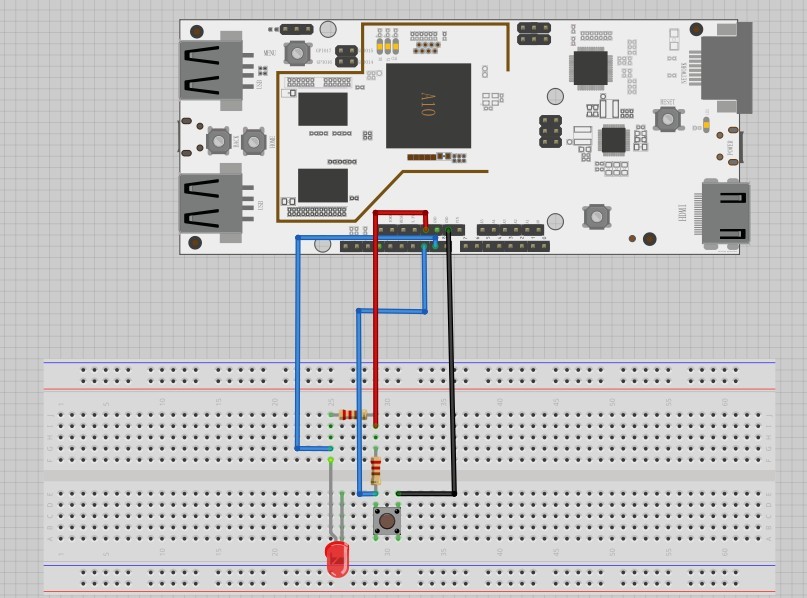
Note: pcduino above need to install the T-board and the position switch to +5 V
[/vc_column_text][/vc_tab][vc_tab title=”Sample Code” tab_id=”1387848942489-2-8″][vc_column_text]Code Used on Arduino:
#define led_pin 9

#define button_pin 10

void setup()

{

pinMode(led_pin,OUTPUT);

pinMode(button_pin,INPUT);

digitalWrite(led_pin,HIGH);

Serial.begin(9600);

}

void loop()

{

if(digitalRead(button_pin)==LOW)

{

while(digitalRead(button_pin)==LOW){;}

Serial.print(‘a’);

}

/*

if(digitalRead(button_pin) == LOW){

delay(30);

if(digitalRead(button_pin)==LOW)

Serial.print(‘a’);

delay(200);

}

*/

if (Serial.available() > 0)

{

unsigned char word;

word = Serial.read();

if(word == ‘a’)

{

digitalWrite(led_pin,LOW);

delay(1500);

digitalWrite(led_pin,HIGH);

}

}

}
 
Code used on pcDuino:
#include <core.h>

#include “Serial.h”
#define led_pin 9

#define button_pin 10

#define rate 9600

unsigned char flag = 0;
void setup(){

pinMode(led_pin,OUTPUT);

digitalWrite(led_pin, HIGH);

pinMode(button_pin,INPUT);

Serial.begin(rate);

}
void loop(){

if(Serial.available() > 0){

char receive = Serial.read();

if(receive) {

flag++;

printf(“the data received is %c\n”,receive);

}

if((flag % 2) == 0) {

digitalWrite(led_pin,LOW);

printf(“led on\n”);

}

else {

digitalWrite(led_pin,HIGH);

printf(“led off\n”);

}

}

//delay(1000);

if(digitalRead(button_pin)==LOW){

delay(10);

if(digitalRead(button_pin)==LOW){

Serial.print(‘b’);

}

}

//unsigned int value1 = digitalRead(led_pin);

//unsigned int value2= digitalRead(button_pin);

//printf(“led_pin = %d,button_pin = %d\n”,value1,value2);

delay(1000);
&nbsp;
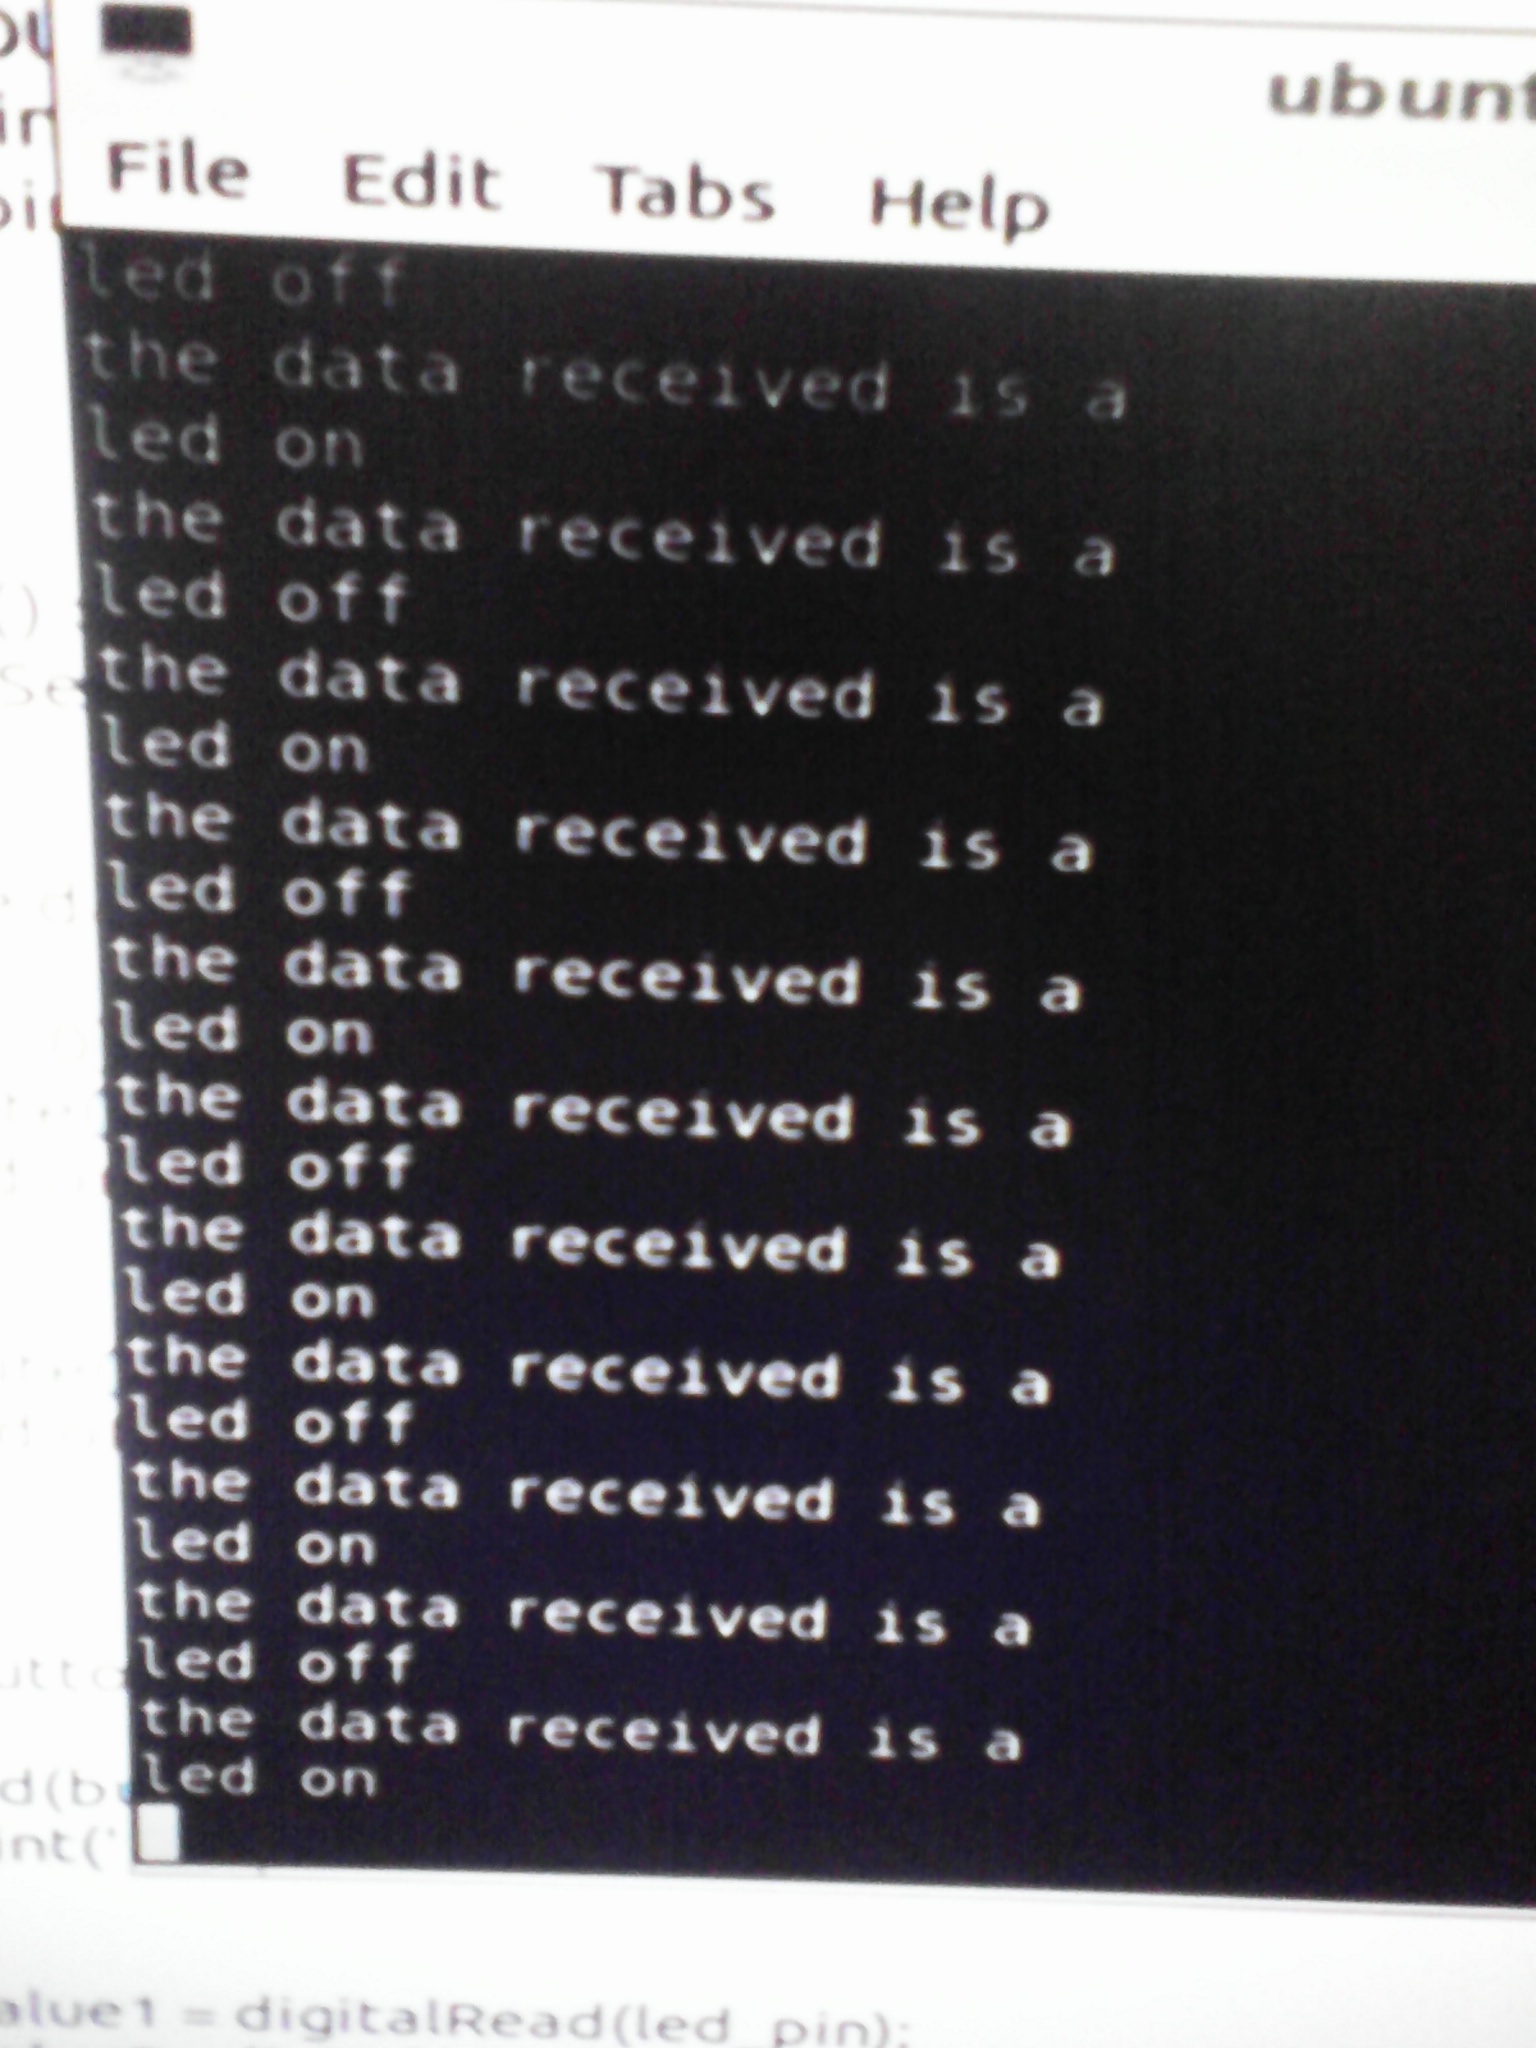
[/vc_column_text][/vc_tab][vc_tab title=”Results” tab_id=”1387849035808-3-6″][vc_column_text]Press the corresponding button on the breadboard connected to Arduino, the led on pcDuino will turn on,. Press it again, the LED will turn off and display “led off” on the pcDuino screen and , and print the received data .

[/vc_column_text][/vc_tab][/vc_tour][/vc_column][/vc_row]
Leave a Reply
You must be logged in to post a comment.