[vc_row][vc_column width=”1/1″][vc_column_text]The original post can be found at: http://bradsmc.blogspot.com/2013/05/taking-pictures-with-pcduino-linksprite.html?m=1
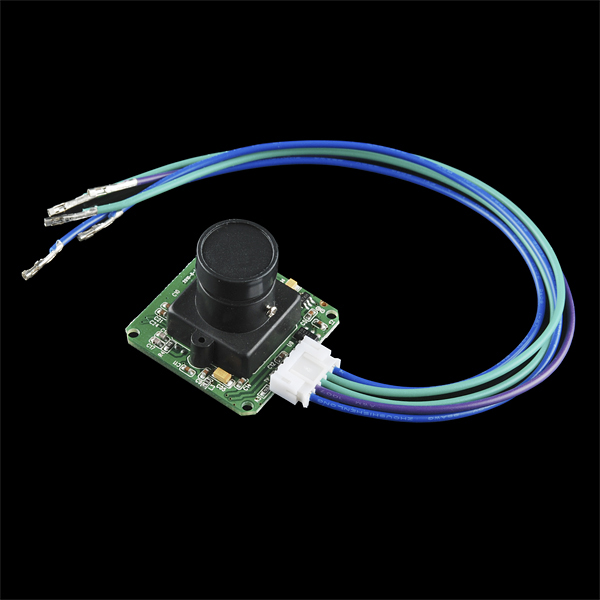
Here is a very basic example showing how to use the LinkSprite JPEG Color Camera (TTL Interface) from Sparkfun with a pcDuino.
The user manual for the camera is available here.
Note (May 24, 2013): I have also gotten a TTL Serial JPEG Camera with NTSC Video from Adafruit. It is the same camera as the Linksprite Sparkfun (with some mnor differences in the board and the connector). The material presented below also works with the Adafruit camera. Adafruit Learning systems has a tutorial on using the camera with an Arduino and a utility for testing the camera. They also have code on their GitHub site that includes some python examples apparently intended for the Raspberry Pi.
Connections
Python Code
The following code is designed to be run from the command line on the pcDuino. It just takes a picture and saves it to a file in the /tmp/ directory. The file name is made up of the current date and time (down to seconds).
import serial
import time
import datetime
# Initialize camera
serial = serial.Serial(“/dev/ttyS1”, baudrate=38400)
serial.write(b’\x56\0\x26\0′)
resp = “”
time.sleep(1)
while (serial.inWaiting() > 0):
data = serial.read()
resp += data
if “Init end\r\n” in resp:
print “Ready”
break
# Take picture
serial.write(b’\x56\0\x36\x01\0′)
resp = “”
time.sleep(2)
while (serial.inWaiting() > 0):
data = serial.read()
resp += data
if b’\x76\0\x36\0\0′ in resp:
print “Picture taken”
break
#Get JPG size
serial.write(b’\x56\0\x34\x01\0′)
resp = “”
time.sleep(1)
while (serial.inWaiting() > 0):
data = serial.read()
resp += data
if b’\x76\0\x34\0\x04\0\0′ in resp:
msb = serial.read()
lsb = serial.read()
print “Image file size: %d bytes” % (ord(msb) << 8 | ord(lsb))
# Write image to file
serial.write(b’\x56\0\x32\x0C\0\x0A\0\0\0\0\0\0%c%c\0\x0A’ % (msb,lsb))
time.sleep(3)
now = datetime.datetime.now()
filename = “%d.%02d.%02d.%02d.%02d.%02d.jpg” % \
(now.year,now.month,now.day,now.hour,now.minute,now.second)
resp = serial.read(size=5)
if b’\x76\0\x32\0\0′ in resp:
with open(“/tmp/” + filename, ‘wb’) as f:
while (serial.inWaiting() > 0):
data = serial.read()
f.write(‘%c’ % data)
print “Image written to /tmp/%s” % (filename)
[/vc_column_text][/vc_column][/vc_row]
Leave a Reply
You must be logged in to post a comment.