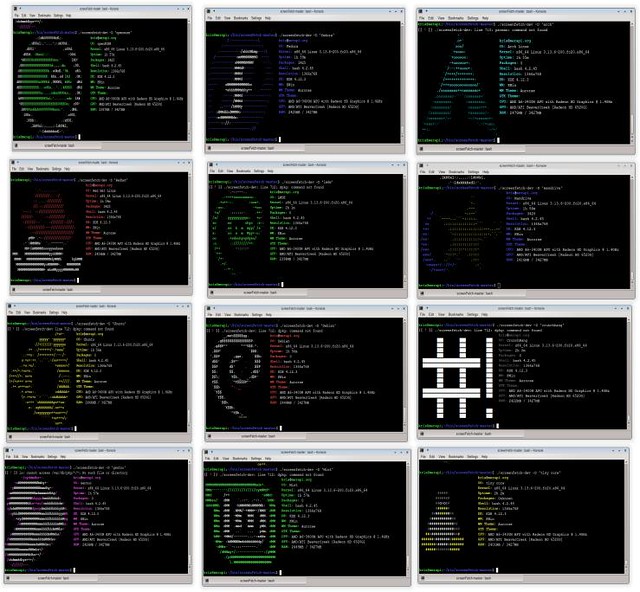
Many of you Linux junkies will probably spend most of your time in terminals. So you may be wondering how to spice up the plain old boring-looking terminal environment. If you are looking to enhance the look of your terminal window, one way is screenFetch.
According to its creator, screenFetch is a “bash screenshot information tool”. This tool can show inside a bash terminal various pieces of system information, as well as nifty ASCII arts such as your Linux distribution logo. screenFetch can auto detect your Linux distribution and display its logo (currently supporting Arch Linux, Mint, LMDE, Ubuntu, Debian, Fedora, SuSe/Opensuse, Mandriva/Mandrake, Crunchbang, Gentoo, Red Hat Linux, and Tiny Core distributions.
Install screenFetch on Linux
To install screenFetch, follow the steps below.
For other distributions, download the archive from github, then extract it into whatever directory you want. Make sure to change screenfetch-dev file executable as follows.
$ wget https://raw.githubusercontent.com/KittyKatt/screenFetch/master/screenfetch-dev
$ sudo cp screenfetch-dev /usr/local/bin/screenfetch
$ cd /usr/local/bin/
$ sudo chmod 755 screenfetch
screenFetch in Action
If you want to execute screenFetch each time you open a terminal or login in to console, add “screenfetch” command at the end of your .bashrc file.
Optionally, you can define your Linux distro with a command line option “-D”.
$ screenfetch -D 'Ubuntu'
$ screenfetch
If you want, you can have screenFetch run any custom screenshot command.
$ screenfetch -c '/path/to/my_custom_script.sh'
Remember, when screenFetch auto-starts in your terminal, it will make your terminal response slower at its first appearance because screenFetch needs to gather information.
Here is my terminal with screenFetch running.


Leave a Reply
You must be logged in to post a comment.