[vc_row][vc_column][/vc_column][/vc_row][vc_row][vc_column][vc_column_text]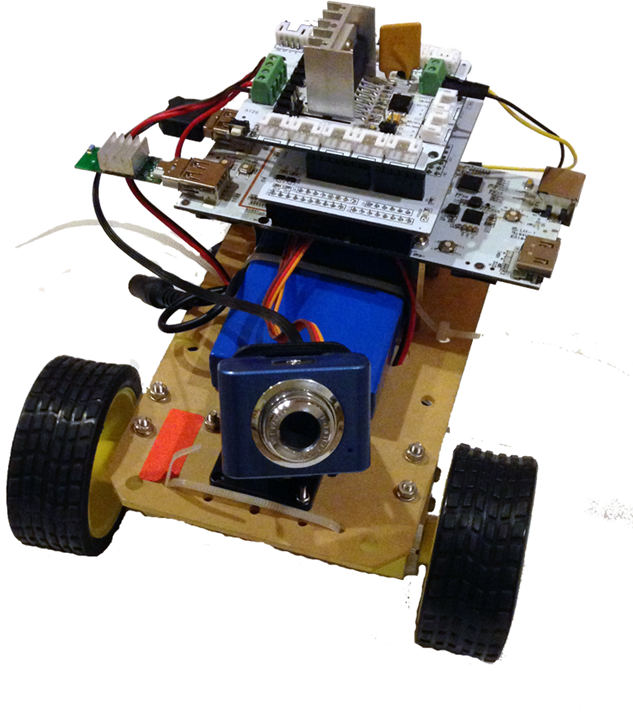 [/vc_column_text][/vc_column][/vc_row][vc_row][vc_column width=”1/1″][vc_tour][vc_tab title=”Outline” tab_id=”1395110190-1-51″][vc_column_text]
- Webcam Assembly
- Robot Assembly
- Software
[/vc_column_text][/vc_tab][vc_tab title=”Webcam Assembly” tab_id=”1395110190-2-75″][vc_column_text]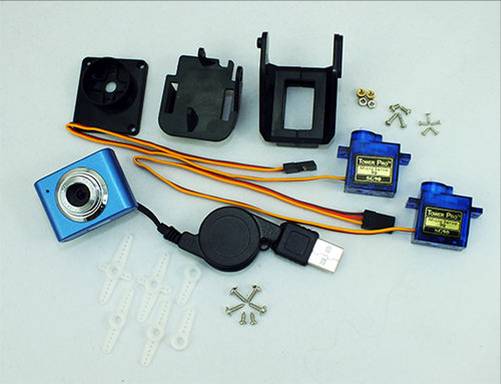

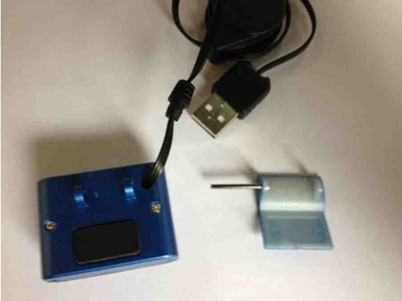
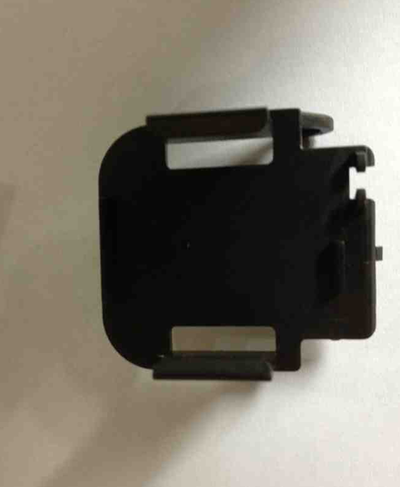
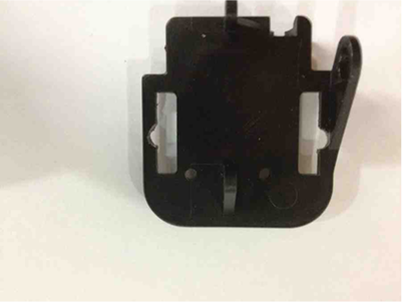
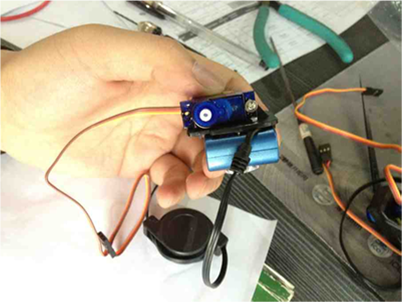
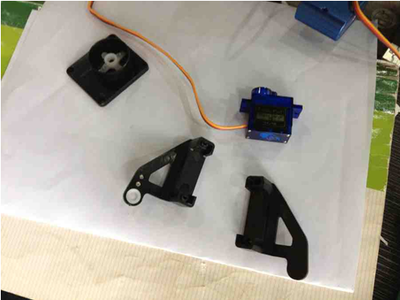
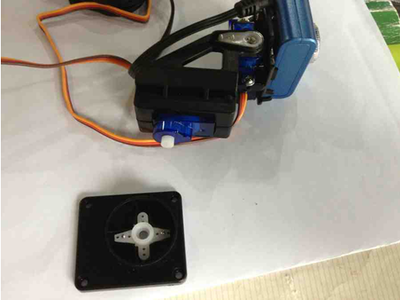
Webcam Assembly (1)
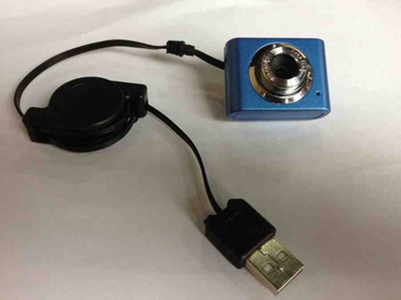
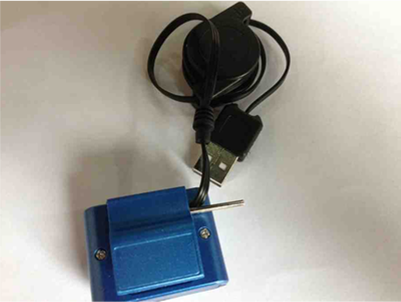
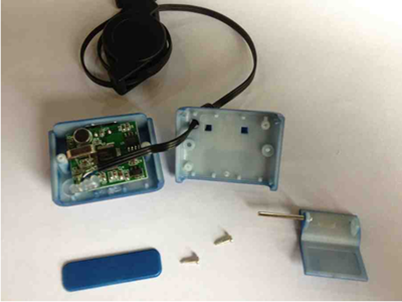
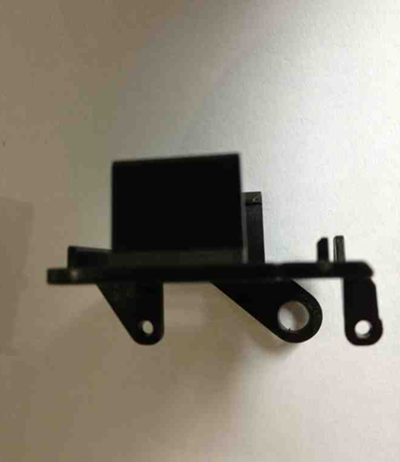
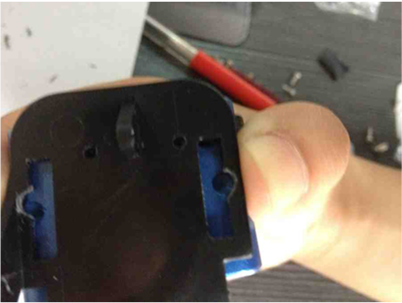
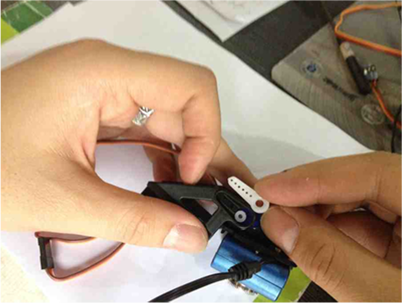
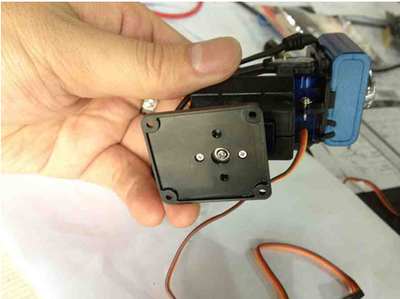
Webcam Assembly (2)
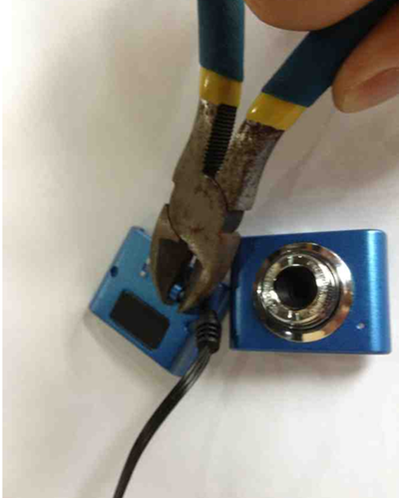
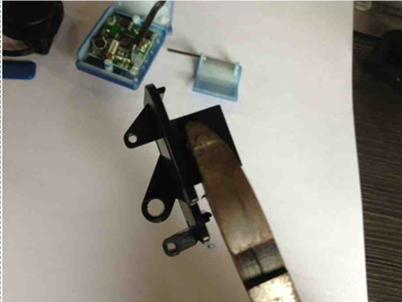
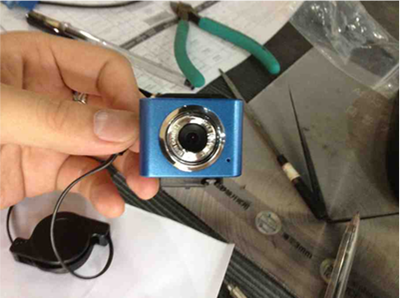
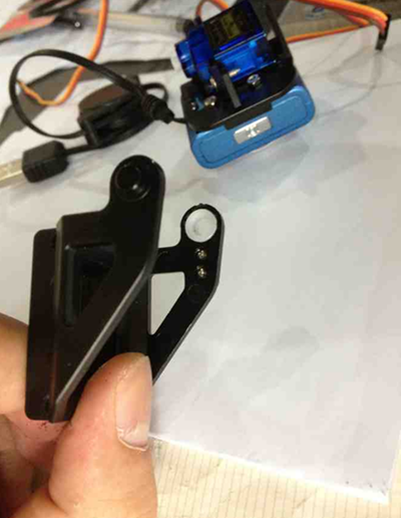
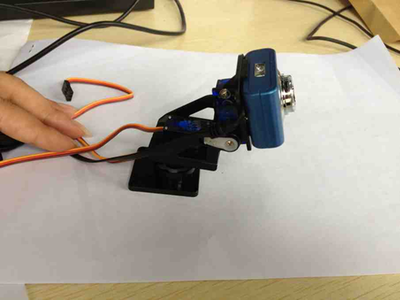
Webcam Assembly (3)
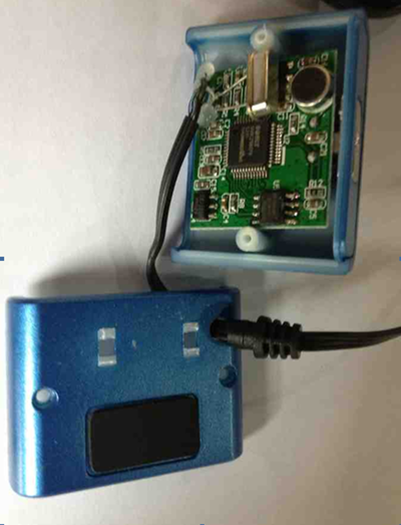
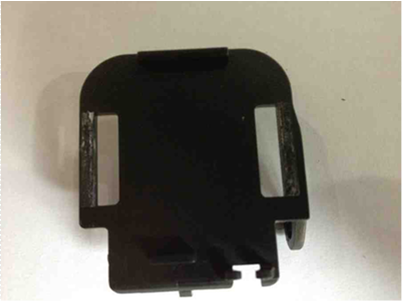
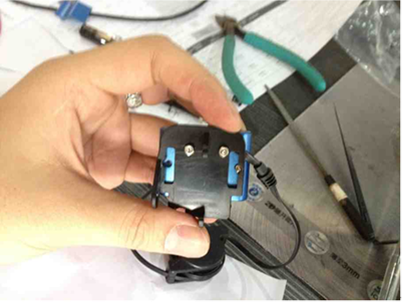
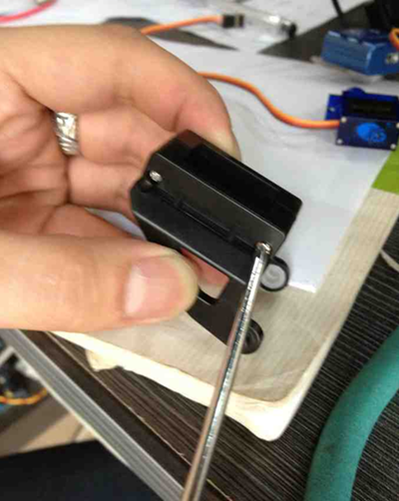
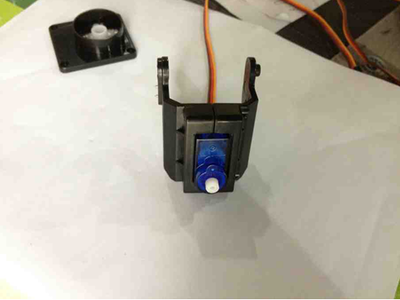
Webcam Assembly (4)
Webcam Assembly (5)
Webcam Assembly (6)
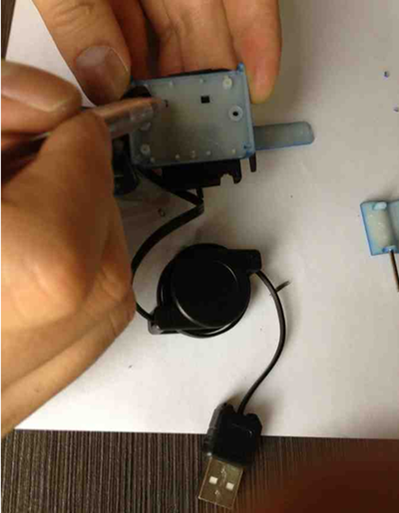
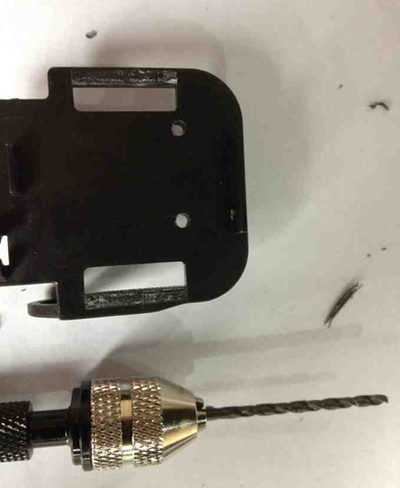
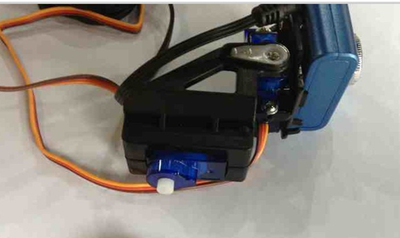
Webcam Assembly (7)
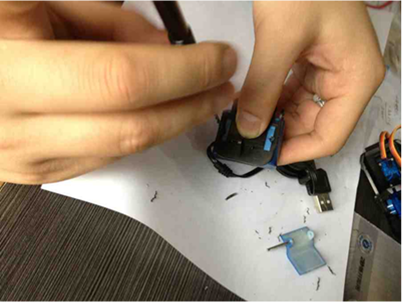
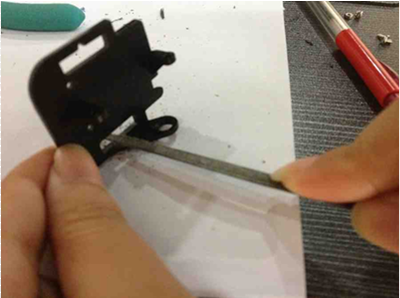
Webcam Assembly (8)
Webcam Assembly (9)

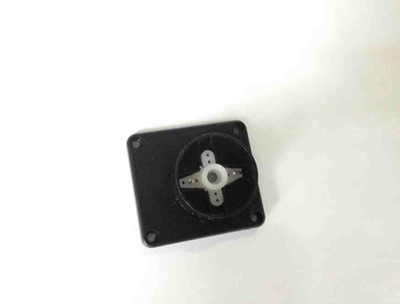
Webcam Assembly (10)
Webcam Assembly (11)

Webcam Assembly (12)
Webcam Assembly (13)
Webcam Assembly (14)

Webcam Assembly (15)
Webcam Assembly (16)
[/vc_column_text][/vc_tab][vc_tab title=”Assembly the Robot ” tab_id=”1395112758006-2-1″][vc_column_text]
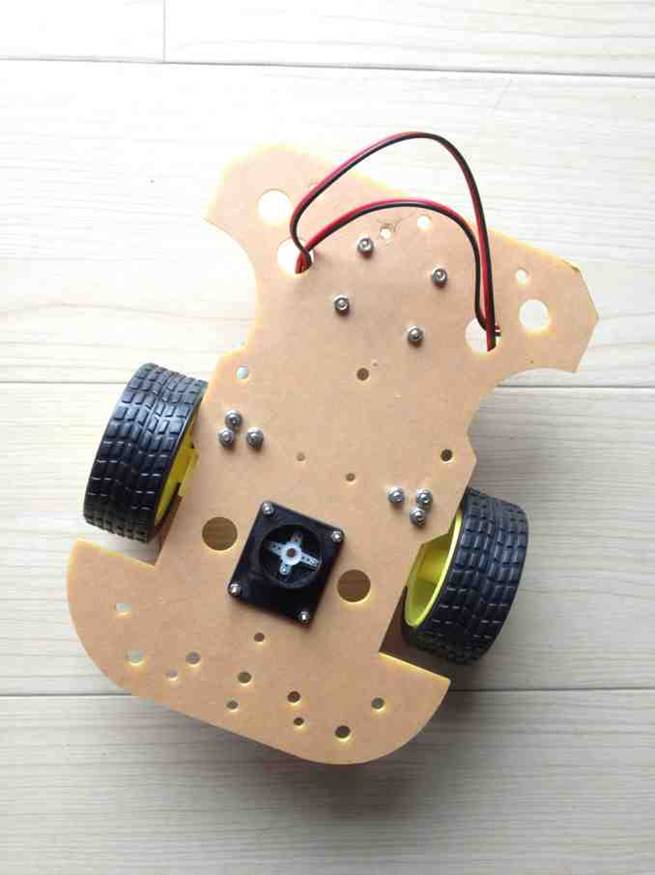
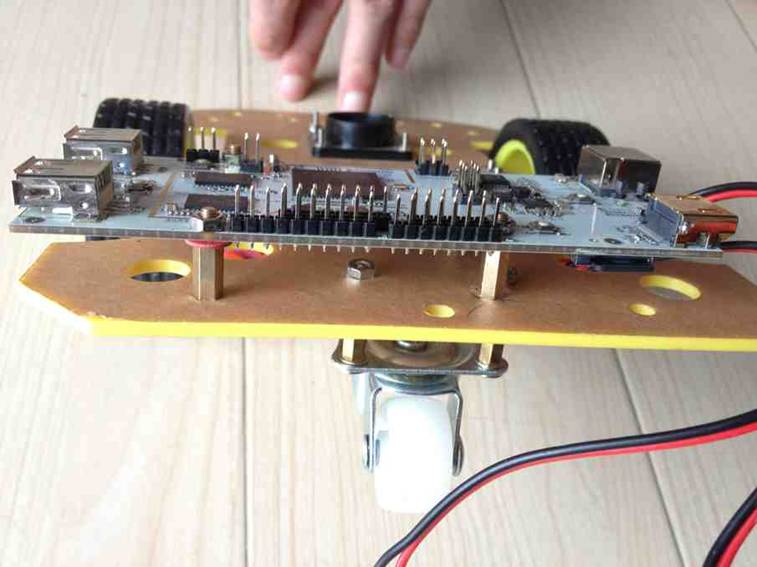
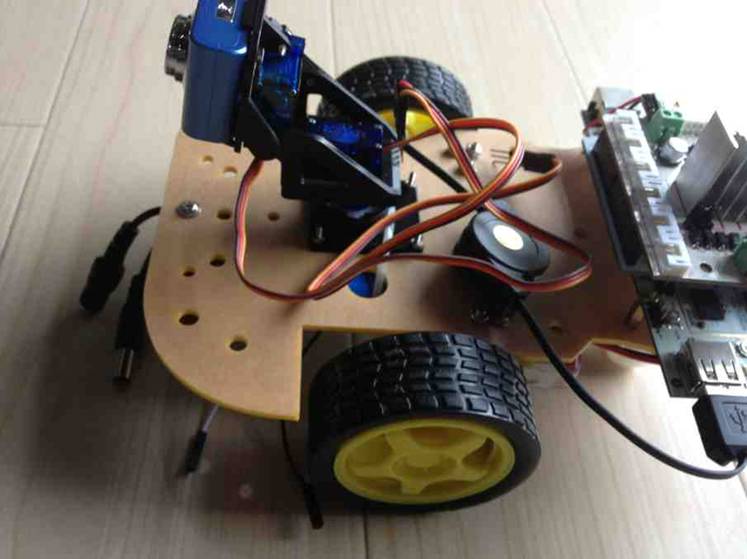
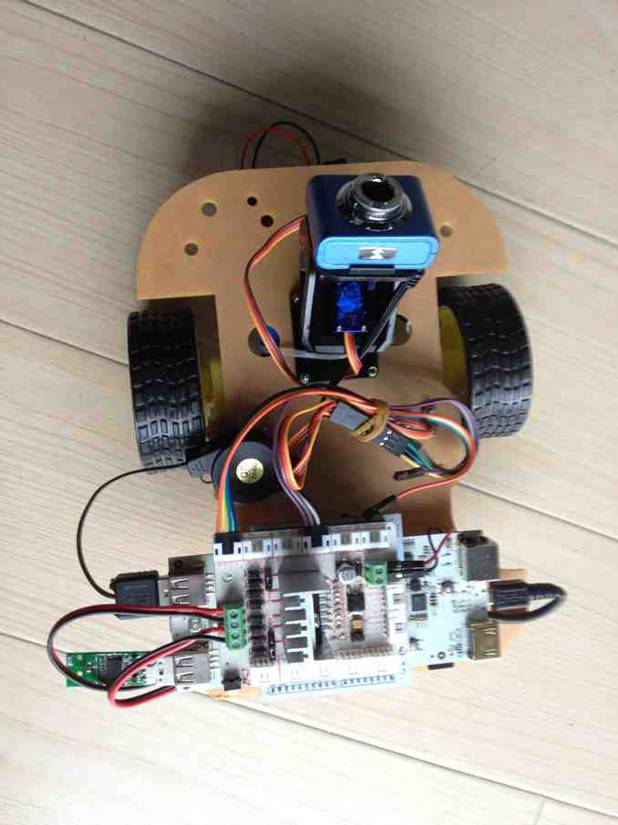
Assembly the Robot (1)
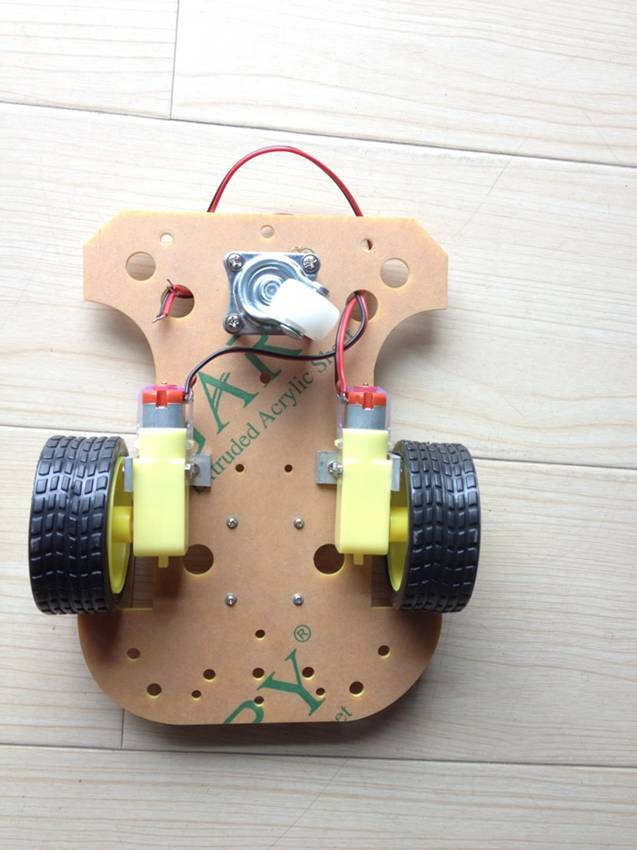
Assembly the Robot (2)
Assembly the Robot (3)
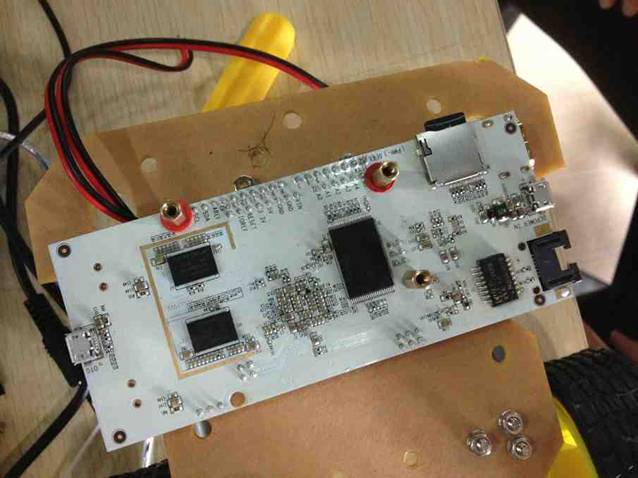
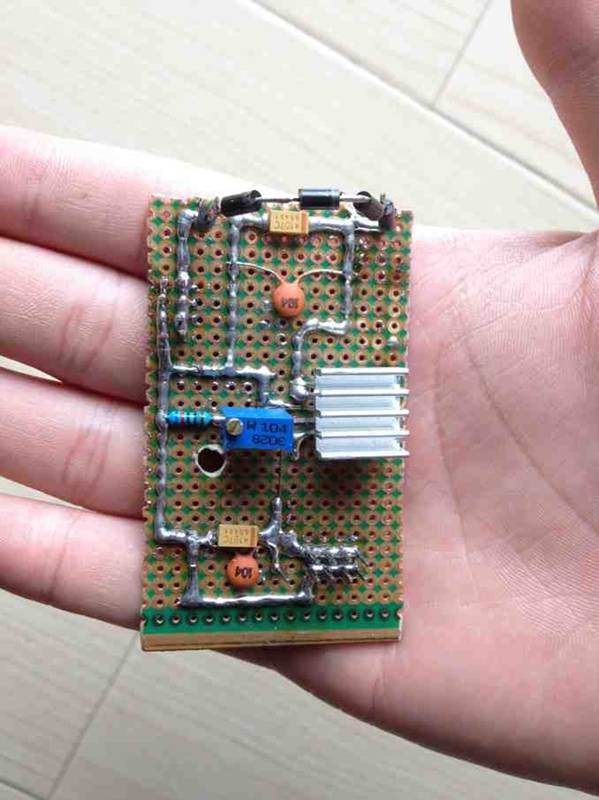
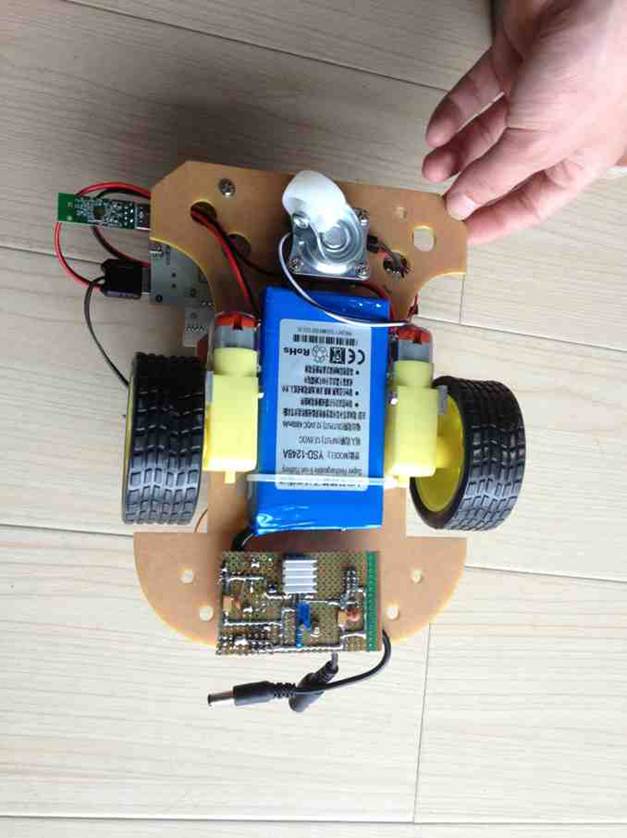
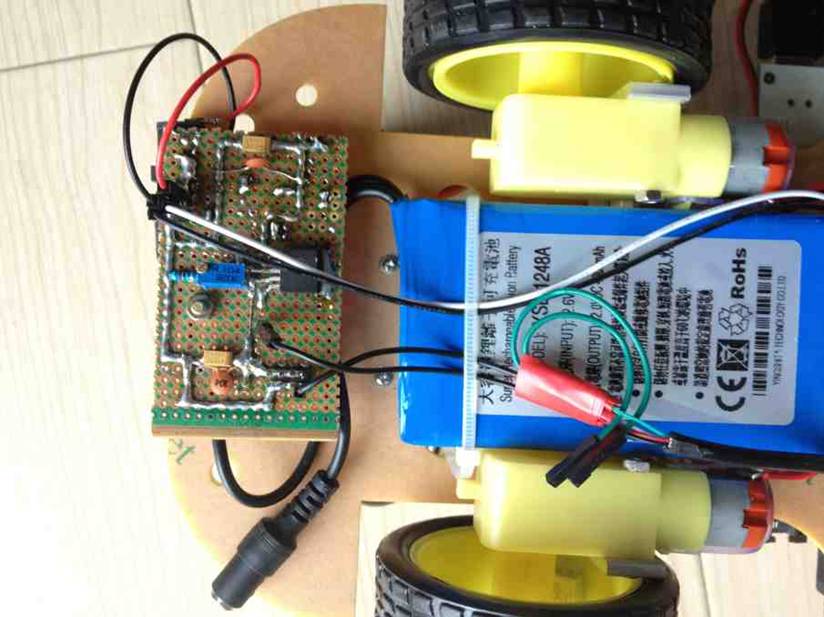
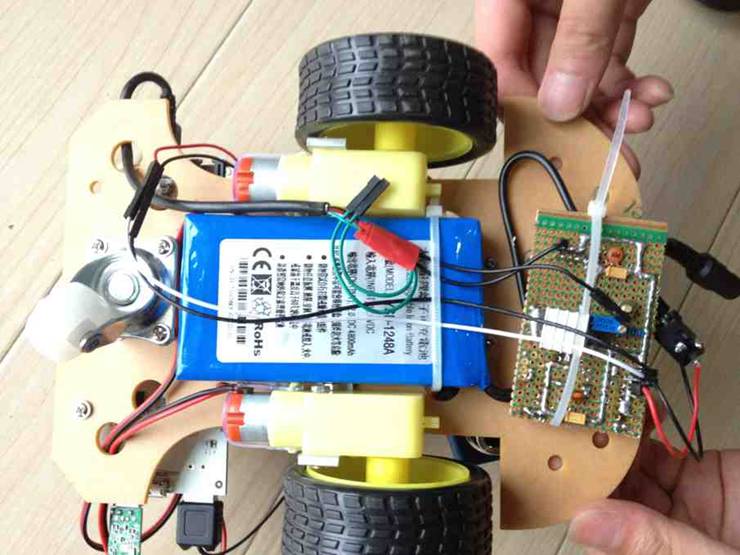
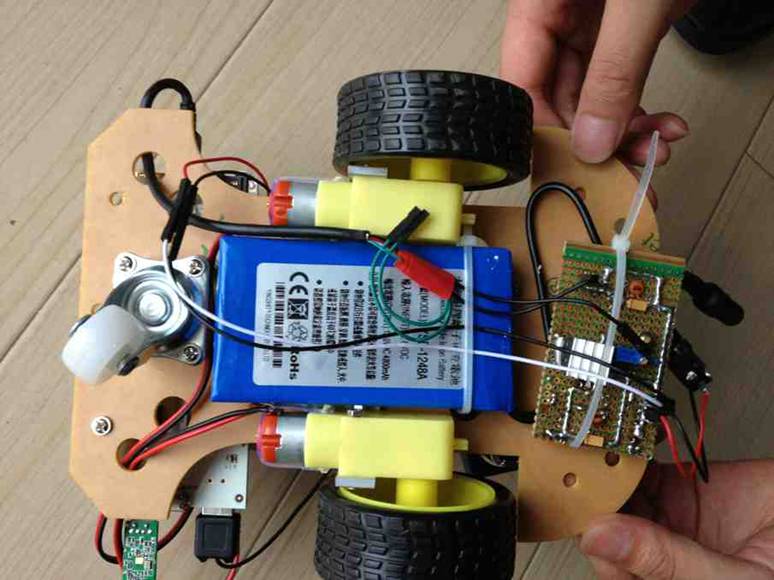
Power Supply Design
nRover needs two different power supplies: one is used to power up pcDuino, which needs 5V/2A. The other is used to power up motor shield. The typical voltage for motor shield is 12V. So we use a 12V/4800mA Li-ion battery. MIC29302 linear regulator is used to bring 12V down to 5V used for pcDuino.
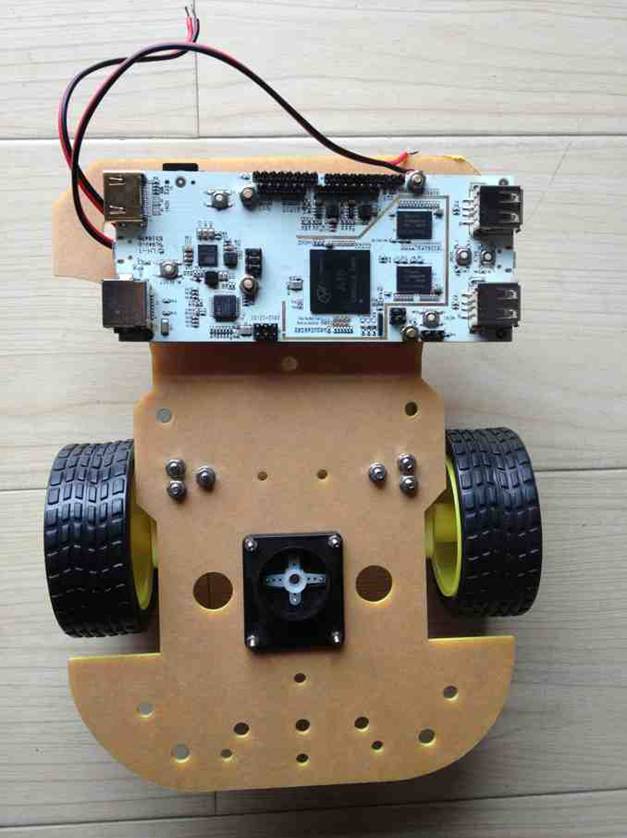
Assembly the Robot (4)

Assembly the Robot (5)
Assembly the Robot (6)
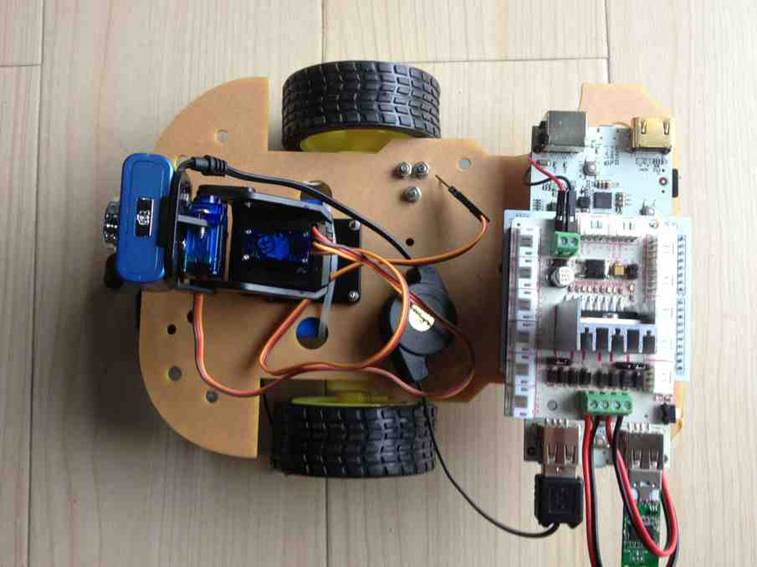
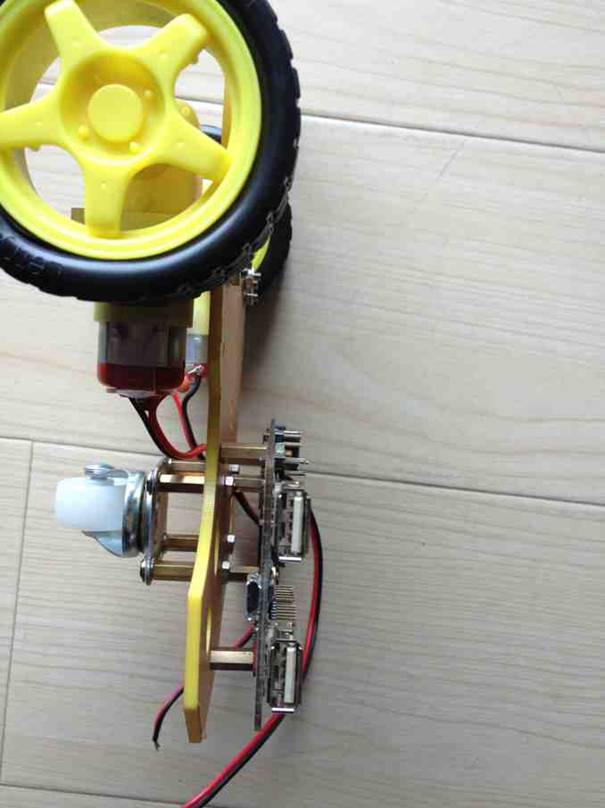
Assembly the Robot (7)
Assembly the Robot (8)

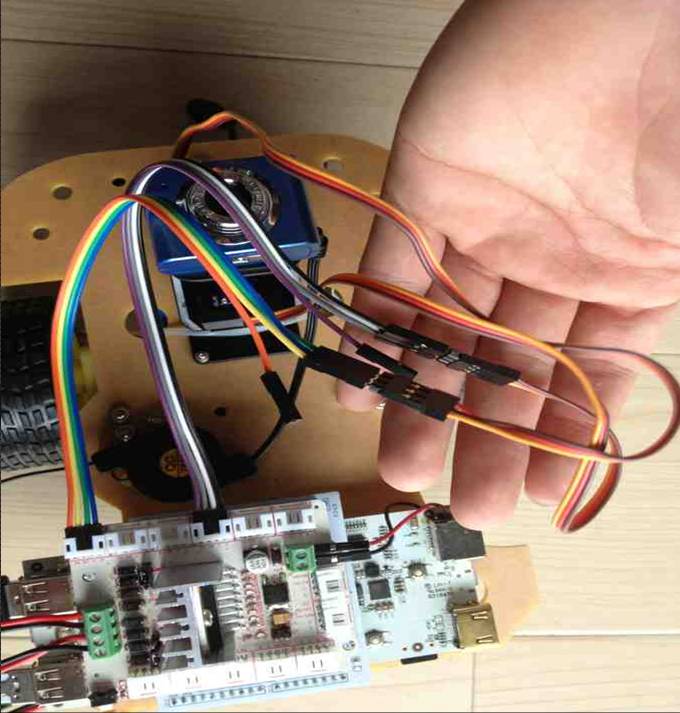
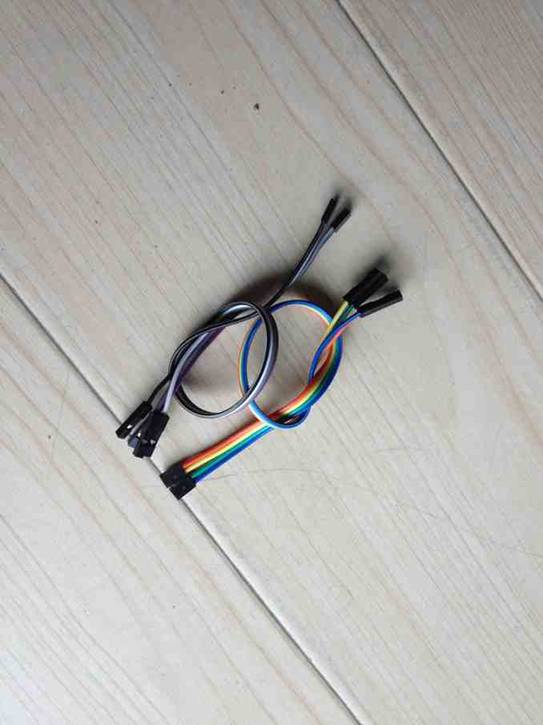
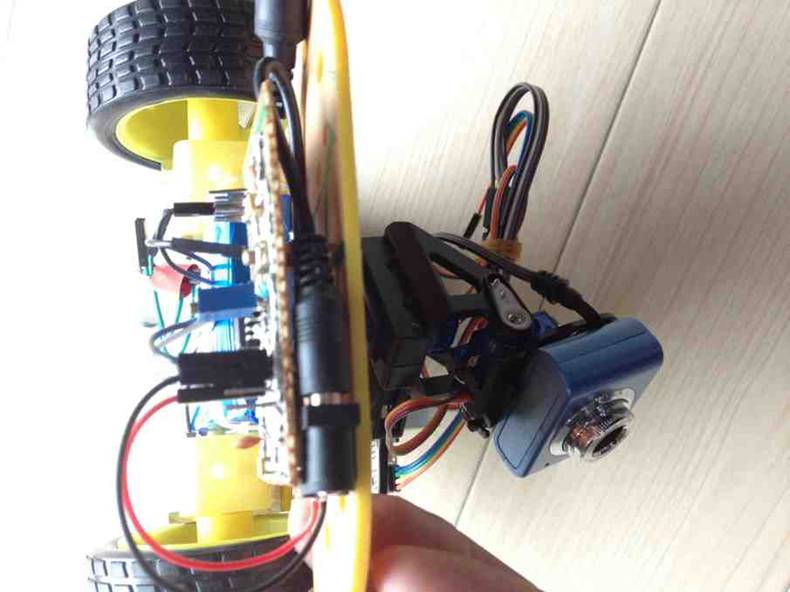
Up/Down Servo: VCC(Red) -> VCC of Motor shield
GND (Brown) -> GND of Motor Shield
Control (Orange) -> D7 of Motor Shield
Assembly the Robot (9)
Left/Right Servo: VCC(Red) -> VCC of Motor shield
GND (Brown) -> GND of Motor Shield
Control (Orange) -> D4 of Motor Shield
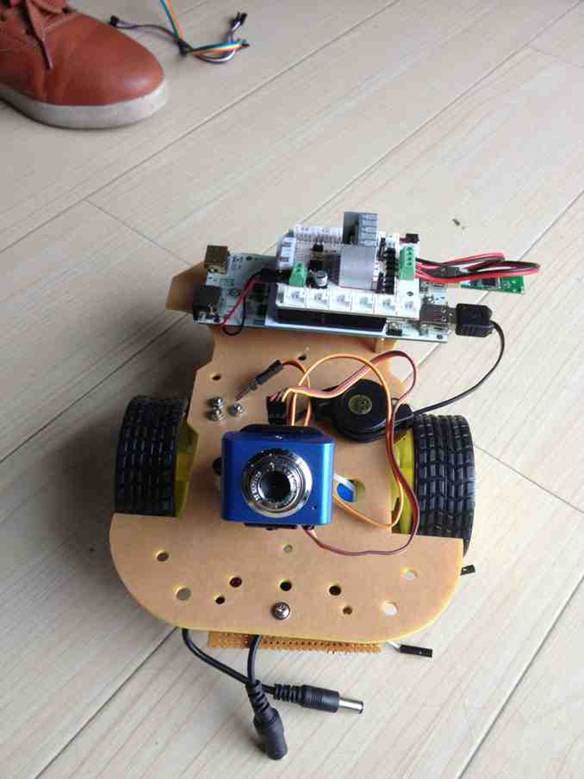
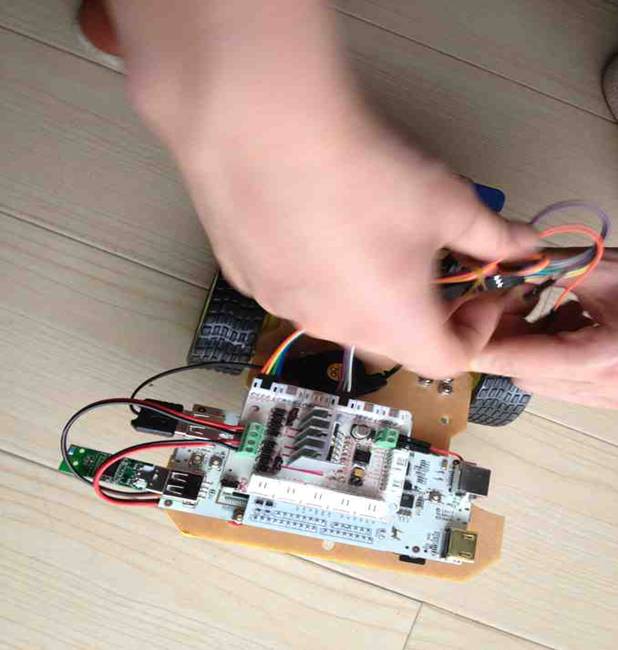
Assembly the Robot (10)
Assembly the Robot (11)
Assembly the Robot (12)
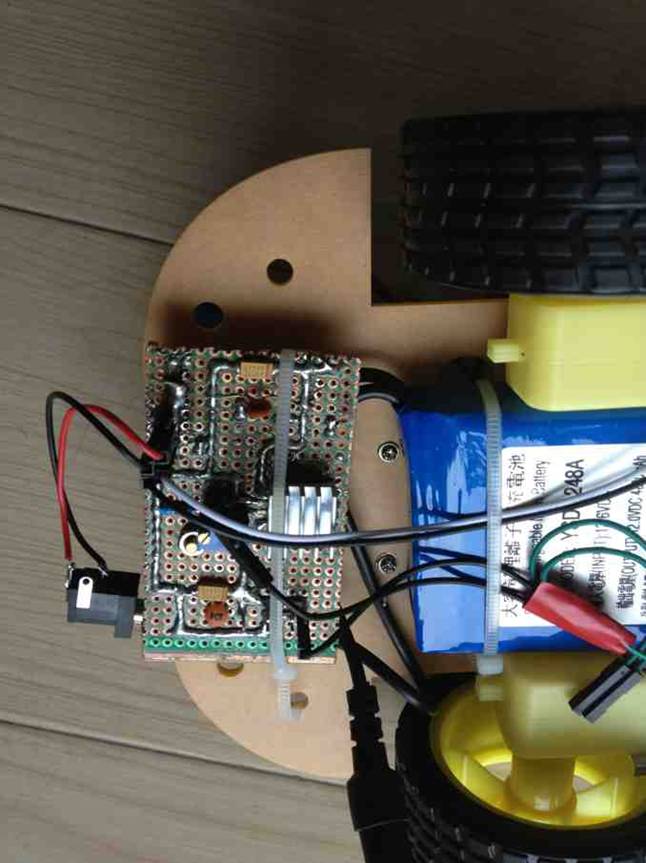
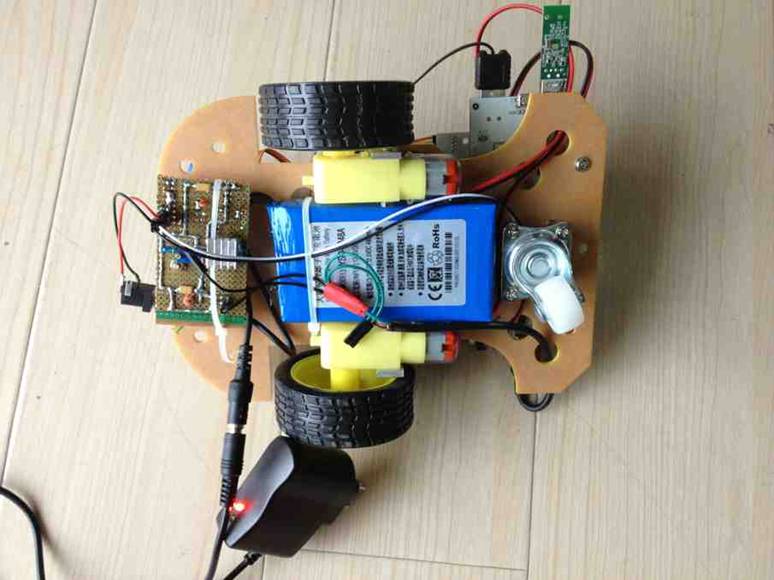
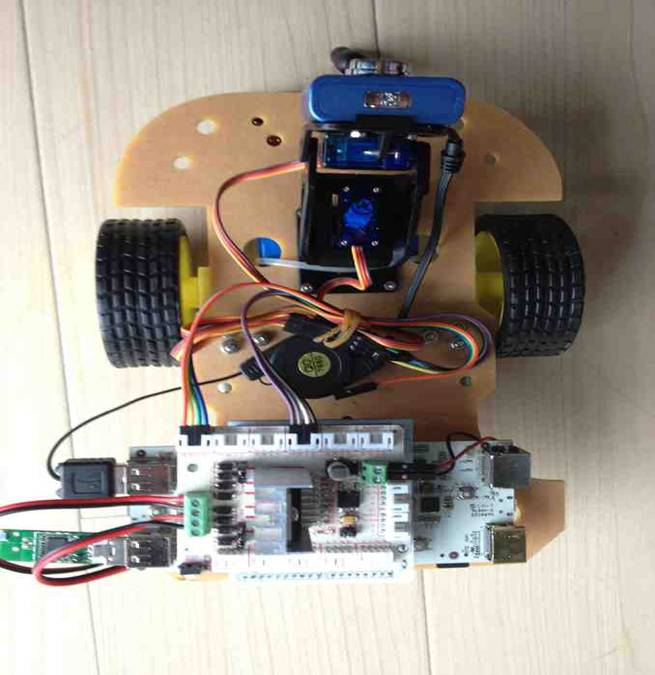
12V of battery is used to supply power to:
1.Motor Shield (VCC/GND)
2.Input port of linear regulator (VIN/GND)
Assembly the Robot (13)
Assembly the Robot (14)
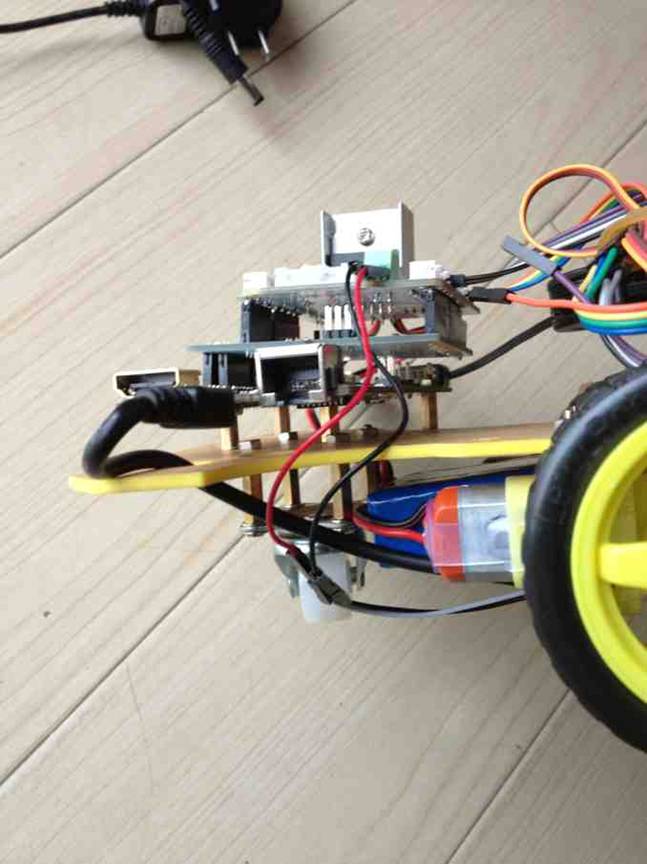
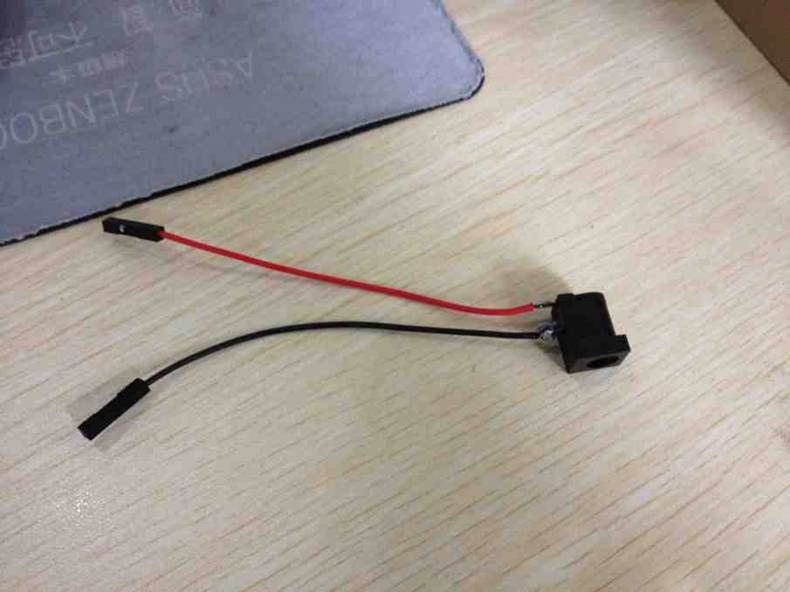
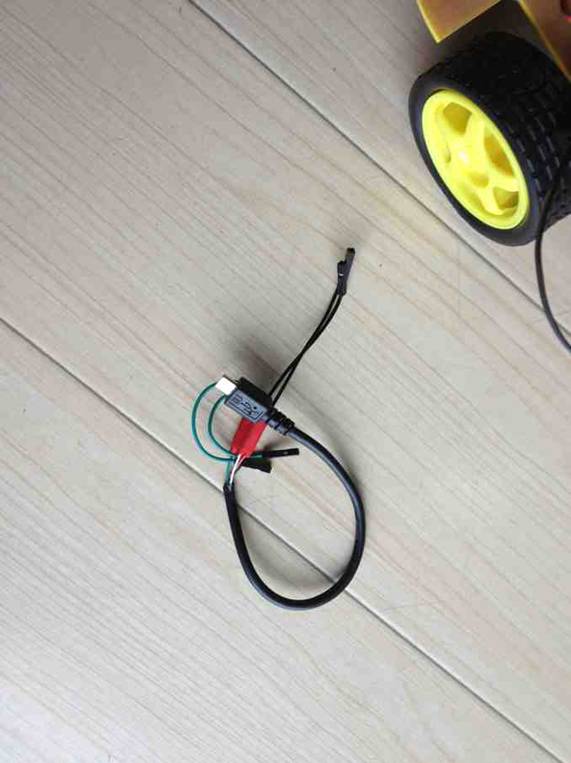
pcDuino power:
DIY USB power cable
VCC (Red) -> OUT
GND (Black) -> GND
[/vc_column_text][/vc_tab][vc_tab title=”Software Part” tab_id=”1395114371723-3-2″][vc_column_text]
Software Part:
pcDuino implements the following components:
1.Control motors through motor shield.
2.A command server that listens to a socket and accepts commands from client.
3.A video server: mjpg_streamer.
Software on pcDuino:
1. Robot control program (car_test.c)
1.Copy car_test.c to c_ environment\sample. Edit makefile under sample, and insert car_test under OBJS=. Save and compile. An executable named car_test is complied under output.
2.Video stream details can be referred to in http://www.pcduino.com/?p=808.
[/vc_column_text][/vc_tab][/vc_tour][/vc_column][/vc_row]
Leave a Reply
You must be logged in to post a comment.