LinkSprite released a family of zigbee sensors for home automation and a zigbee gateway module to control these sensors.
In this tutorial, we show how to use pcDuino8 Uno or 96 boards with the zigbee gateway module to work as a zigbee gateway.
Create a device on linksprite.io:
(1) Login to http://www.linksprite.io/signup to register for an account, and then login to the account:
(2) Create a DIY device:
We can enter whatever names for Device Name, Group Name, please use 00 for the Device type, which means Custom device type:
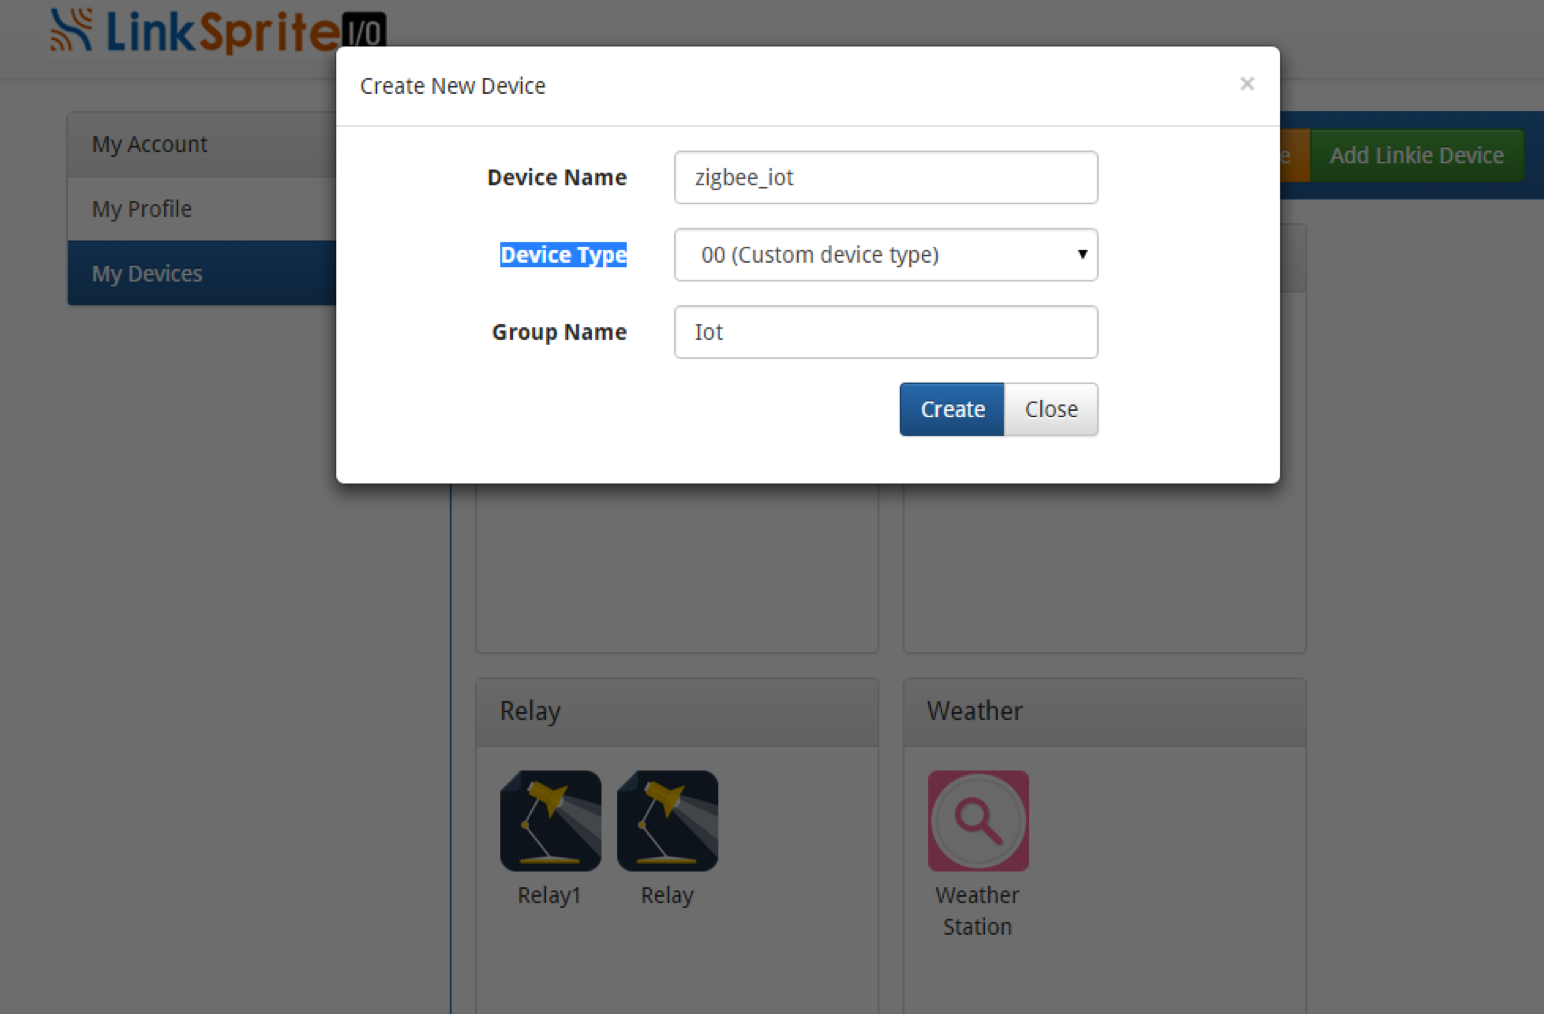
Click ‘Create’ to obtain the API key and device ID.


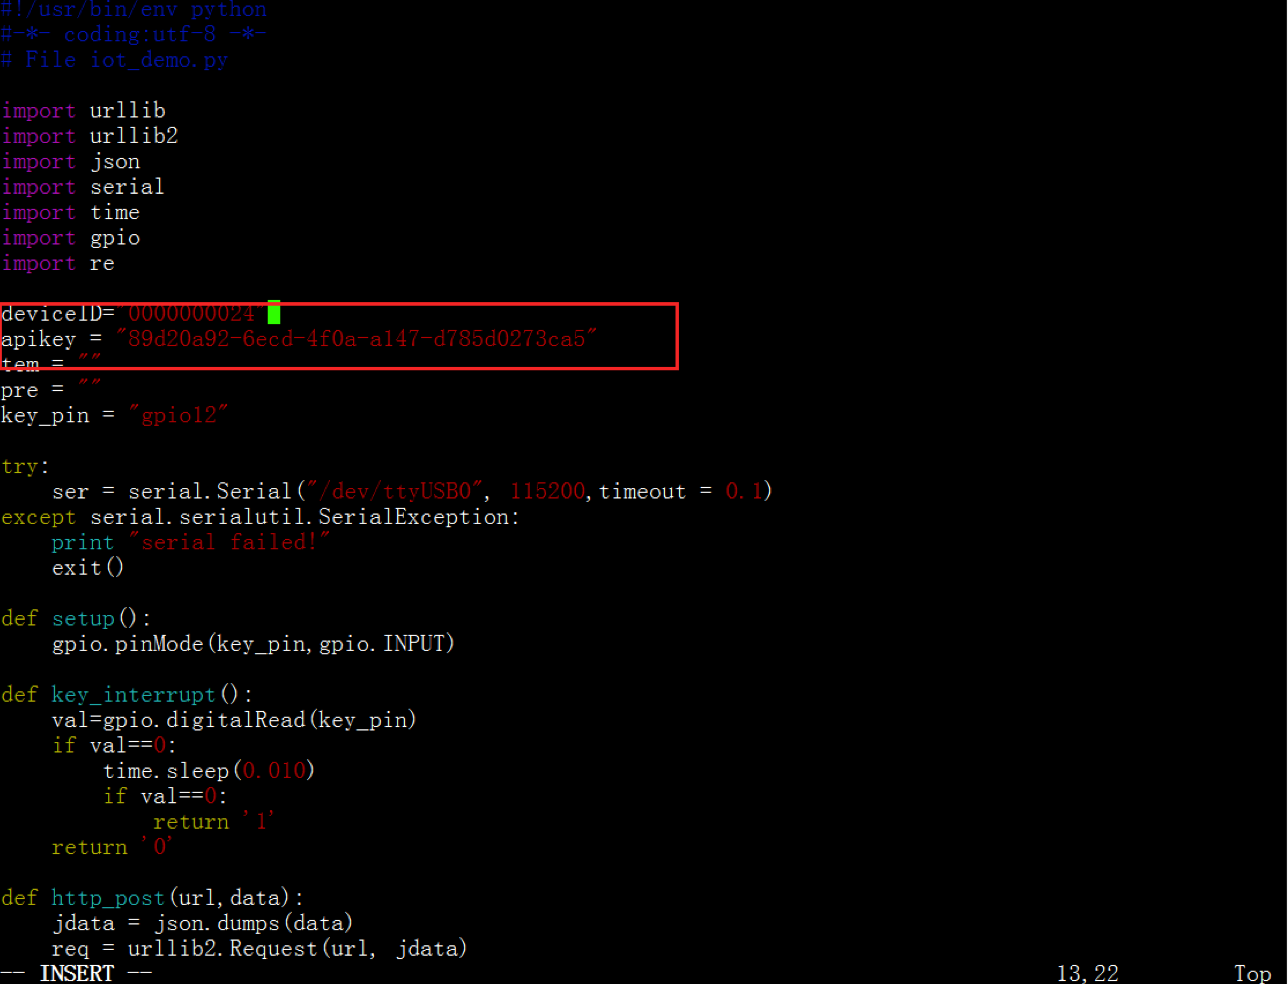
2. Add api key and device ID to zigbee_usb.py. The zigbee.py can be found at our github.
Edit zigbee_usb.py, and modify deviceID and apikey:
3. Launch the test program
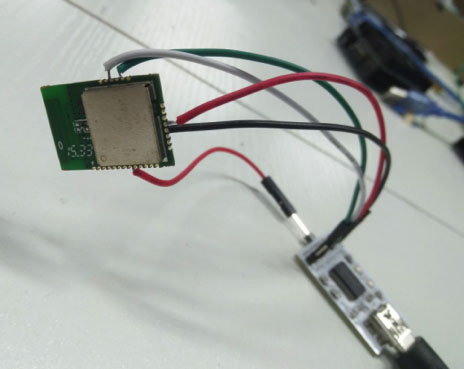
Connect the zigbee gateway with USB to TTL to pcDuino8 Uno, and copy zigbee_usb.py and pyserial-2.7 to pcDuino8 Uno, and install pyserial:
Open pyserial-2.7, run:
-> python setup install
Wait for its finish, and run zigbee_usb.py
-> python zigbee_usb.py
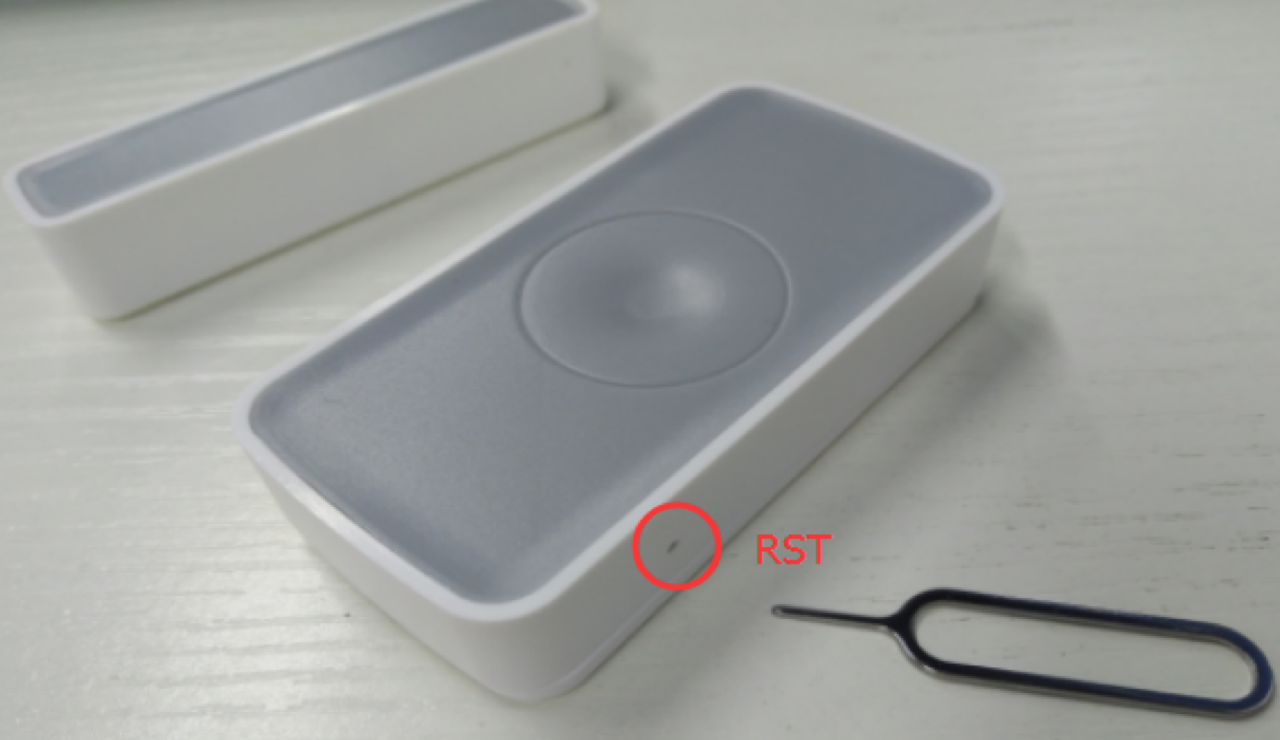
Before the zigbee sensor device can be connected to the zigbee gateway, we need to press and hold the reset button for 2 seconds, and wait for the green LED to fast blink:
Add the zigbee sensor devices repeatedly, if the green LED stops blinking after reset, that mean the sensor has been added to the gateway successfully, and the program will return 0x02 8A 00. If now the sensor has been triggered, the program will return the current MAC address:
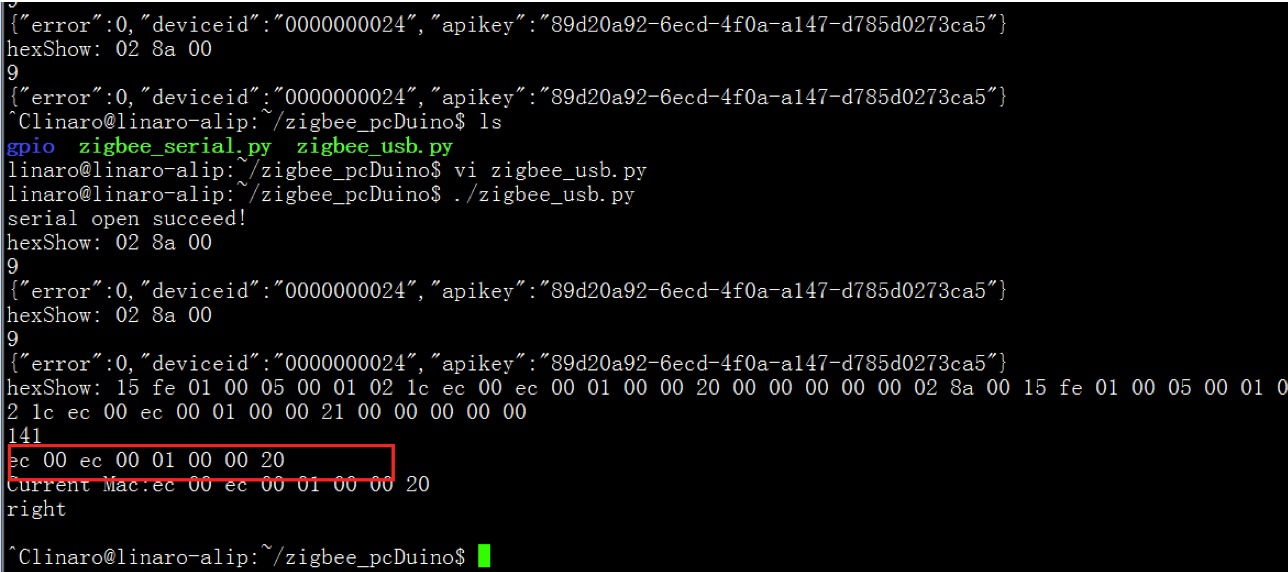
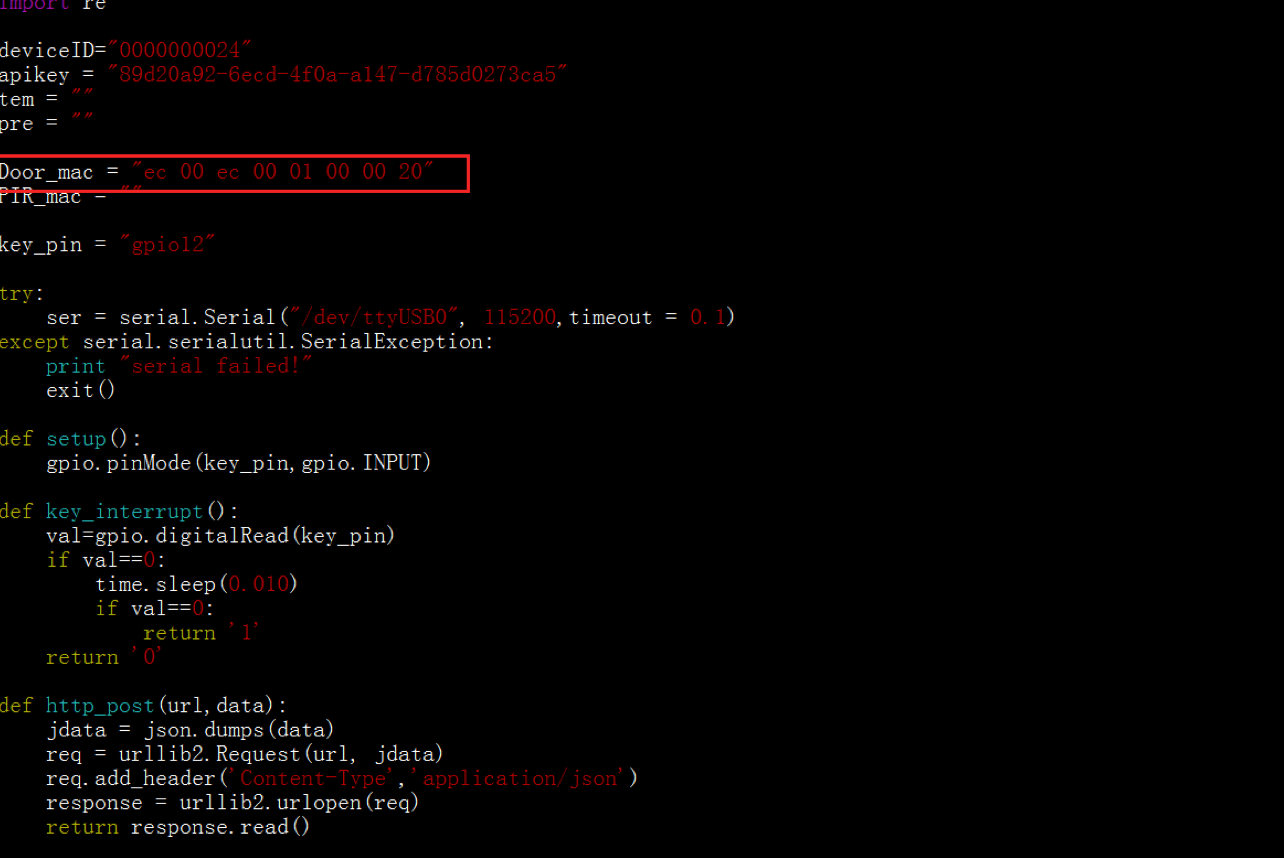
The above shows that the current alarm device is door sensor, and the MAC address is the MAC address of the door sensor. Put the MAC address into the program as below:
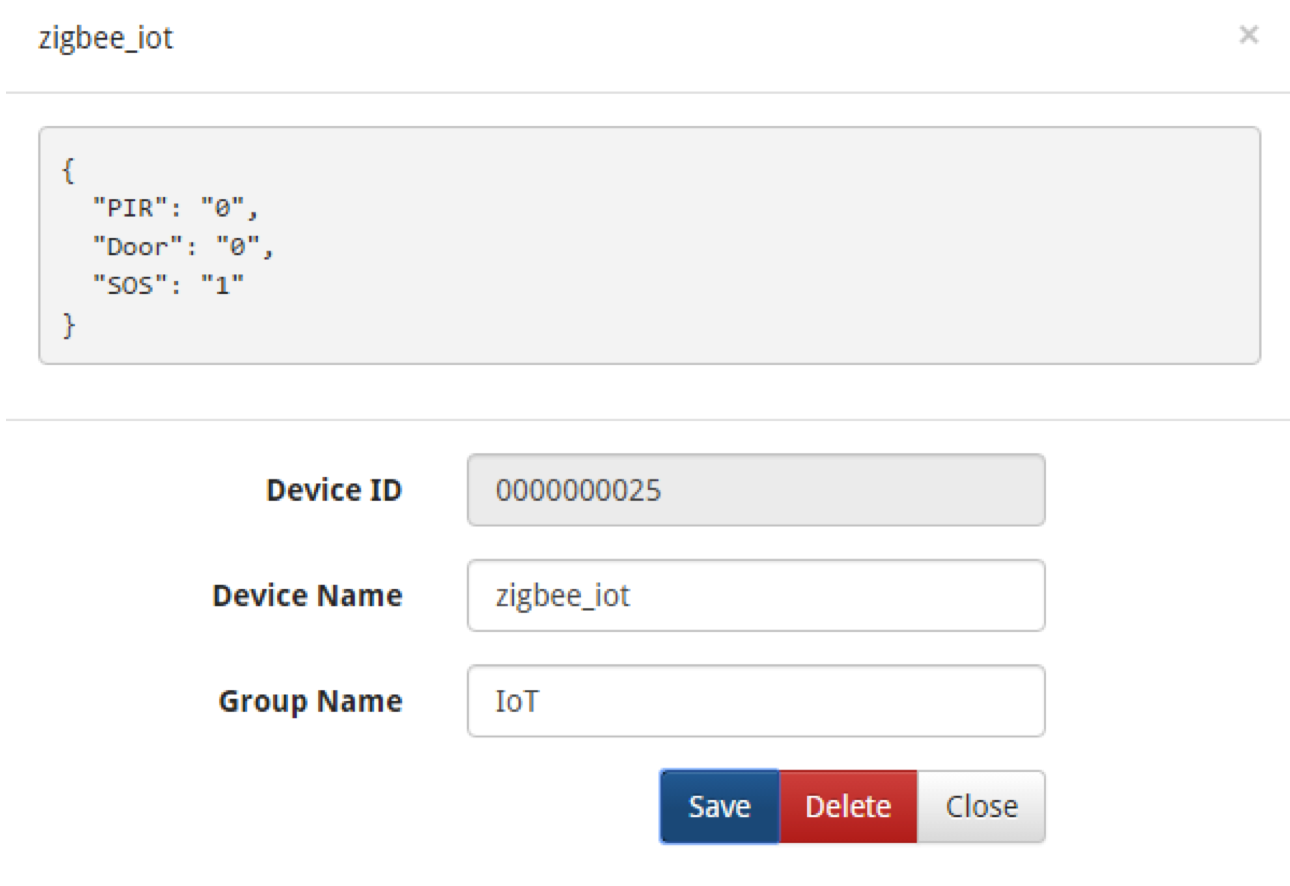
Add more device following the above procedure, and in this case,we only have two devices. Now we can go to www.linksprite.io to check the status:
Leave a Reply
You must be logged in to post a comment.