In a previous post, we described how to build the minecraft server for pcDuino3/Acadia. In this post, we will install and run the minecraft server on pcDuino3. The process is the same for Acadia, except that Acadia is much faster.

You can build the minecraft server following the instructions here. If you choose not to build, you can download the server that is here.
We followed the instructions found at this location.
First we need to check if java is on pcDuino3 by typing:
$java -version
The built-in version of java on pcDuino3 is 1.6. If that’s still the case then we need to install Java 7 or Java 8. We will choose to install Java 8 by following this post.
The key step is to download JDK 8 by running:
$sudo wget http://download.java.net/jdk8/archive/b99/binaries/jdk-8-ea-b99-linux-arm-vfp-hflt-17_jul_2013.tar.gz?q=download/jdk8/archive/b99/binaries/jdk-8-ea-b99-linux-arm-vfp-hflt-17_jul_2013.tar.gz
After download, please unzip the files to directory “/opt”. You can also put it under “/usr/lib”. Just remember to to set environment path:
$sudo tar zxvf /media/NANCY/jdk-8-ea-b99-linux-arm-vfp-hflt-17_jul_2013.tar.gz -C /opt
$/opt/jdk1.8.0/bin/java -version
$/opt/jdk1.8.0/bin/java -Xms512M -Xmx521M -jar spigot.jar
For the run, the Minecraft server will create many files and exit. We need to edit a file named eula.txt, and change the the false to true and save. Then we need to run the server for a second time:
$/opt/jdk1.8.0/bin/java -Xms512M -Xmx521M -jar spigot.jar
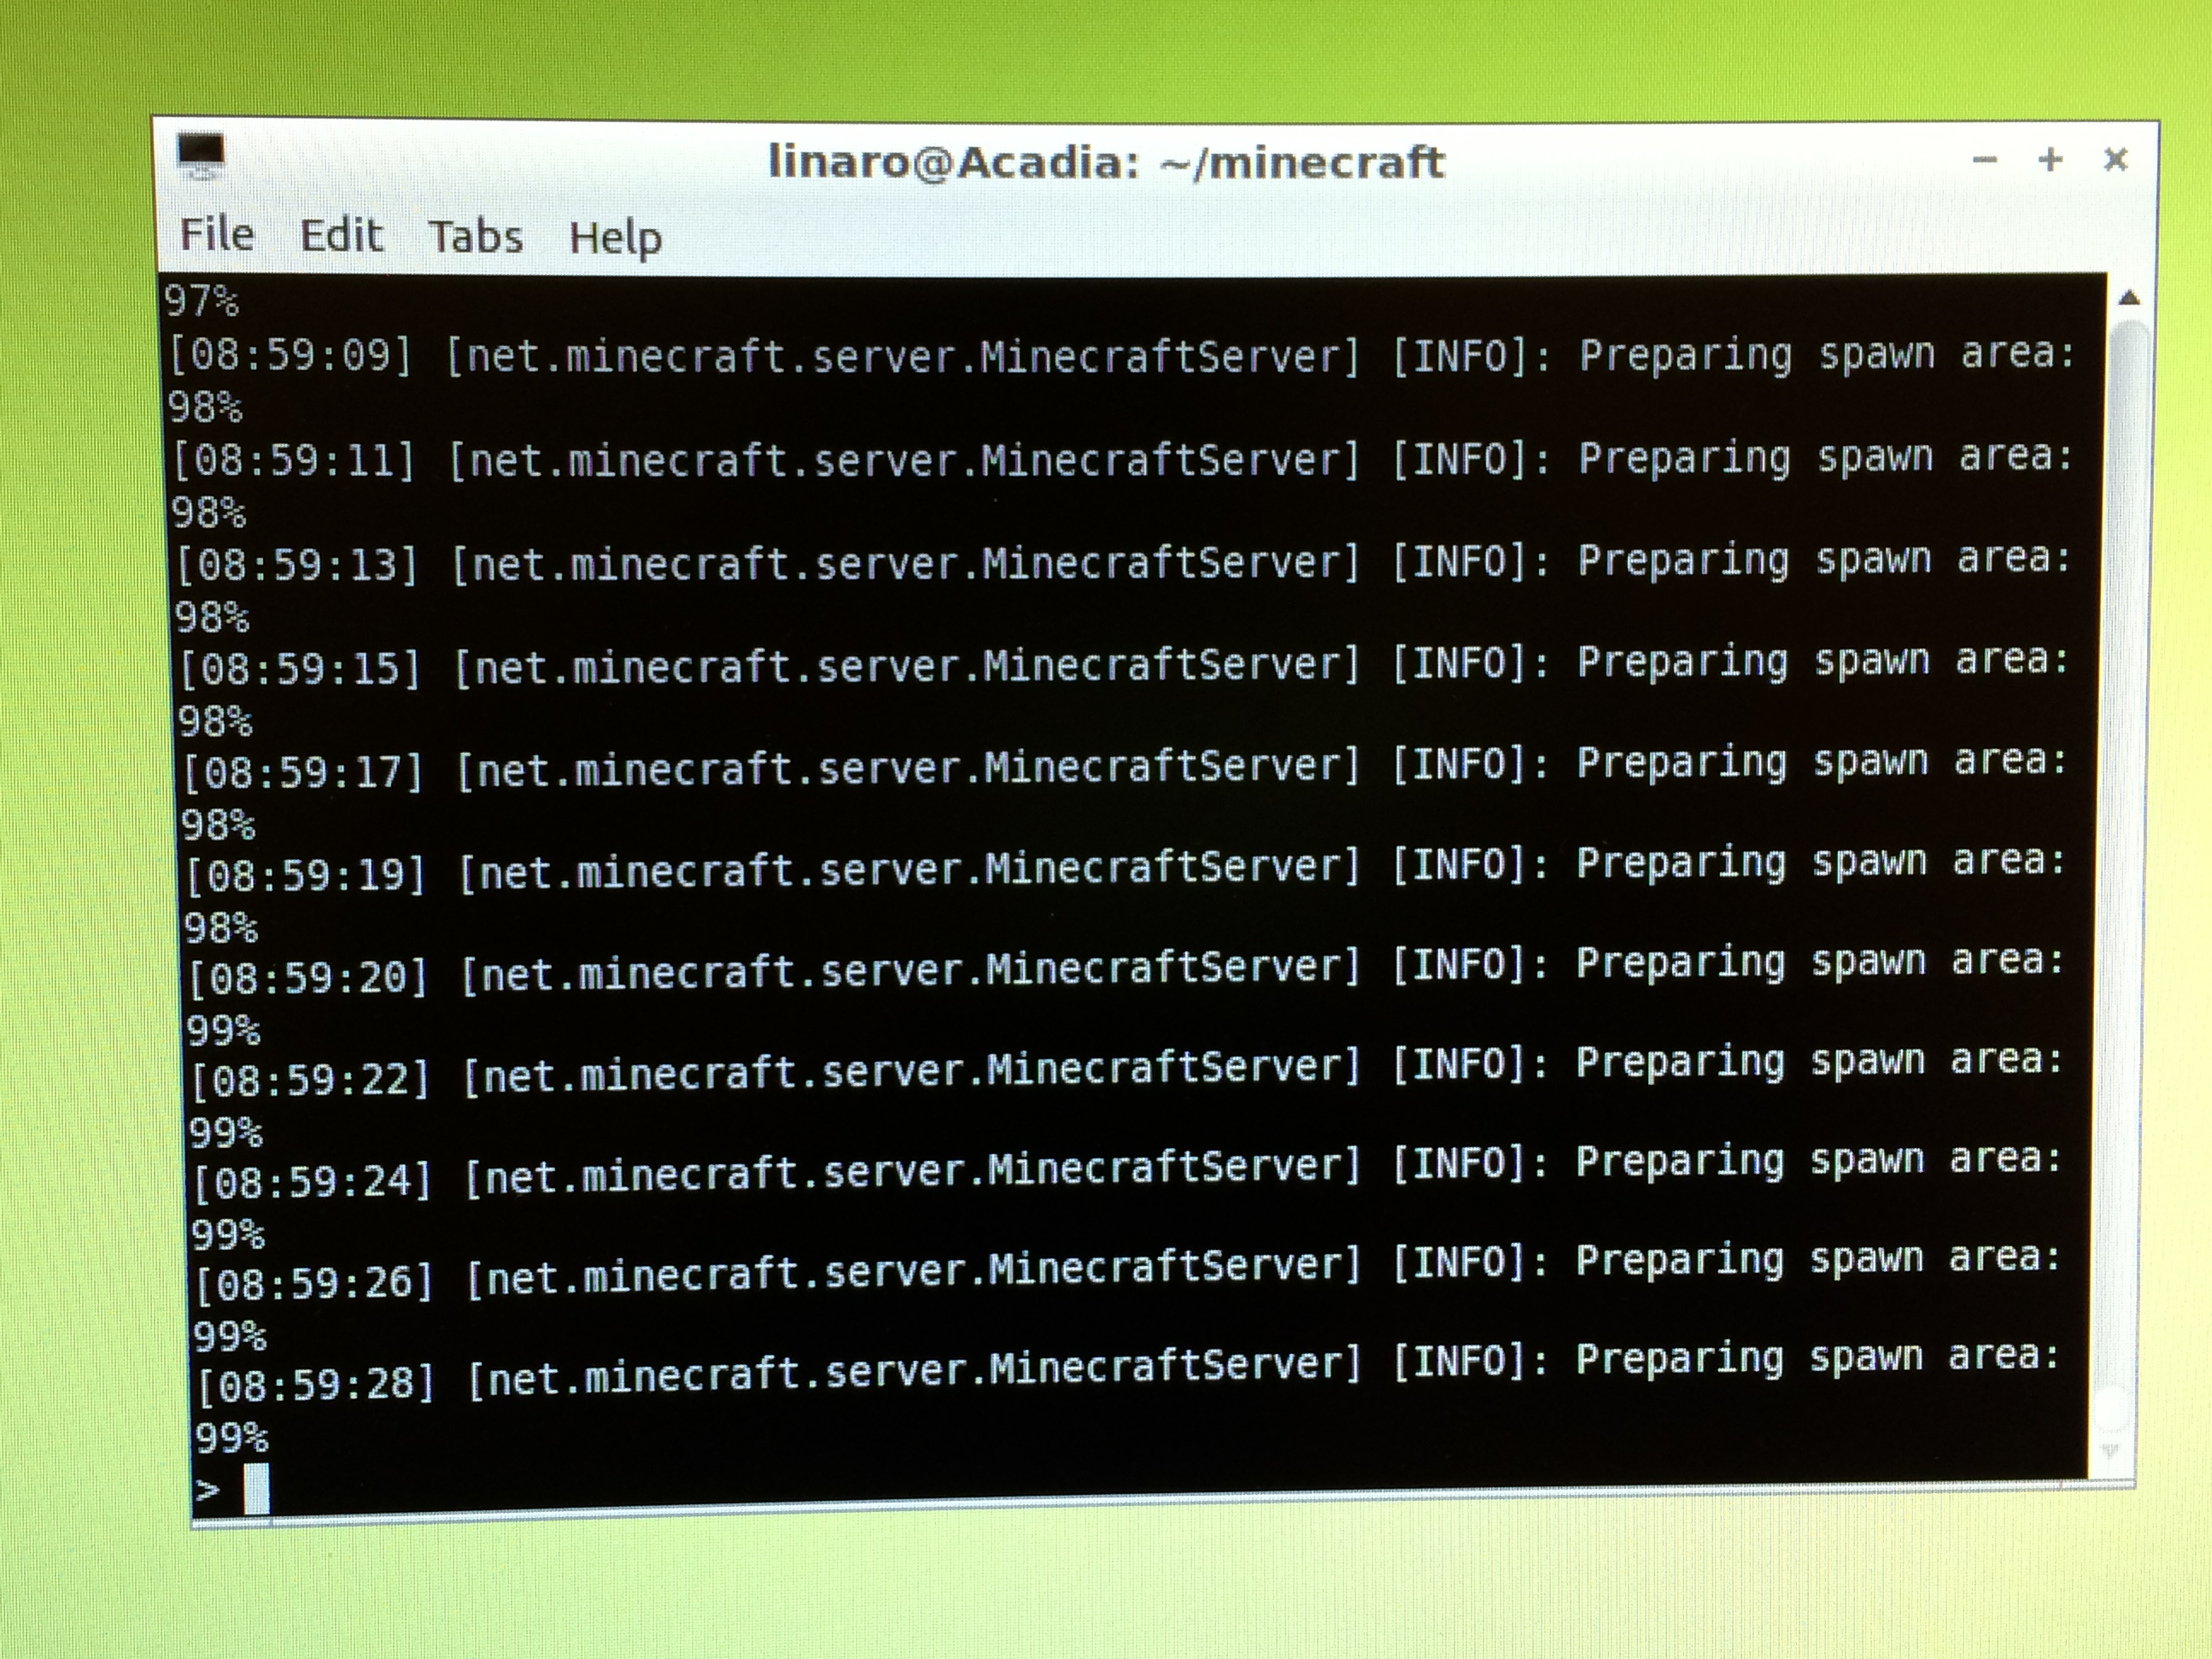
It may take some time for the server to prepare the spawn area:
After the spawn area has been prepared, we need a minecraft client from a guest device, for example, PC to login to the pcDuino minecraft server.
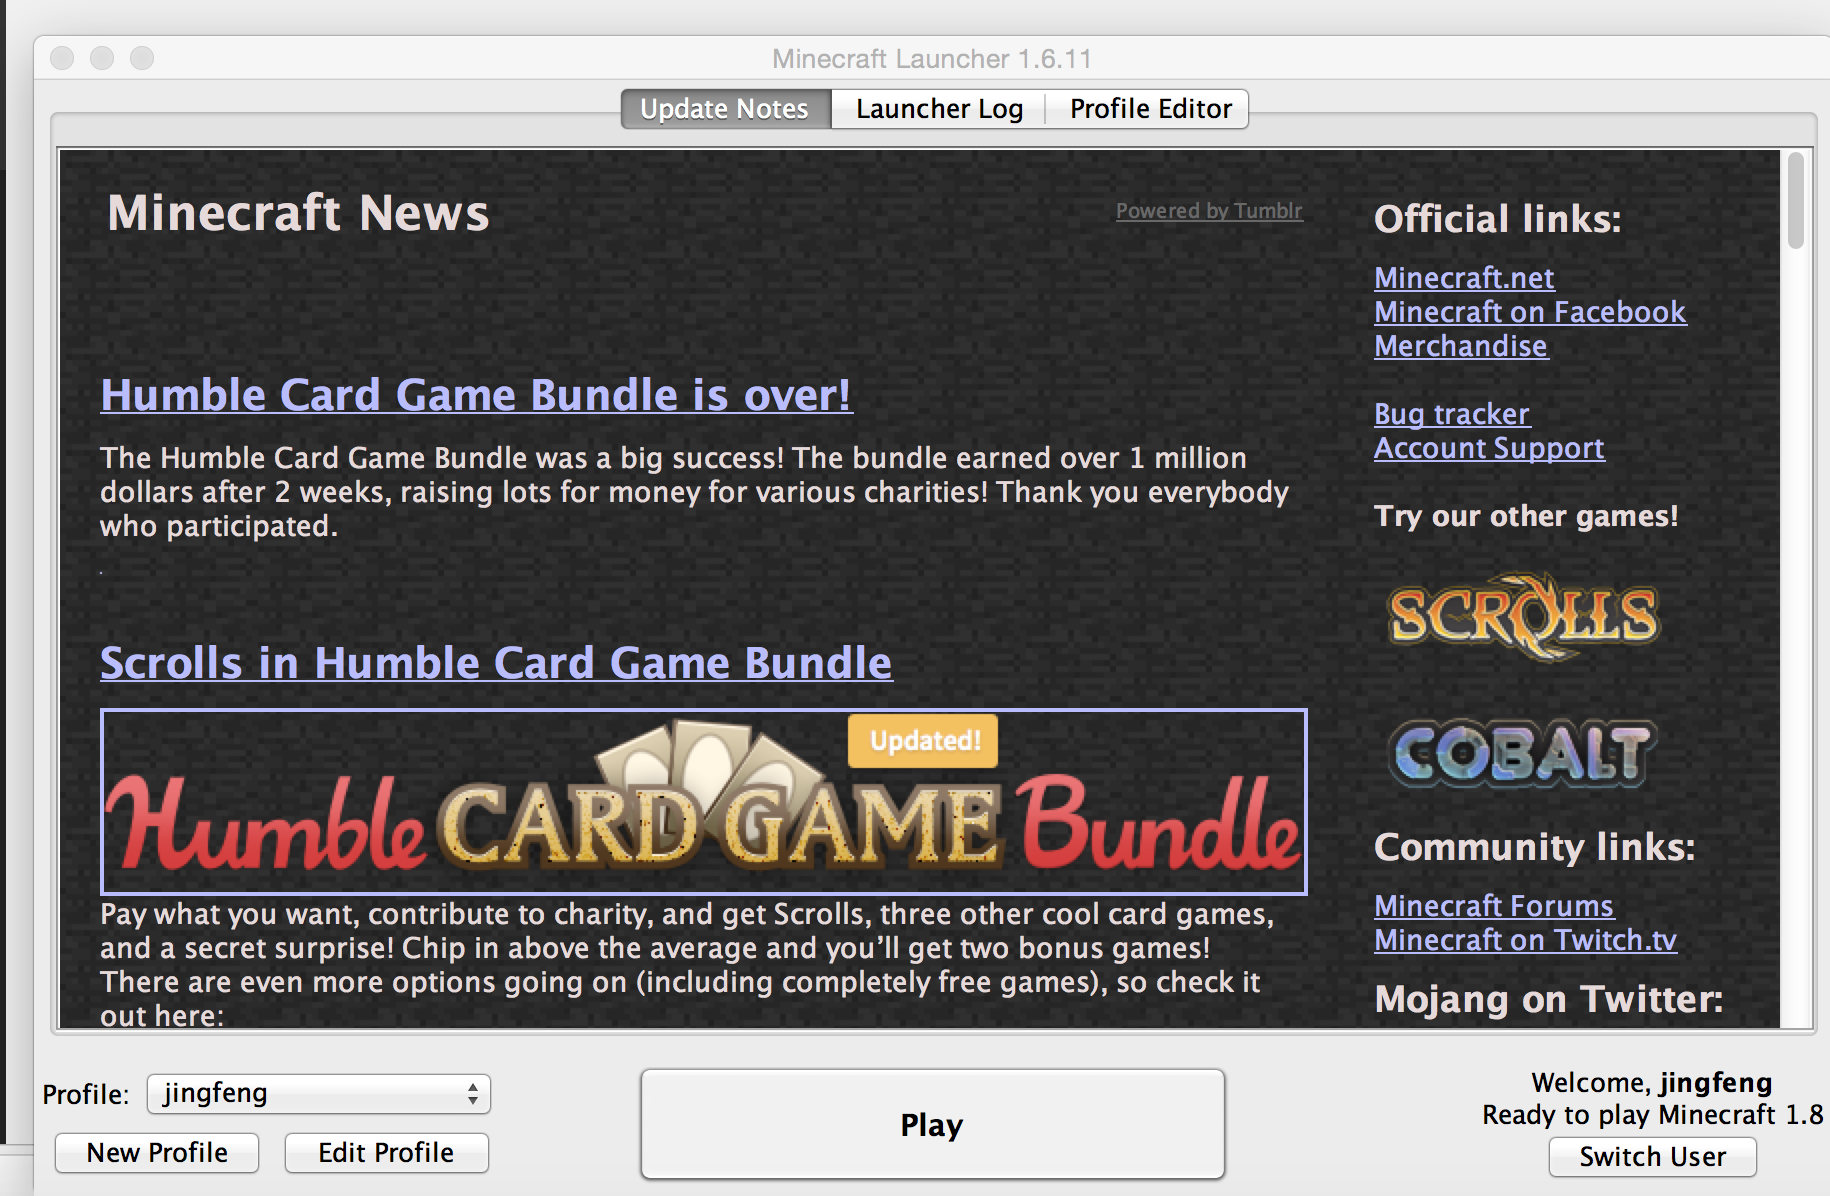
A minecraft client for mac can be downloaded from minecraft.net. We also need a minecraft account. As the minecraft server we built is version 1.8, we need to configure the client profile to be 1.8 so it is consistent with the server:

Click the ‘play’ button:
The client launcher will bring up a separate windows:
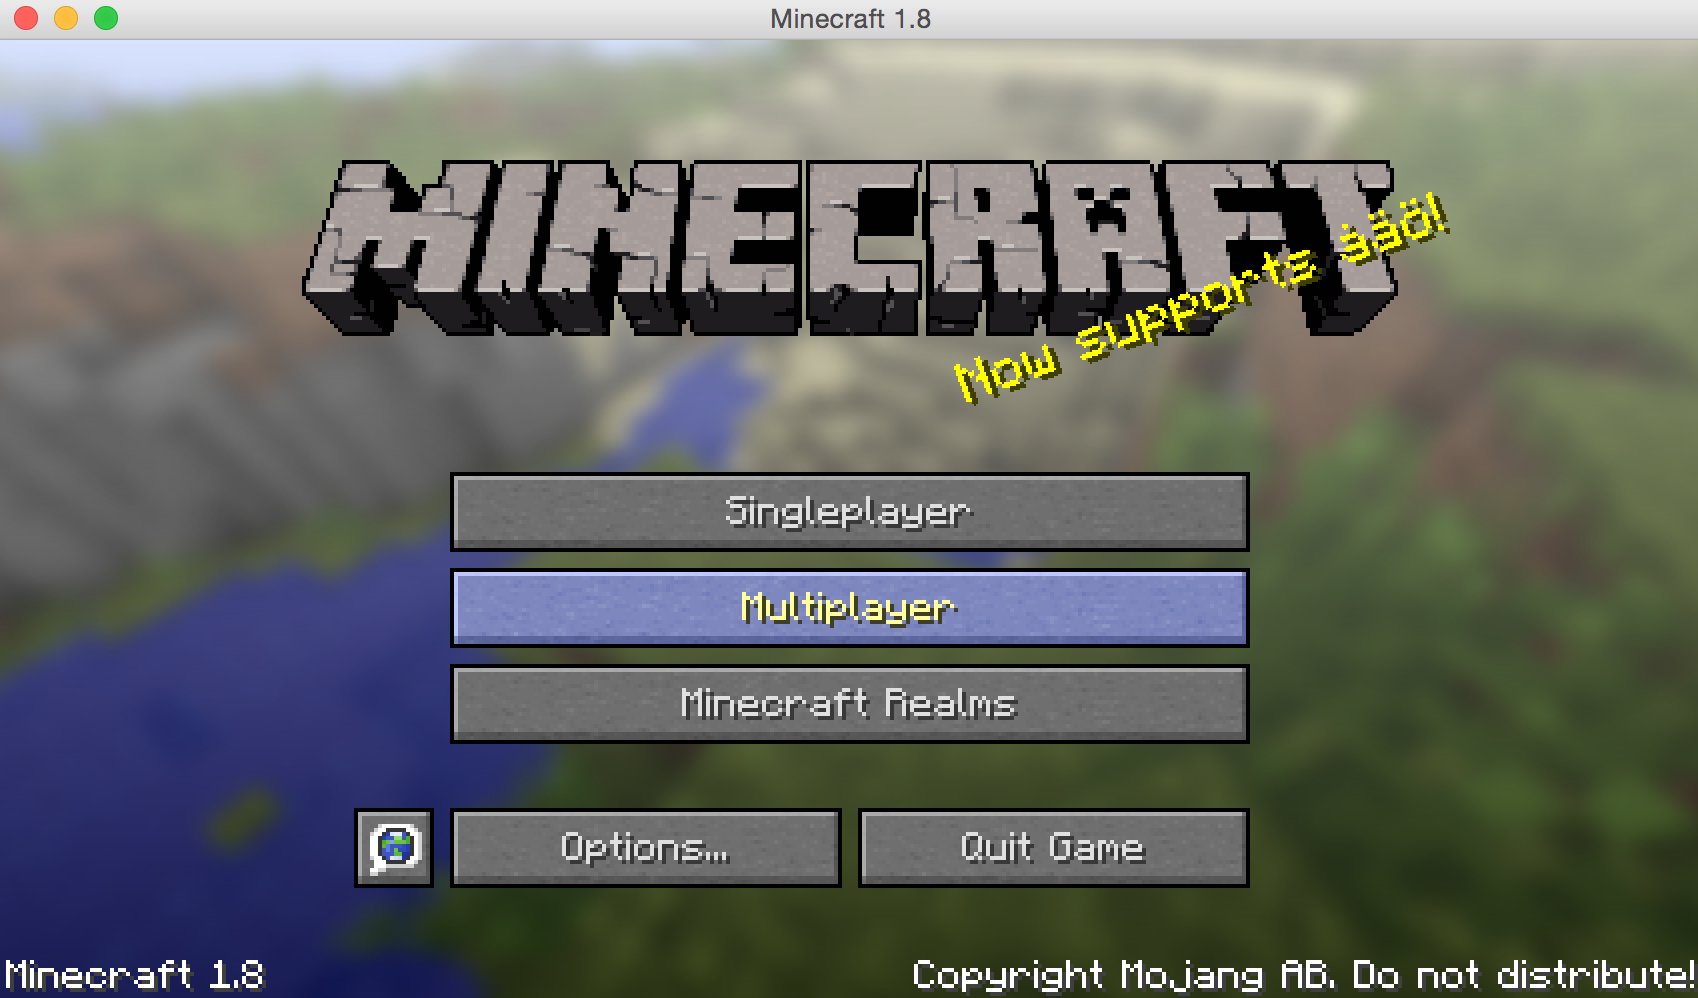
Click ‘Multiplayer’:
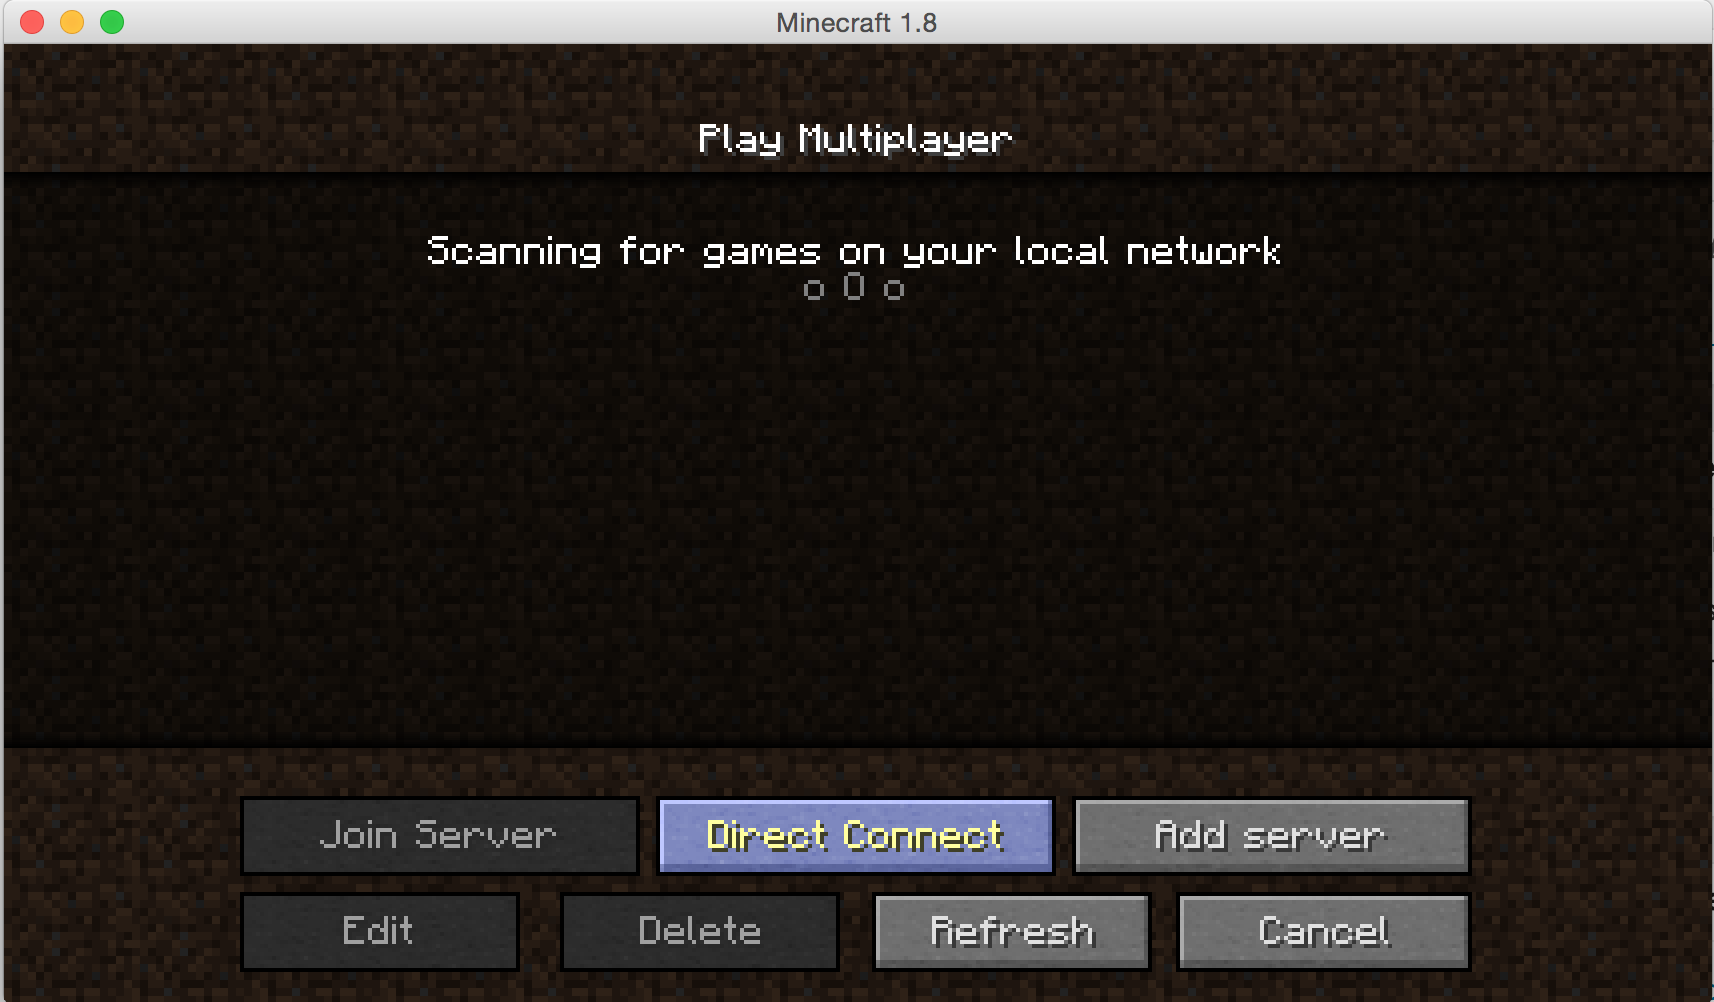
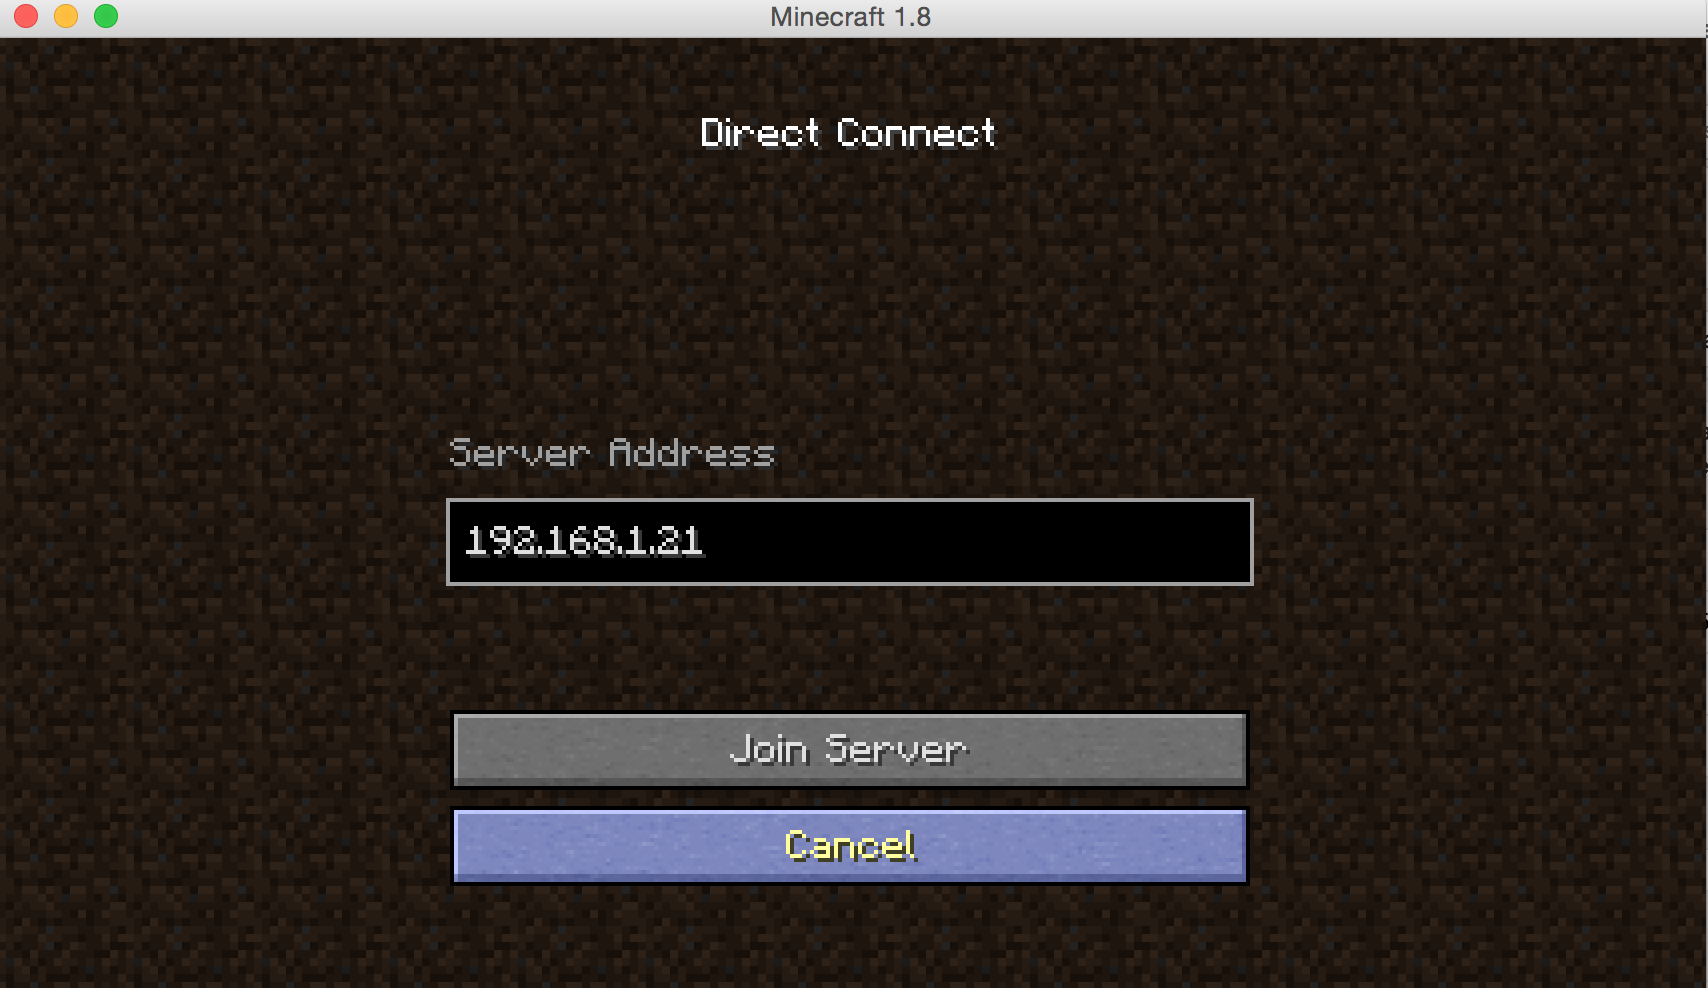
Then we click ‘Direct connect’ and enter the IP address of pcDuino (which can be found by typing ‘$ifconfig’ on pcDuino to find out):
Now we can enjoy the minecraft world!!!
Leave a Reply
You must be logged in to post a comment.