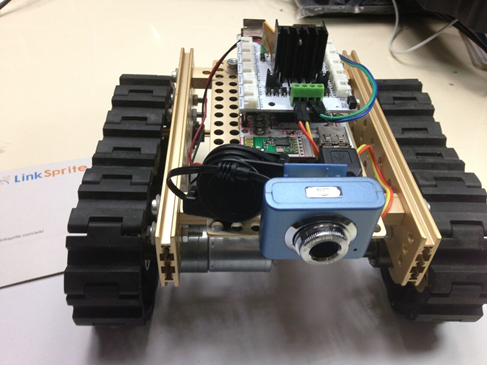
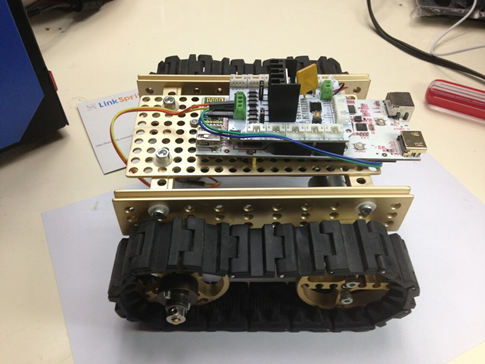
[vc_row][vc_column][vc_column_text]In this post, we will show how to assemble a video tank platform using the linker block.
 [/vc_column_text][vc_tour][vc_tab title=”Parts List” tab_id=”1404245746-2-26″][vc_column_text]1 x Linker Block 9×18 Lego Holes Sheet -Aluminium
4 x Linker Block Gear Wheel with a Diameter of 5.6cm
2 x Linker Block Motor Fixture Plate -Aluminium
2 x Linker Block Passive Cross Shaft -Aluminium
2 x Linker Block Side Beam with 6 Holes
2 x Linker Block Tire a Diameter of 5.6cm
16 x Linker Block Track Connector
16x Linker Block Track Section
2 x Linker Block 10 Lego Holes Long Grooved Beam -Aluminium
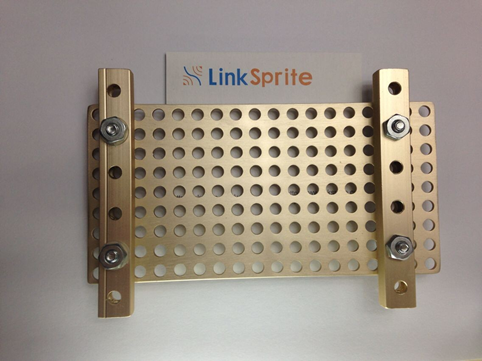
[/vc_column_text][/vc_tab][vc_tab title=”Assemble the frame” tab_id=”1404245746-1-90″][vc_column_text]1. Take a piece of 9×18 Lego Holes Sheet and two side beams with 6 holes and put them together with the M4 bolts and nuts.
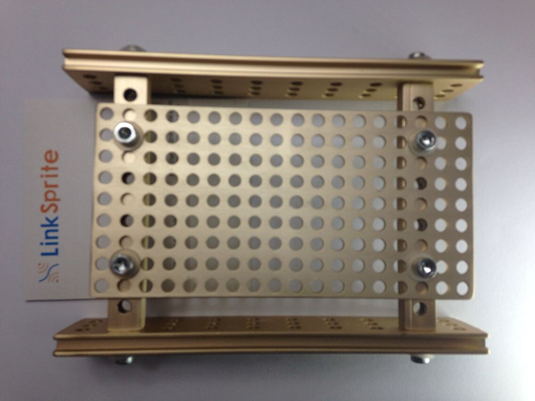
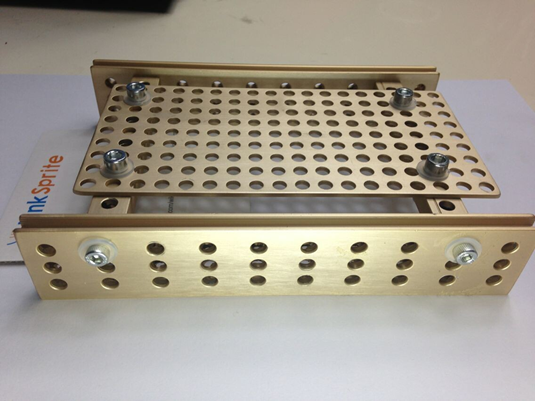
2. Install two grooved beam with 10 holes
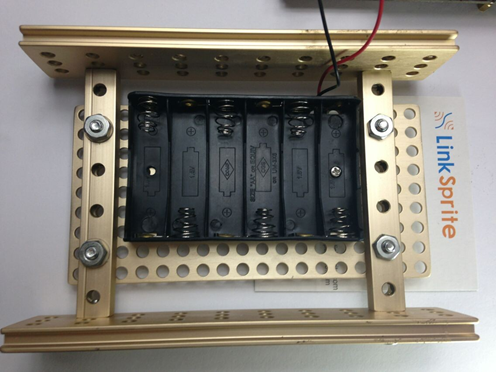
[/vc_column_text][/vc_tab][vc_tab title=”Install battery pack” tab_id=”1404253580361-2-0″][vc_column_text]Install battery pack. There are two options here. One is to use the one below, and fix it on the sheet:
The other option, actually, the recommended one is to use the rechargeable one: Battery Pack for Robot 4800mAH.
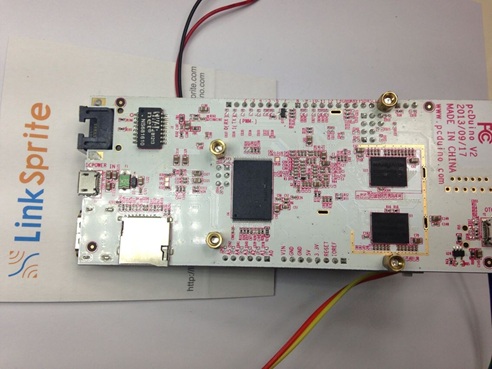
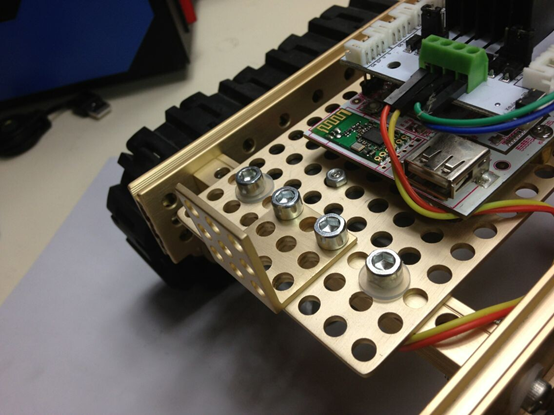
[/vc_column_text][/vc_tab][vc_tab title=”Install pcDuino and Motor Shield” tab_id=”1404253847736-3-2″][vc_column_text]1. Install four buts on the back of pcDuino2 using screws:
2. Install Motor Shield on pcDuino2.
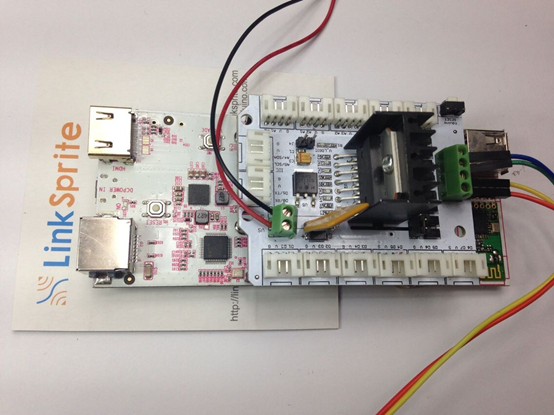
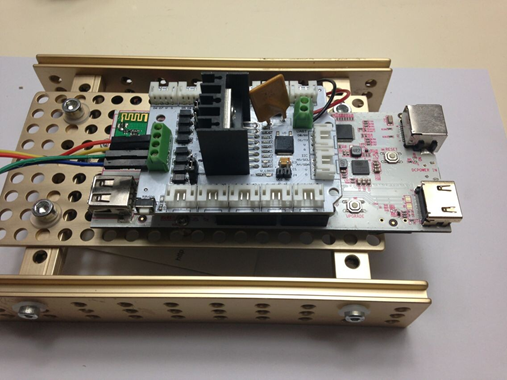
3. Fix pcDuino2 on the the sheet:
 [/vc_column_text][/vc_tab][vc_tab title=”Assemble passive wheels” tab_id=”1404254176711-4-6″][vc_column_text]
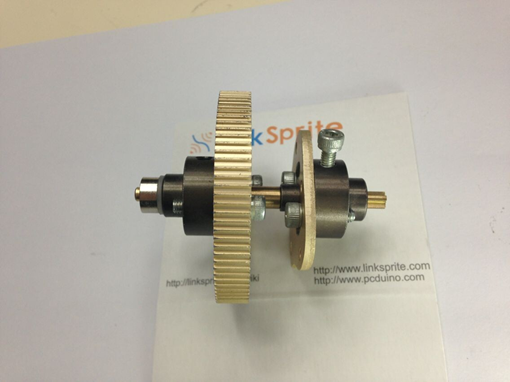
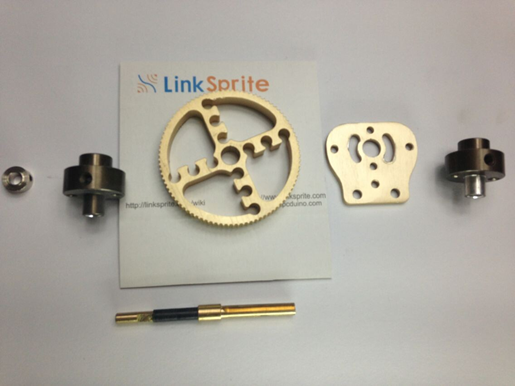
The parts used are: 2 x Linker block shaft connectors, 1 x Motor fixture plate, 1 x Gear wheel with a diameter of 5.6cm, 1 x Shaft Collar, 1 x Passive Cross Shaft
1. Connect the motor fixture plate to the shaft connector

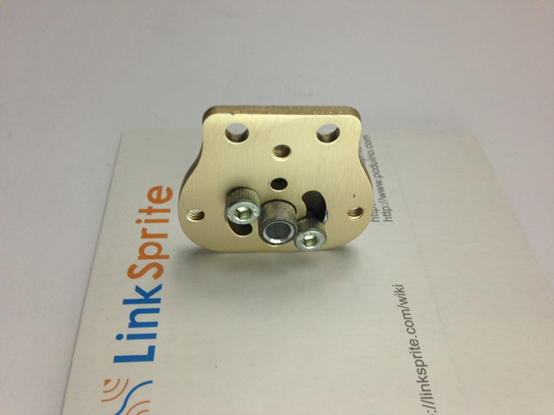
2. Install on the passive cross shaft (Pay attention to the direction of the header of the bolt, it may obstruct the holes of the motor fixture plate)
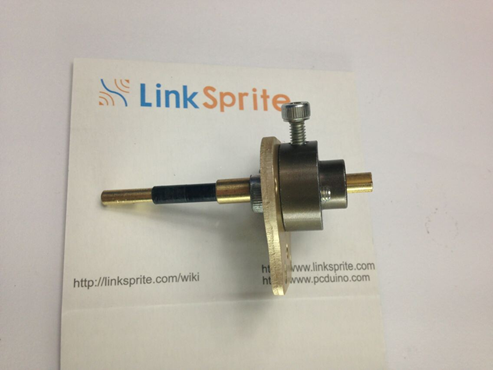
3. Install the wheel to the shaft connector, and then use shaft collar to fix on to the sha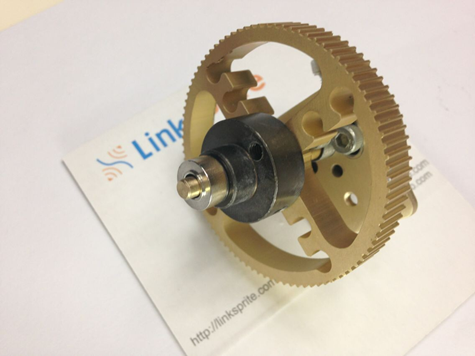 ft
ft
[/vc_column_text][/vc_tab][vc_tab title=”Assemble driver wheels” tab_id=”1404270066461-5-1″][vc_column_text]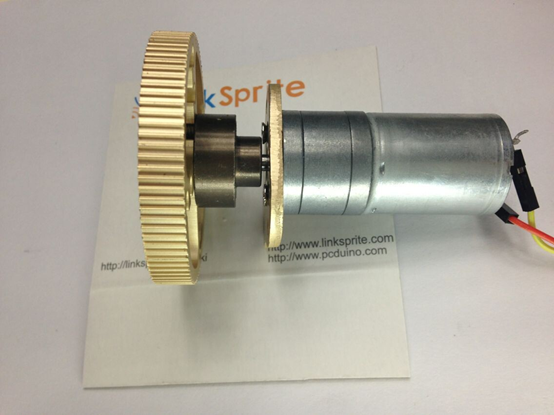
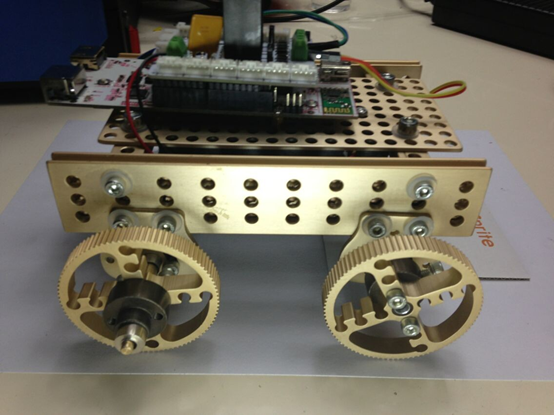
[/vc_column_text][/vc_tab][vc_tab title=”Install the wheels to the platform” tab_id=”1404270172587-6-9″][vc_column_text]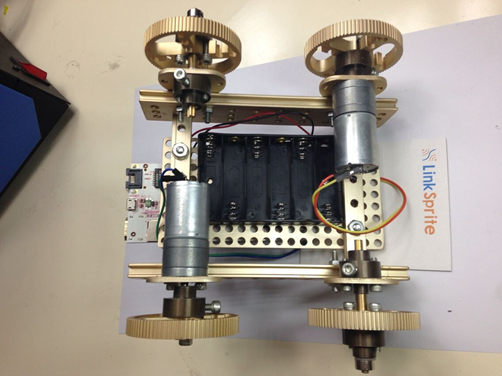
 [/vc_column_text][/vc_tab][vc_tab title=”Install track” tab_id=”1404270476093-7-3″][vc_column_text]Connect 16 sections of tracks with the track connectors:
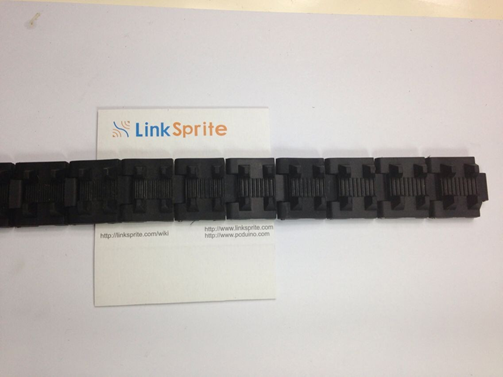
Install the track on the wheels:
 [/vc_column_text][/vc_tab][vc_tab title=”Install Camera” tab_id=”1404277623134-8-4″][vc_column_text]
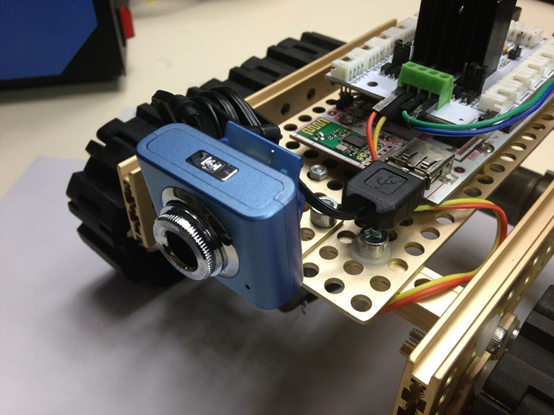
1. Install Linker Block 90 Degree Fixture With a Length of 3 Holes on the head of the platform

2. Install the USB camera
[/vc_column_text][/vc_tab][/vc_tour][/vc_column][/vc_row]
Leave a Reply
You must be logged in to post a comment.