[vc_row][vc_column][vc_column_text]Linker Block set is a Lego compatible Aluminium robot kit. It can be used to build a metal robot or structure of any size, and scales up conveniently.
In this post, we will construct a basic robot platform using linker block set. On a later post, we will use pcDuino to complete a video surveillance remote controlled robot.
[/vc_column_text][vc_tour][vc_tab title=”Parts List” tab_id=”1402457453-1-68″][vc_column_text]1 x Linker Block 9×18 Lego Holes Sheet -Aluminum
1 x Linker Block 12 Lego Holes Long Grooved Beam -Aluminum
2 x Linker Block Plastic Washer M4
2 x Linker Block Motor Fixture Plate -Aluminum
2 x Linker Block Shaft Connector
2 x Linker Block Gear Wheel with a Diameter of 5.6cm
2 x Linker Block Tire a Diameter of 5.6cm
2 x Linker Block Curved Beam with 4 Holes
[/vc_column_text][/vc_tab][vc_tab title=”Main Body” tab_id=”1402457453-2-74″][vc_column_text]First, we pick a 12 hole grooved beam, and mount the 9×18 holes sheet to it:
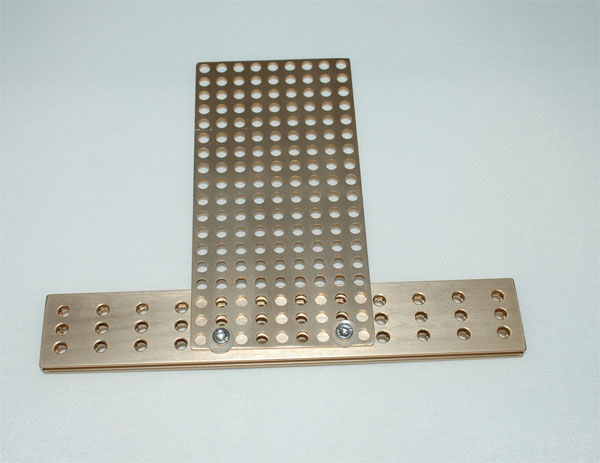
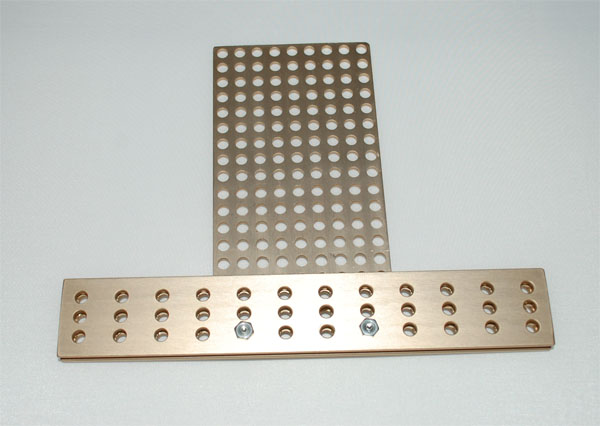
The other side:
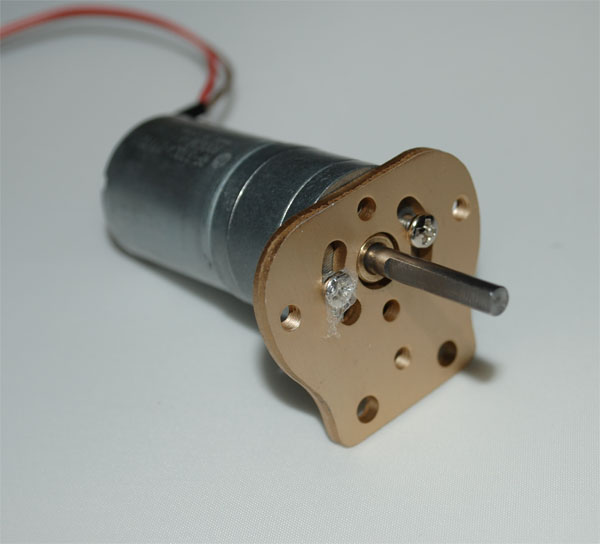
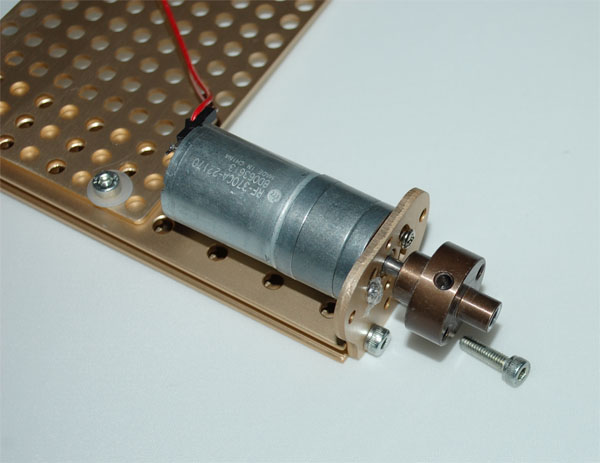
[/vc_column_text][/vc_tab][vc_tab title=”Motor Fixture” tab_id=”1402458015656-2-1″][vc_column_text]Mount the motor fixture sheet to the motor:
[/vc_column_text][/vc_tab][vc_tab title=”Mount Motor Fixture to the Main Body” tab_id=”1402458145054-3-2″][vc_column_text]Mount the motor fixture to the end of the beam:
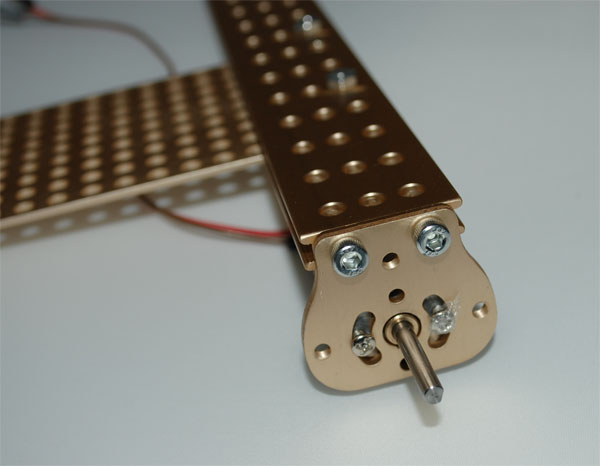
A different view angle:
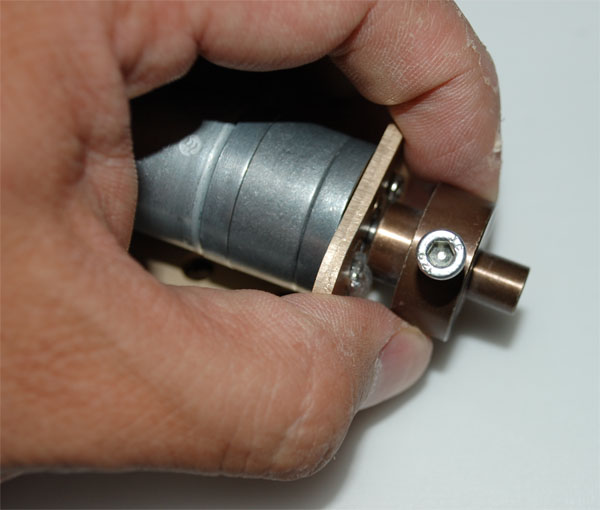
 [/vc_column_text][/vc_tab][vc_tab title=”Install Wheel” tab_id=”1402458362442-4-2″][vc_column_text]Install shaft collar to the shaft of the motor:
Fasten the screw:
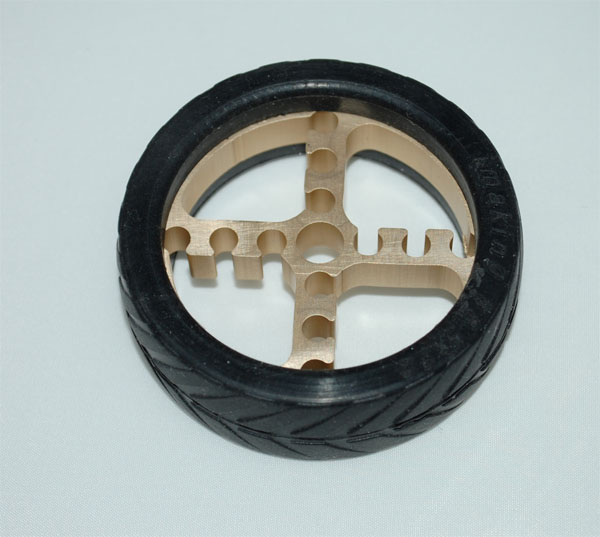
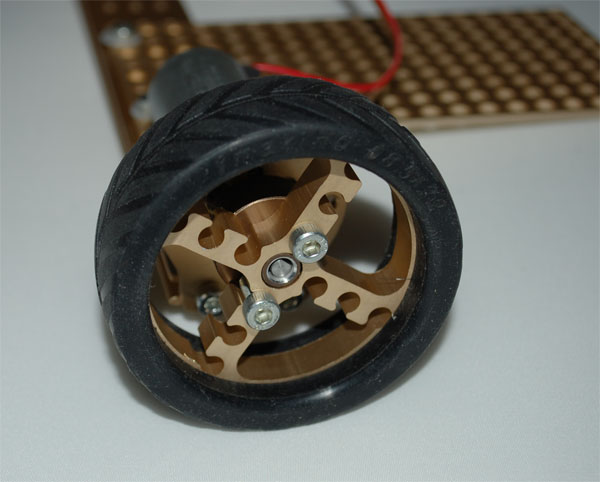
Install tire on the wheel:
Install wheel on the shaft collar and fix it using screw:
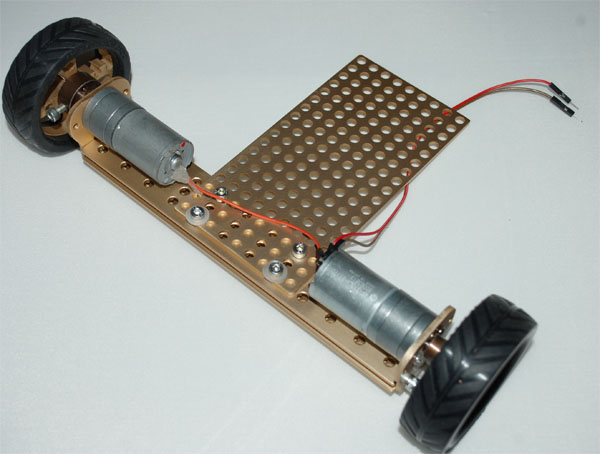
Mount the other DC motor and wheel:
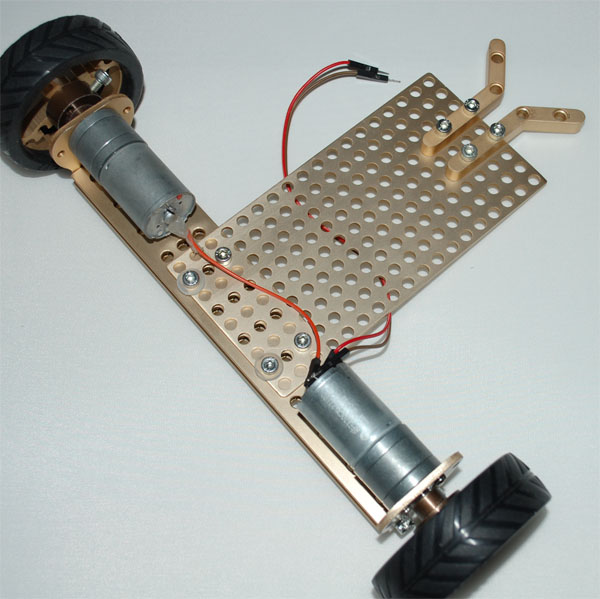
 [/vc_column_text][/vc_tab][vc_tab title=”Install Ball Caster ” tab_id=”1402459111527-5-4″][vc_column_text]Install the fixture for the ball caster first:
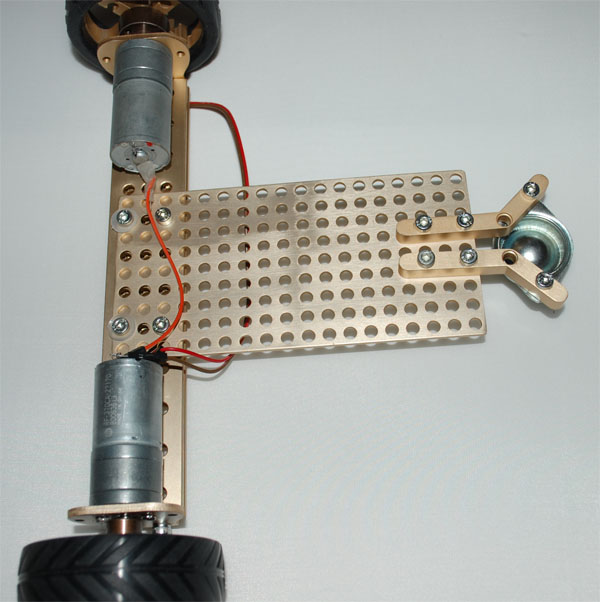
Mount the ball caster:
 [/vc_column_text][/vc_tab][vc_tab title=”Install fixture for battery pack” tab_id=”1402459310855-6-3″][vc_column_text]
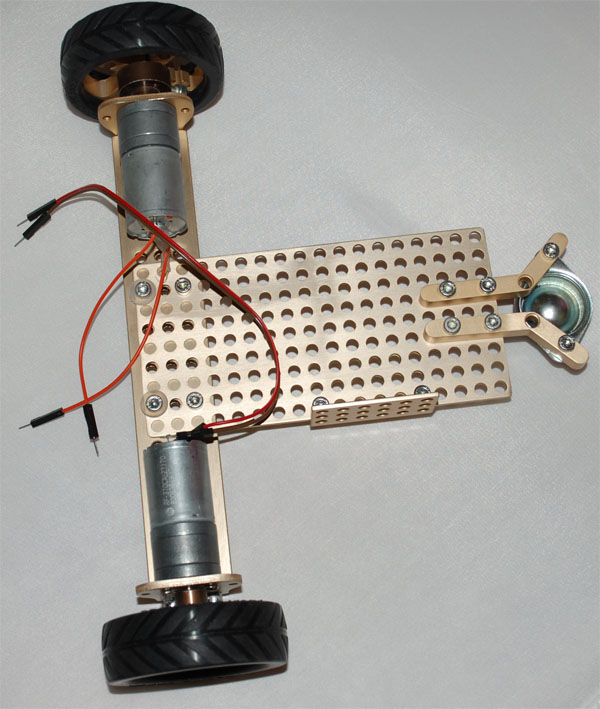
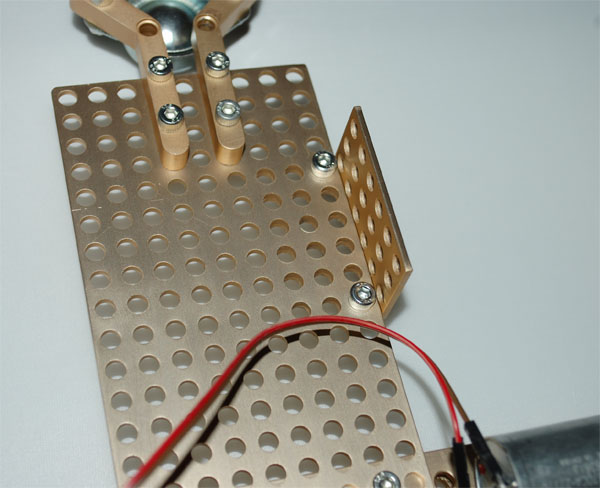 [/vc_column_text][/vc_tab][vc_tab title=”The whole robot” tab_id=”1402459377126-7-6″][vc_column_text][/vc_column_text][/vc_tab][/vc_tour][/vc_column][/vc_row]
Leave a Reply
You must be logged in to post a comment.