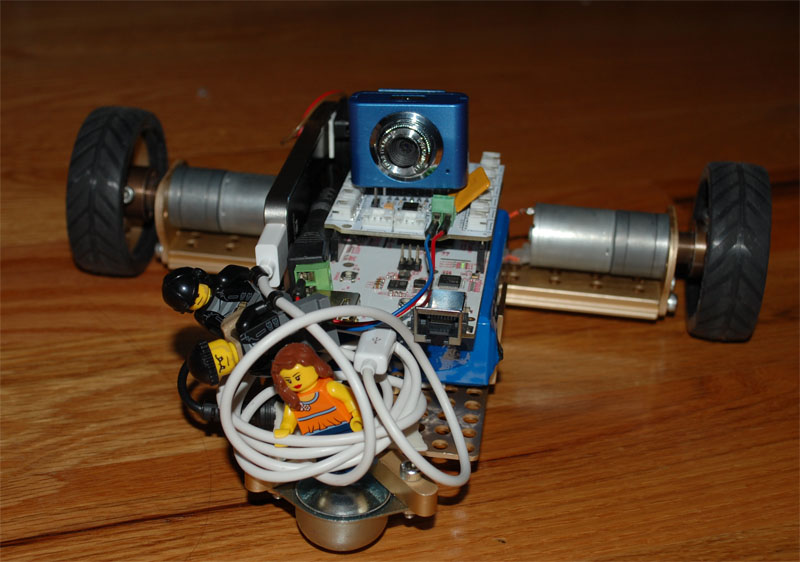
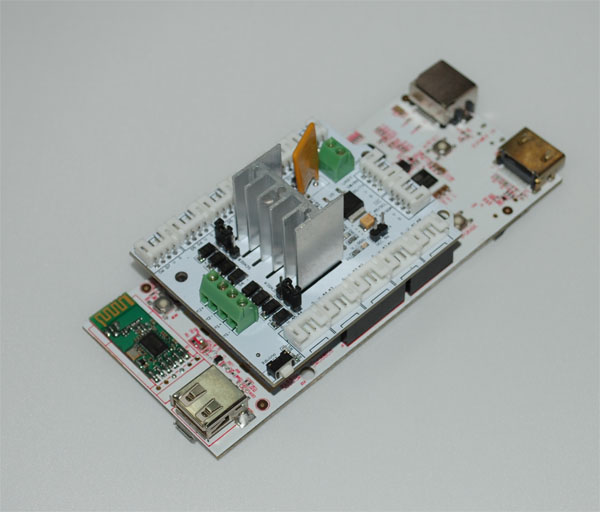
[vc_row][vc_column][vc_column_text]In Assembly Instructions of a Basic Robot Platform Using Linker Block Set, we assembled a basic robot platform using Linker Block Set. In this post, we will adventure into the electronics part. We will use pcDuino to drive the robot, make it remote controllable with an Android tablet or Android smartphone, add a video camera, and enable a mobile real video surveillance. The pcDuino we pick is pcDuino2.
 [/vc_column_text][vc_tour][vc_tab title=”Flash pcDuino2″ tab_id=”1402497878-1-43″][vc_column_text]We provide a special version of pcDuino2 image for this video robot. The image can be downloaded at here.
First, we will need to flash the kernel file pcduino_a10_kernel_livesuit_20140504 to pcDuino2.
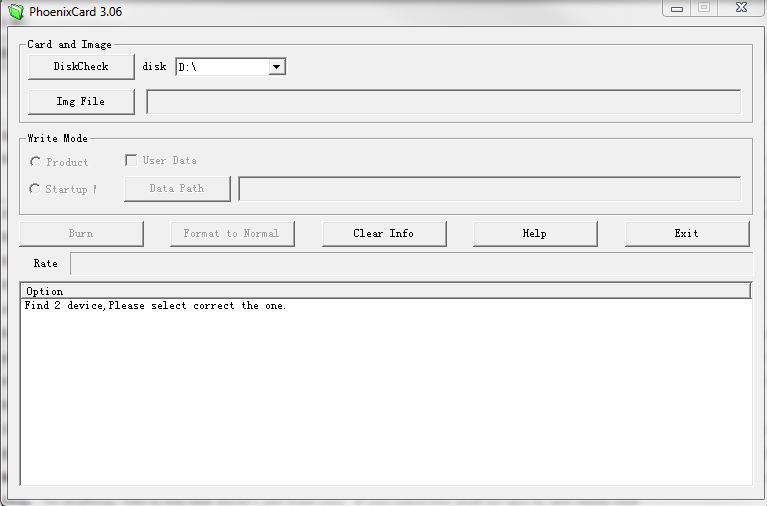
For the kernel file in livesuit format, we will use Phonenix Card (V309 for pcDuino2) to burn into a SD card.

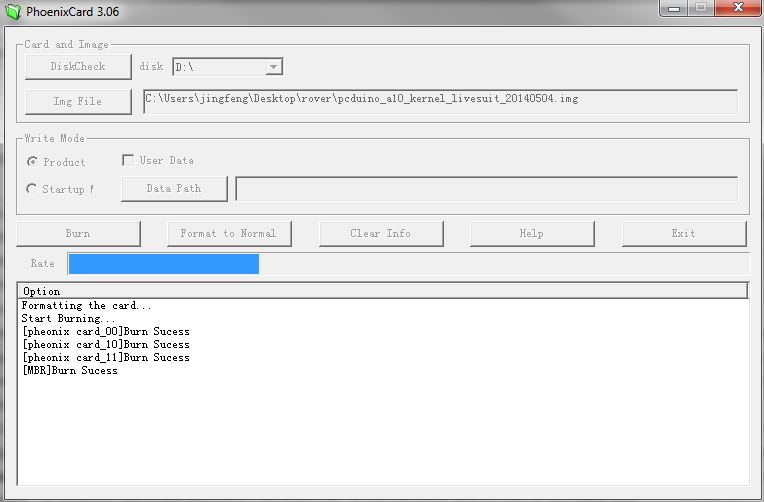
Now we insert the SD into the SD slot of pcDuino2, and power cycle it. The LED marked TX will start to blink slowly. When it stops blinking, it means that the process is finished. Remove the SD, and power cycle it again.
The pcDuino2 will ask for a USB flash containing the rootfs:
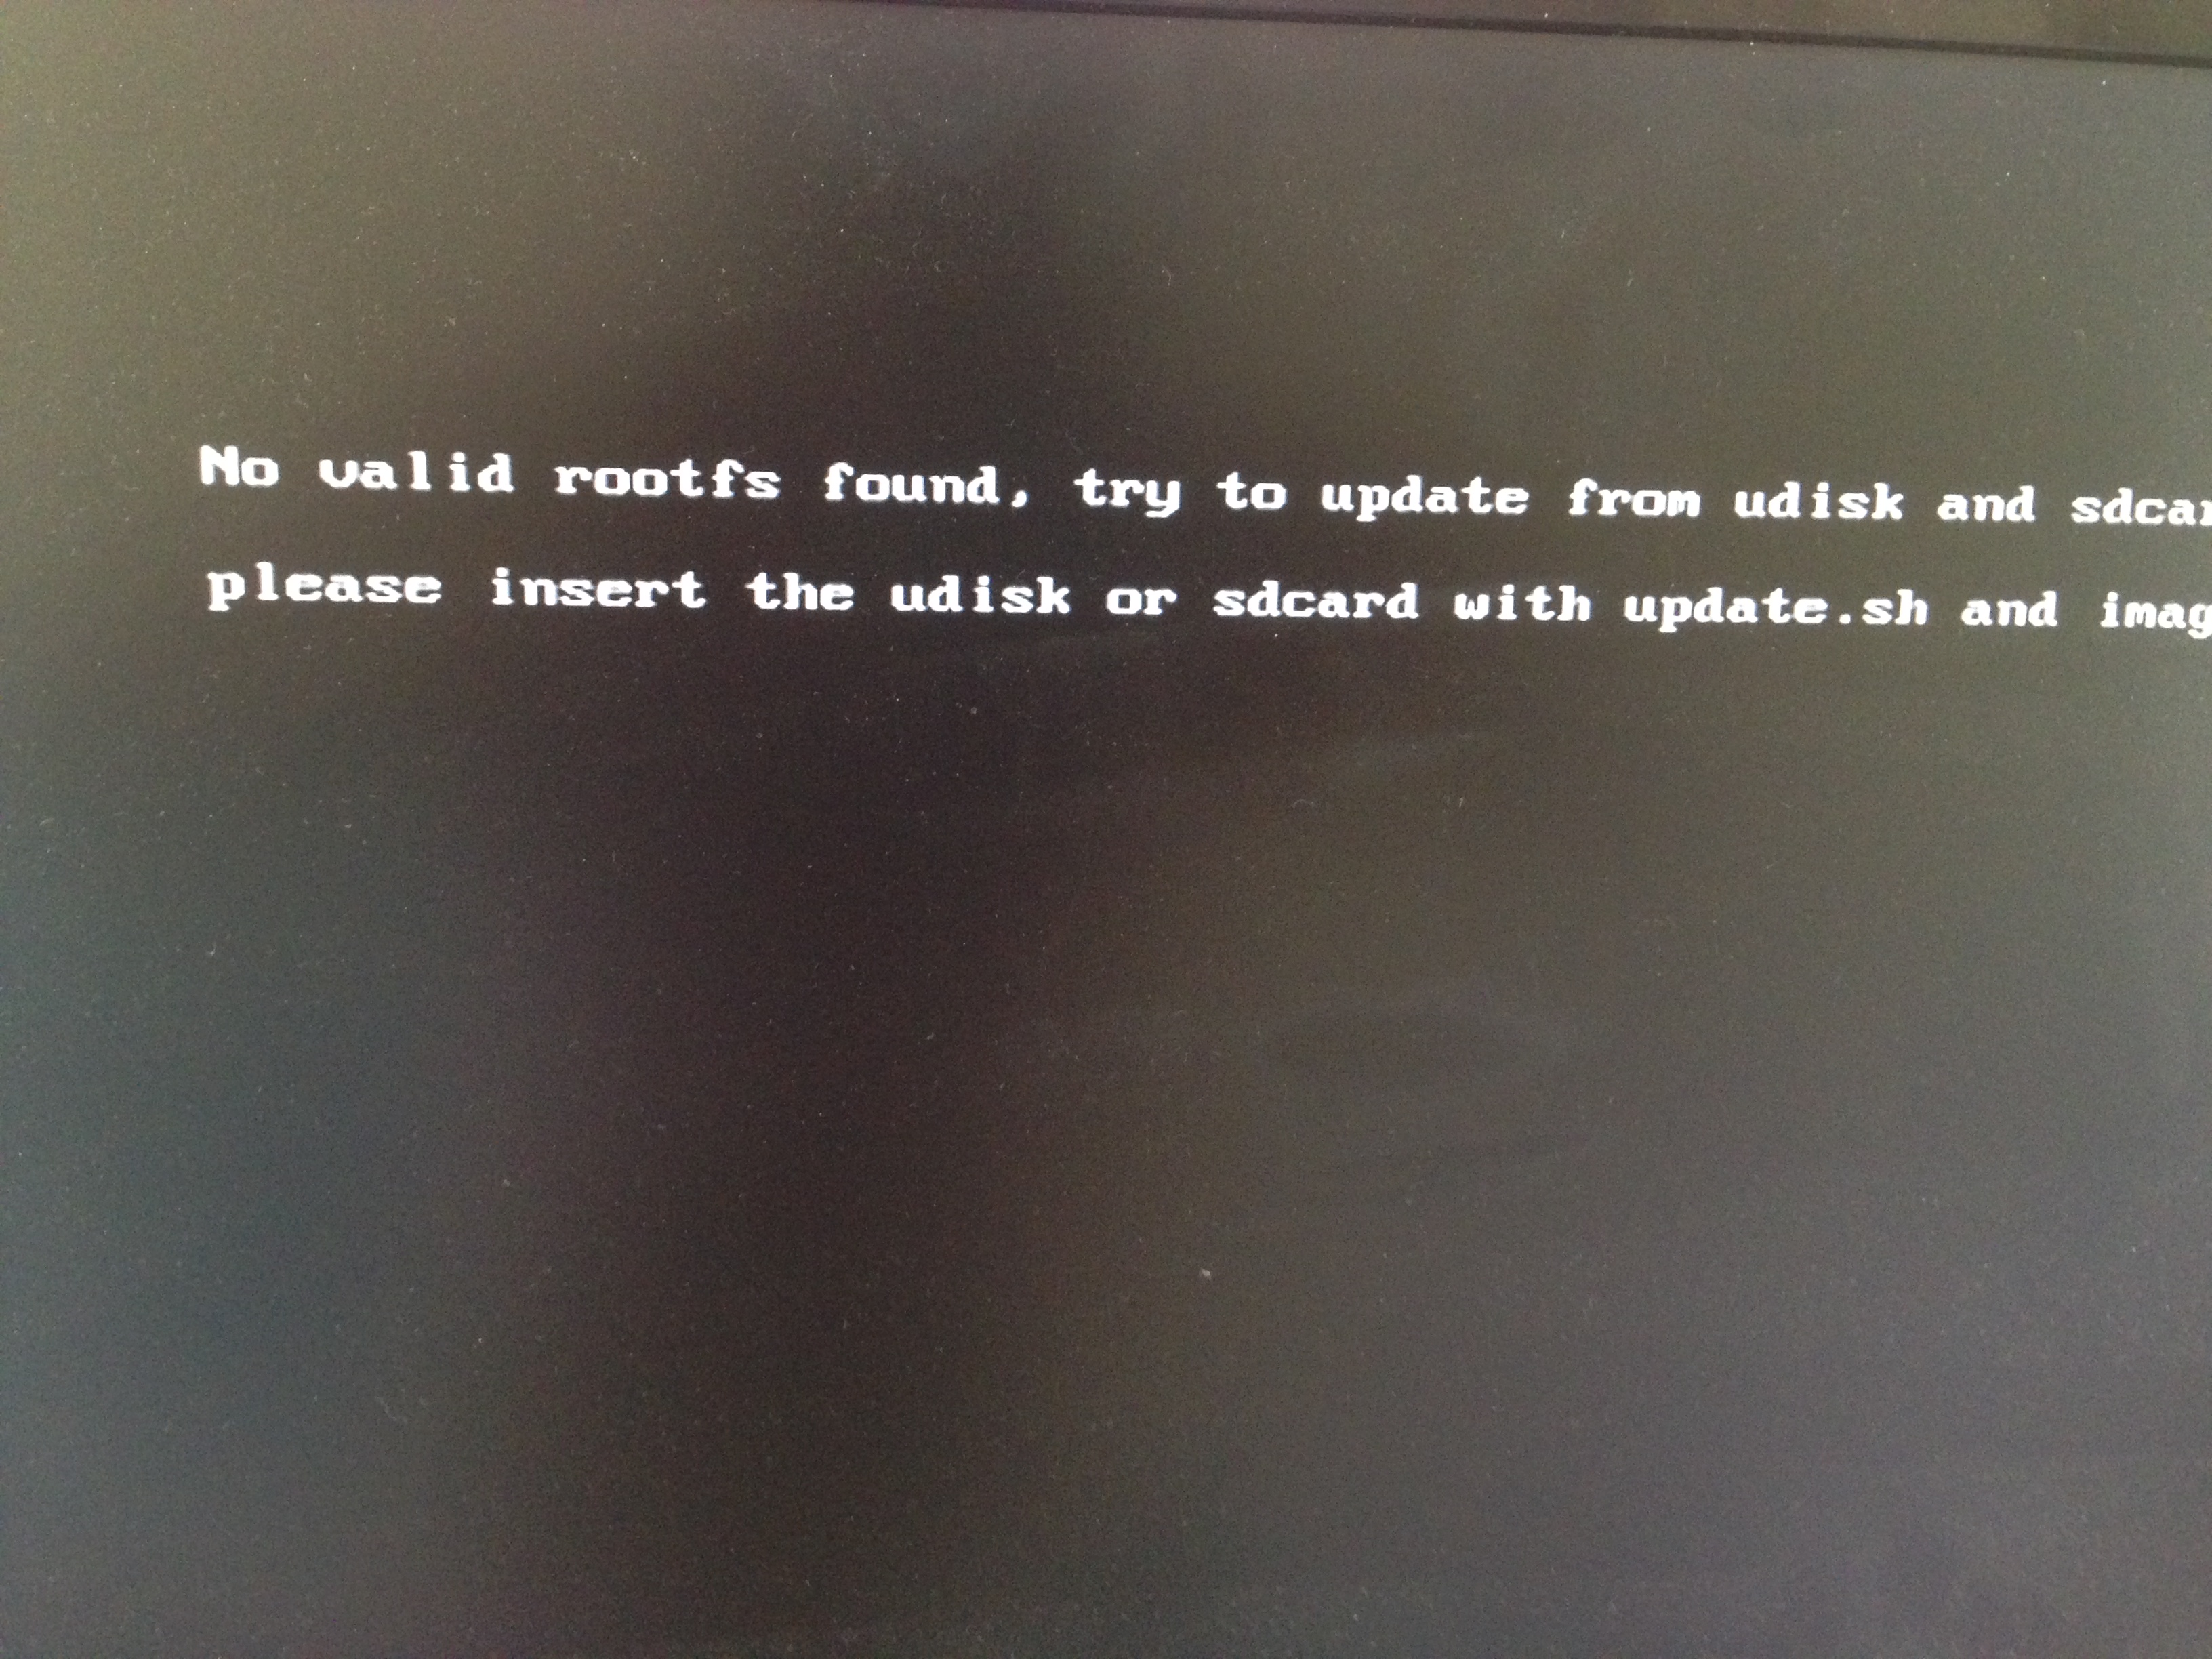
Now we take a USB drive, and copy over the rootfs to it:
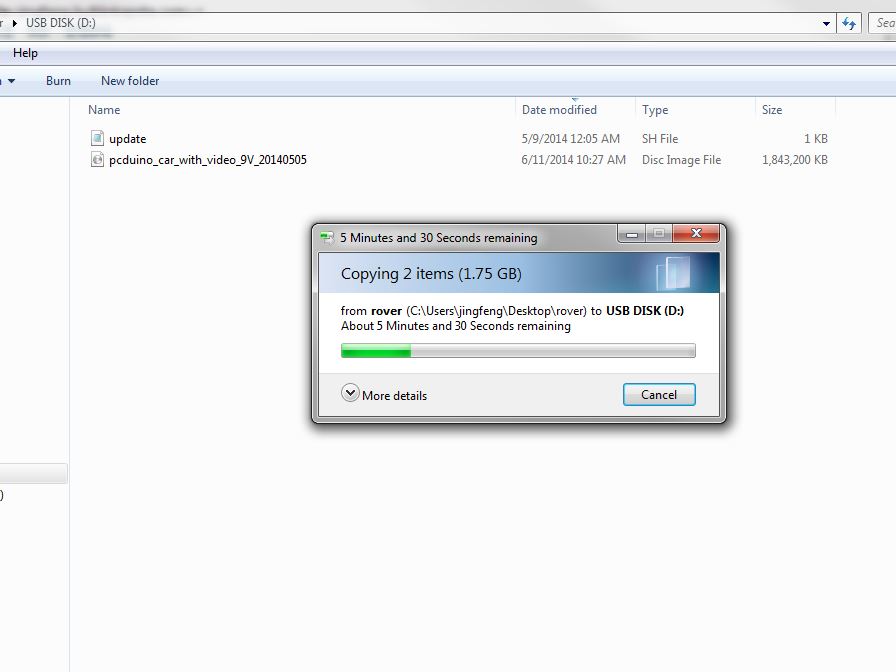
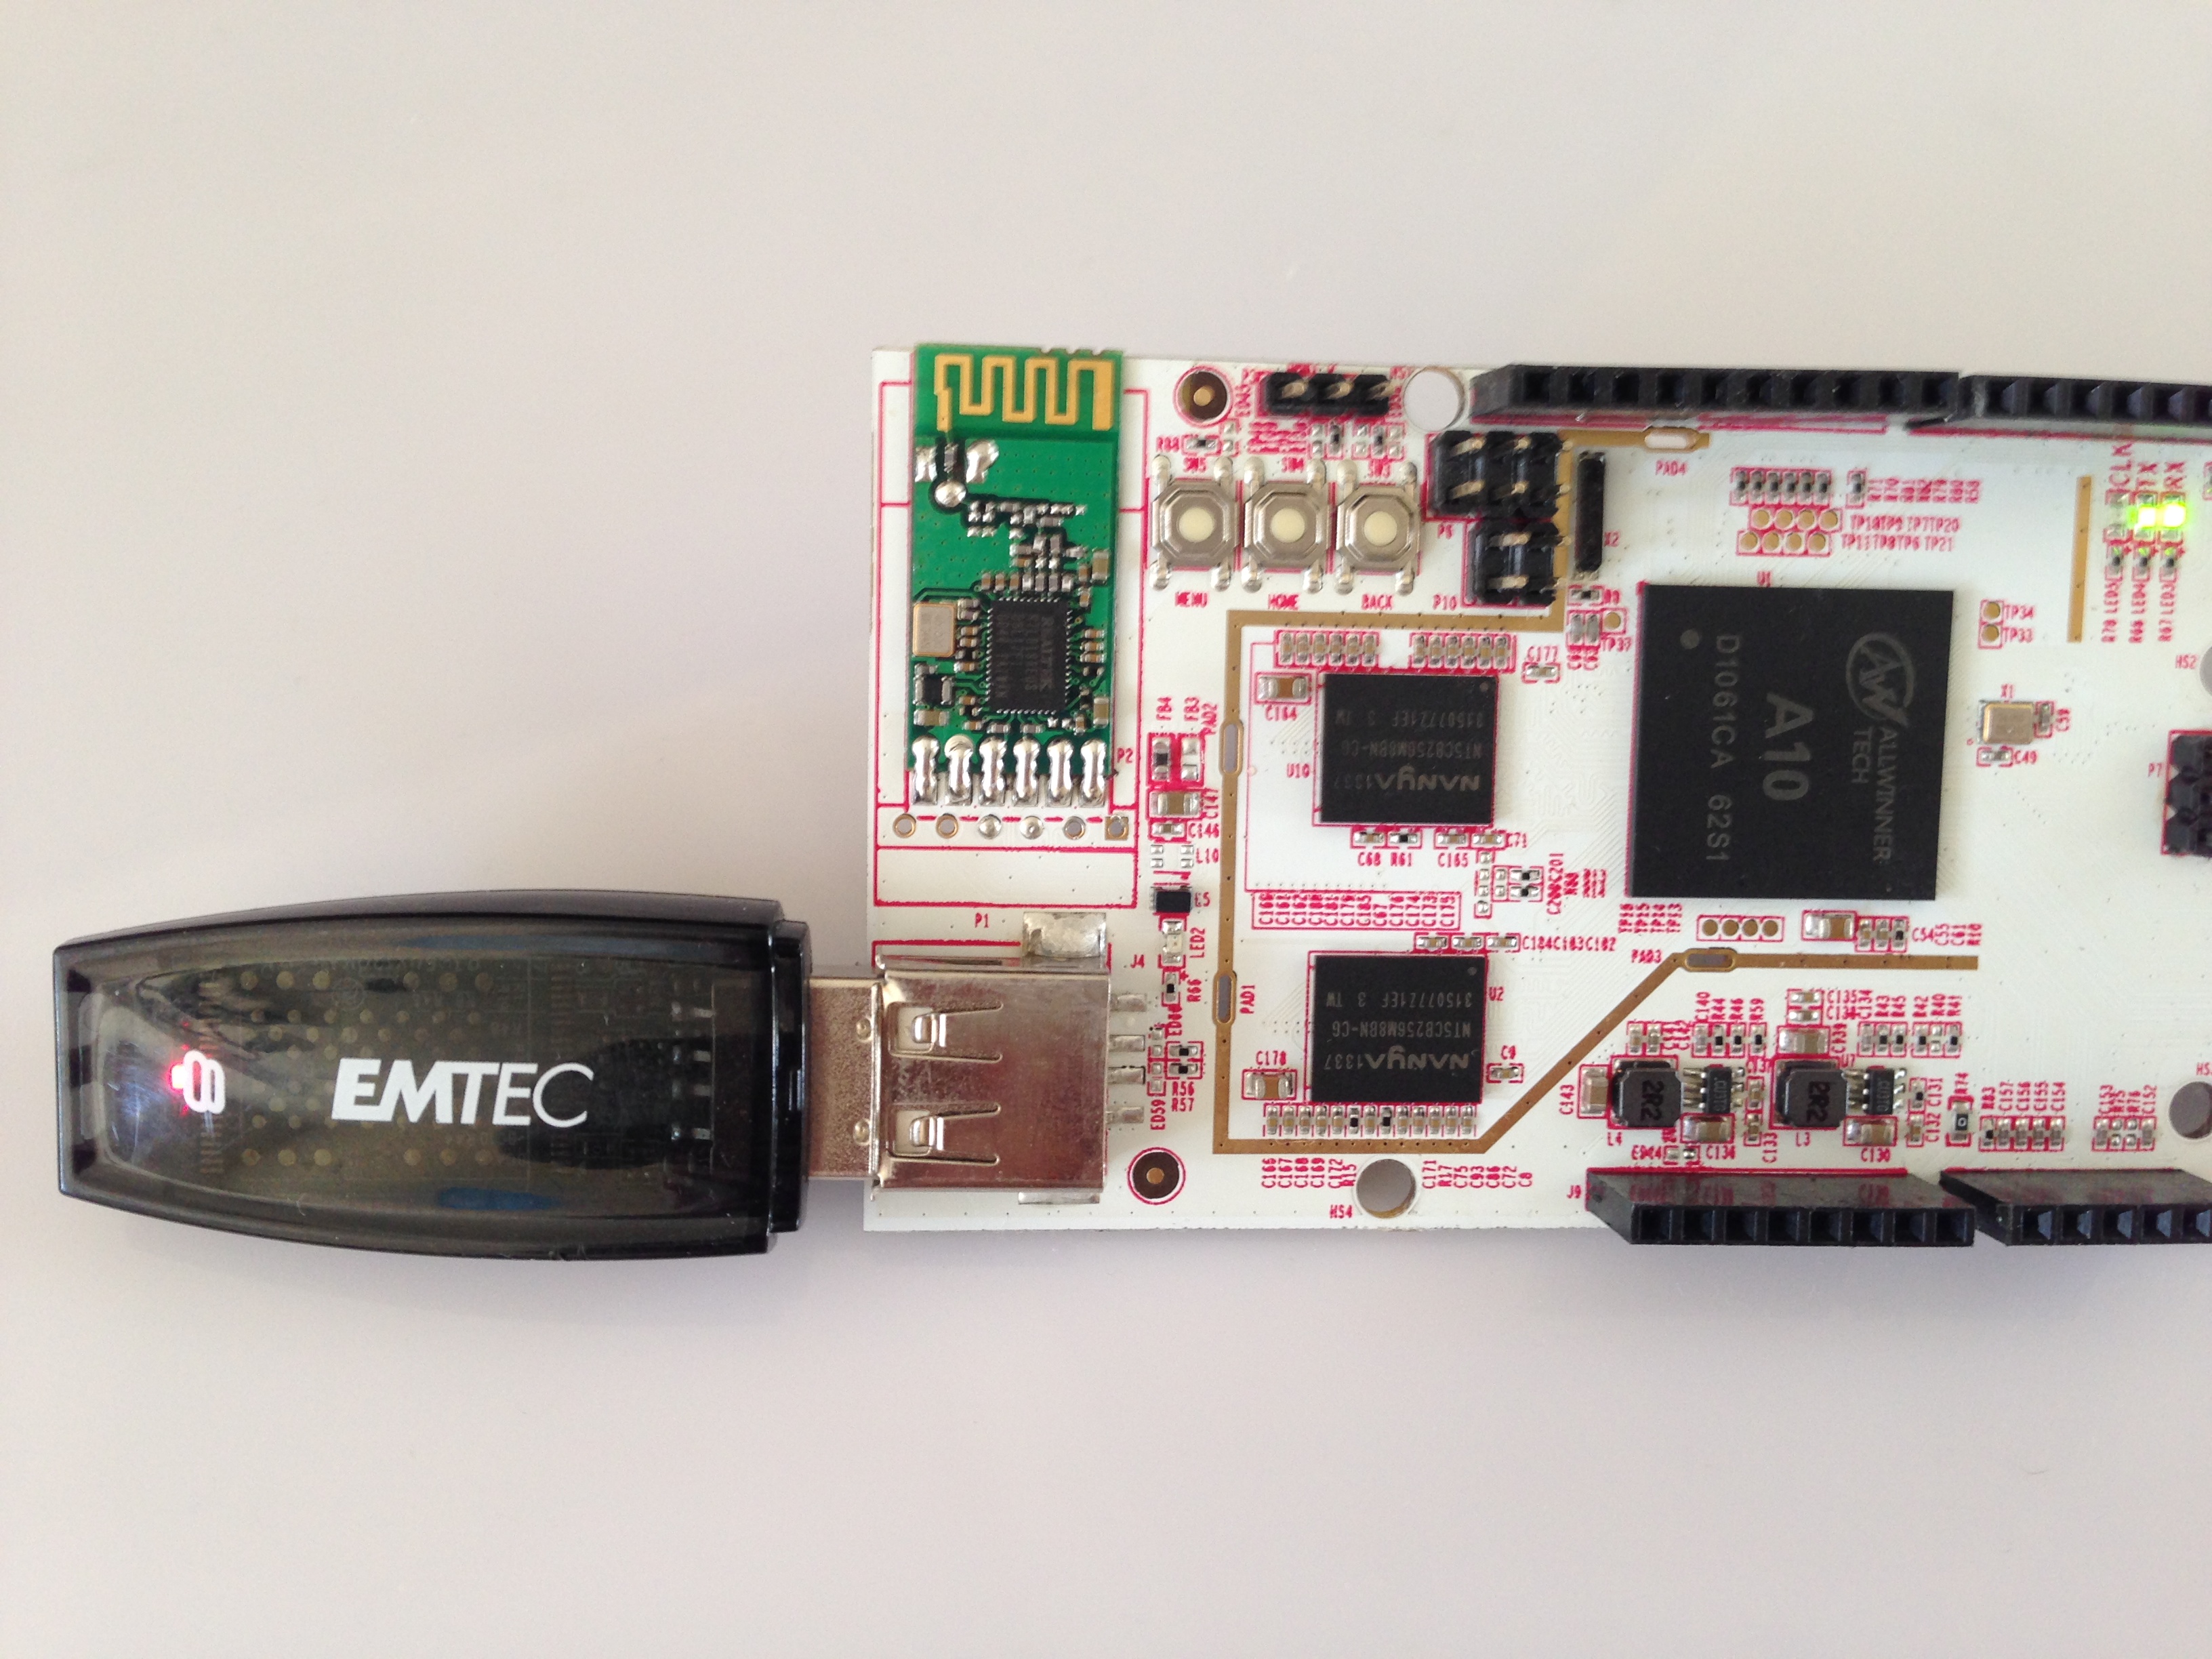
Plug in the USB drive with rootfs into pcDuino2:
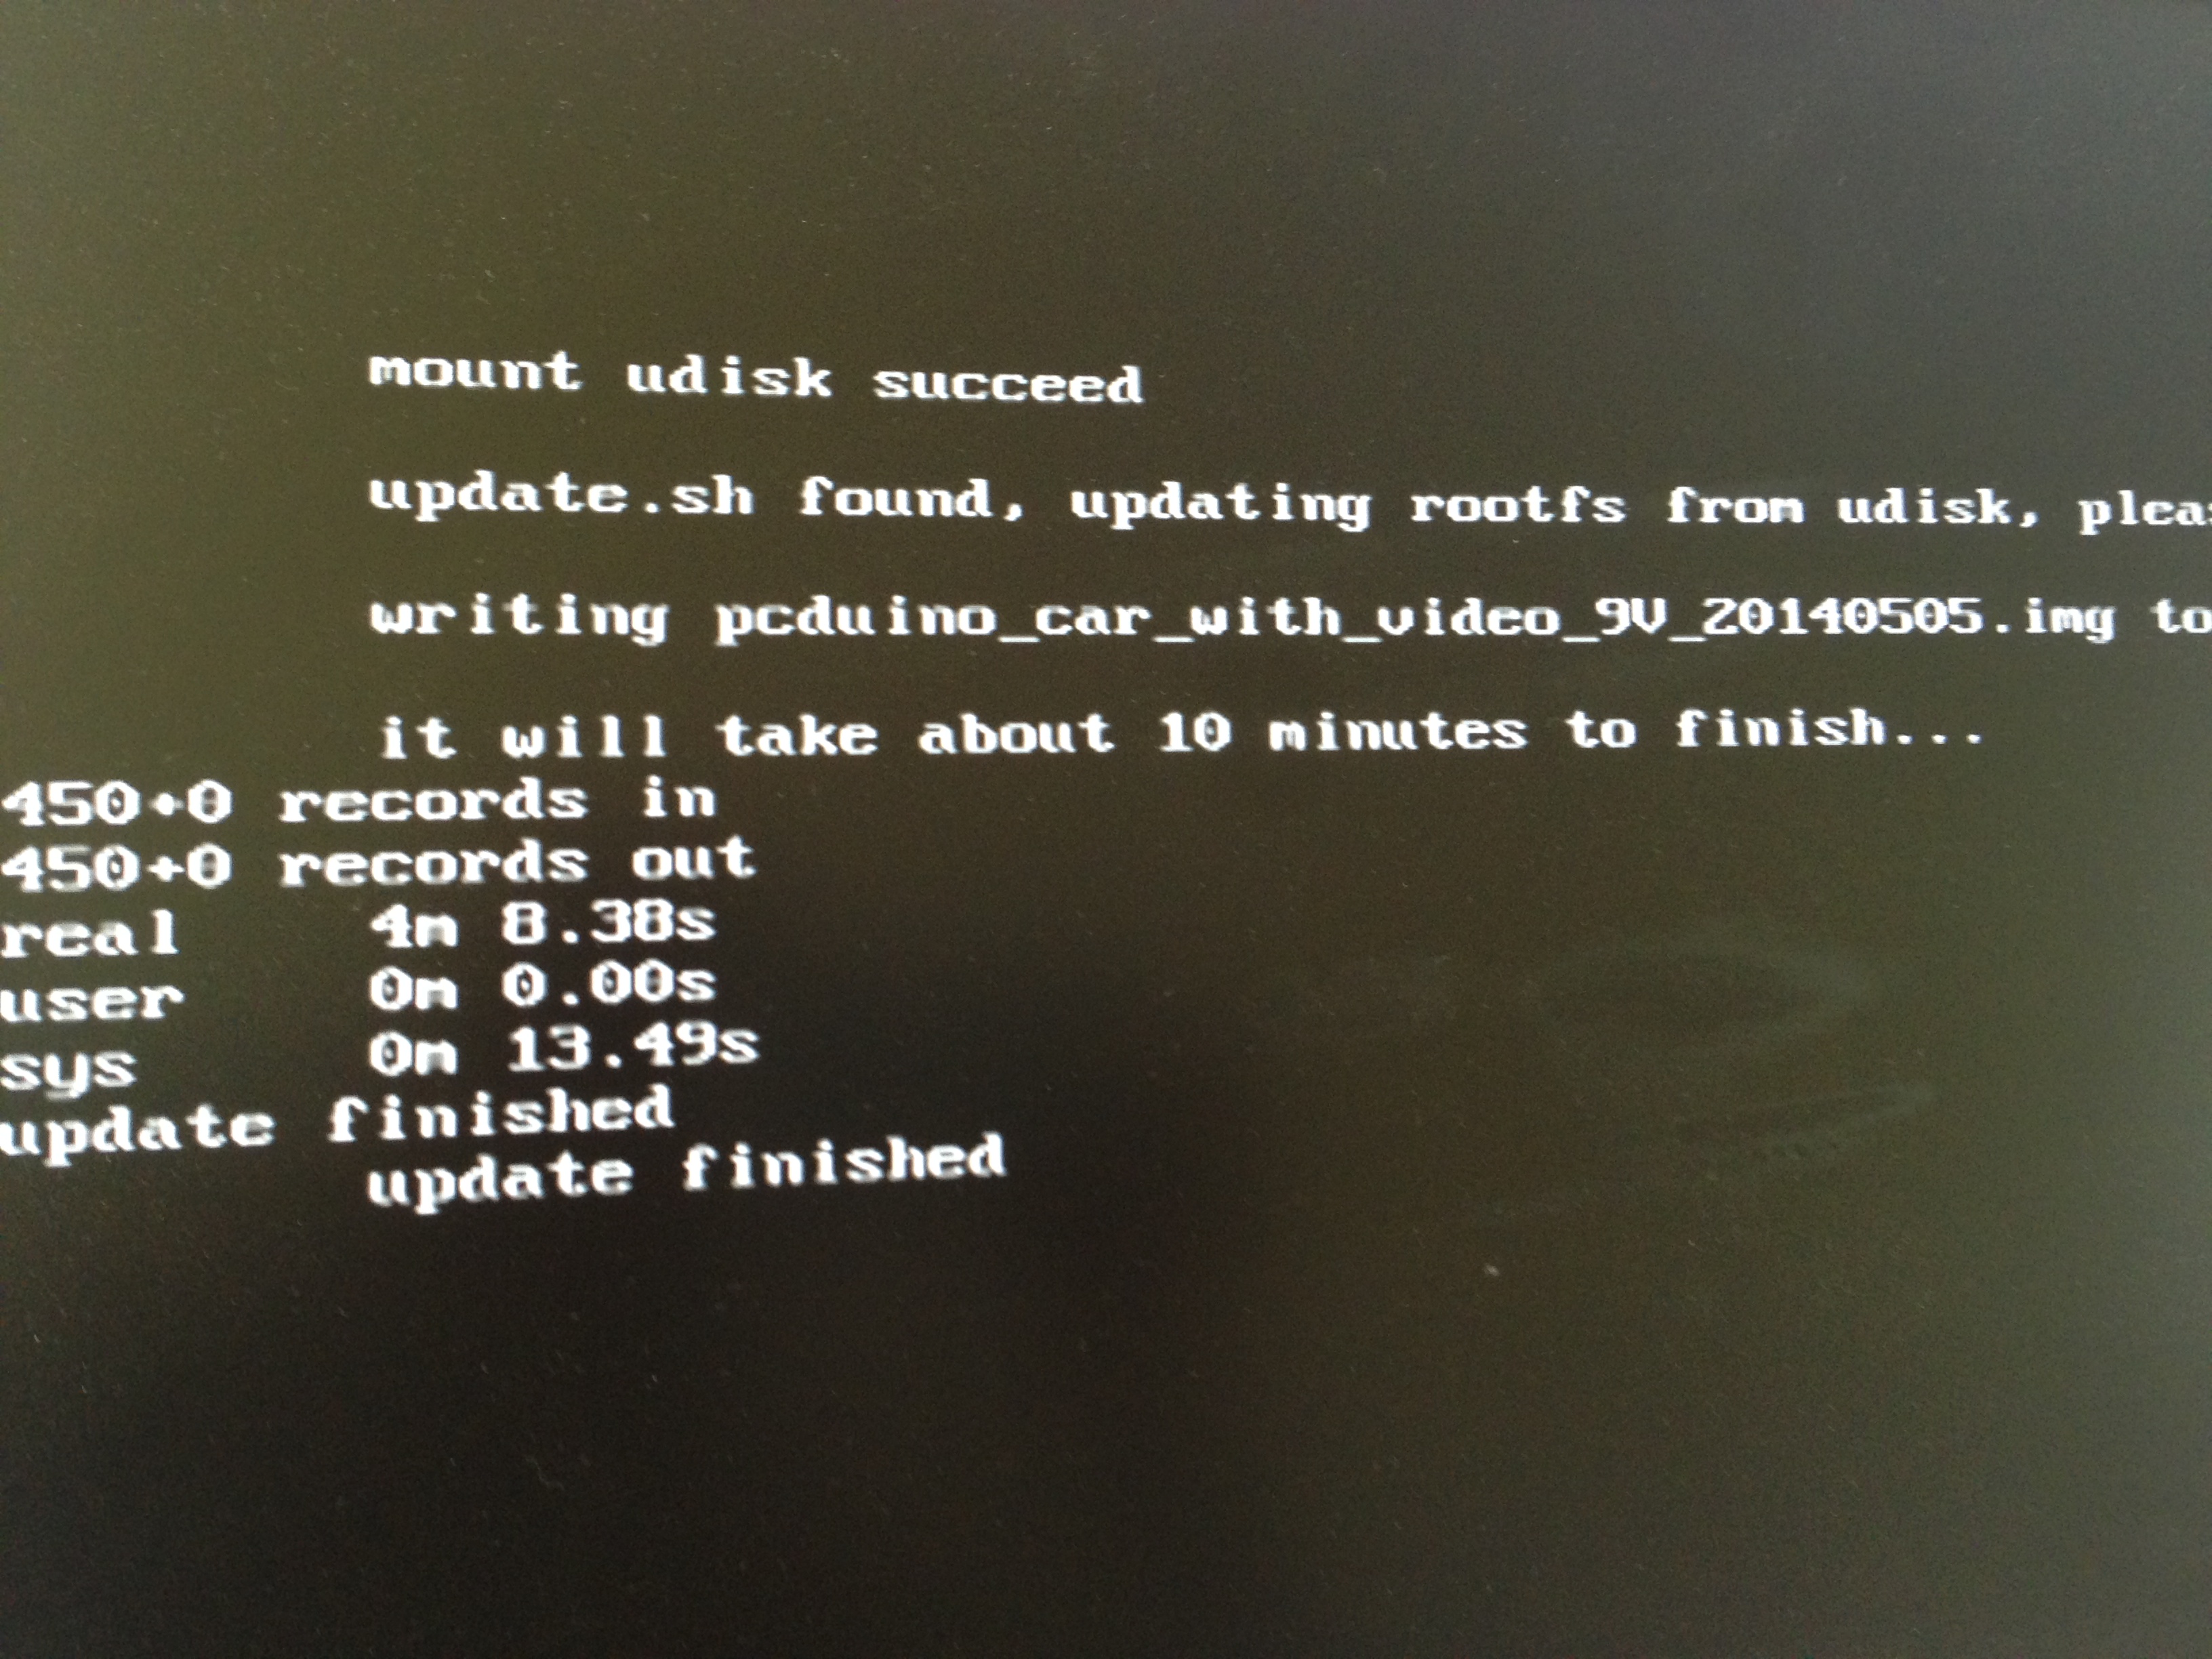
pcDuino2 will start to update its rootft with the one on the USB drive:
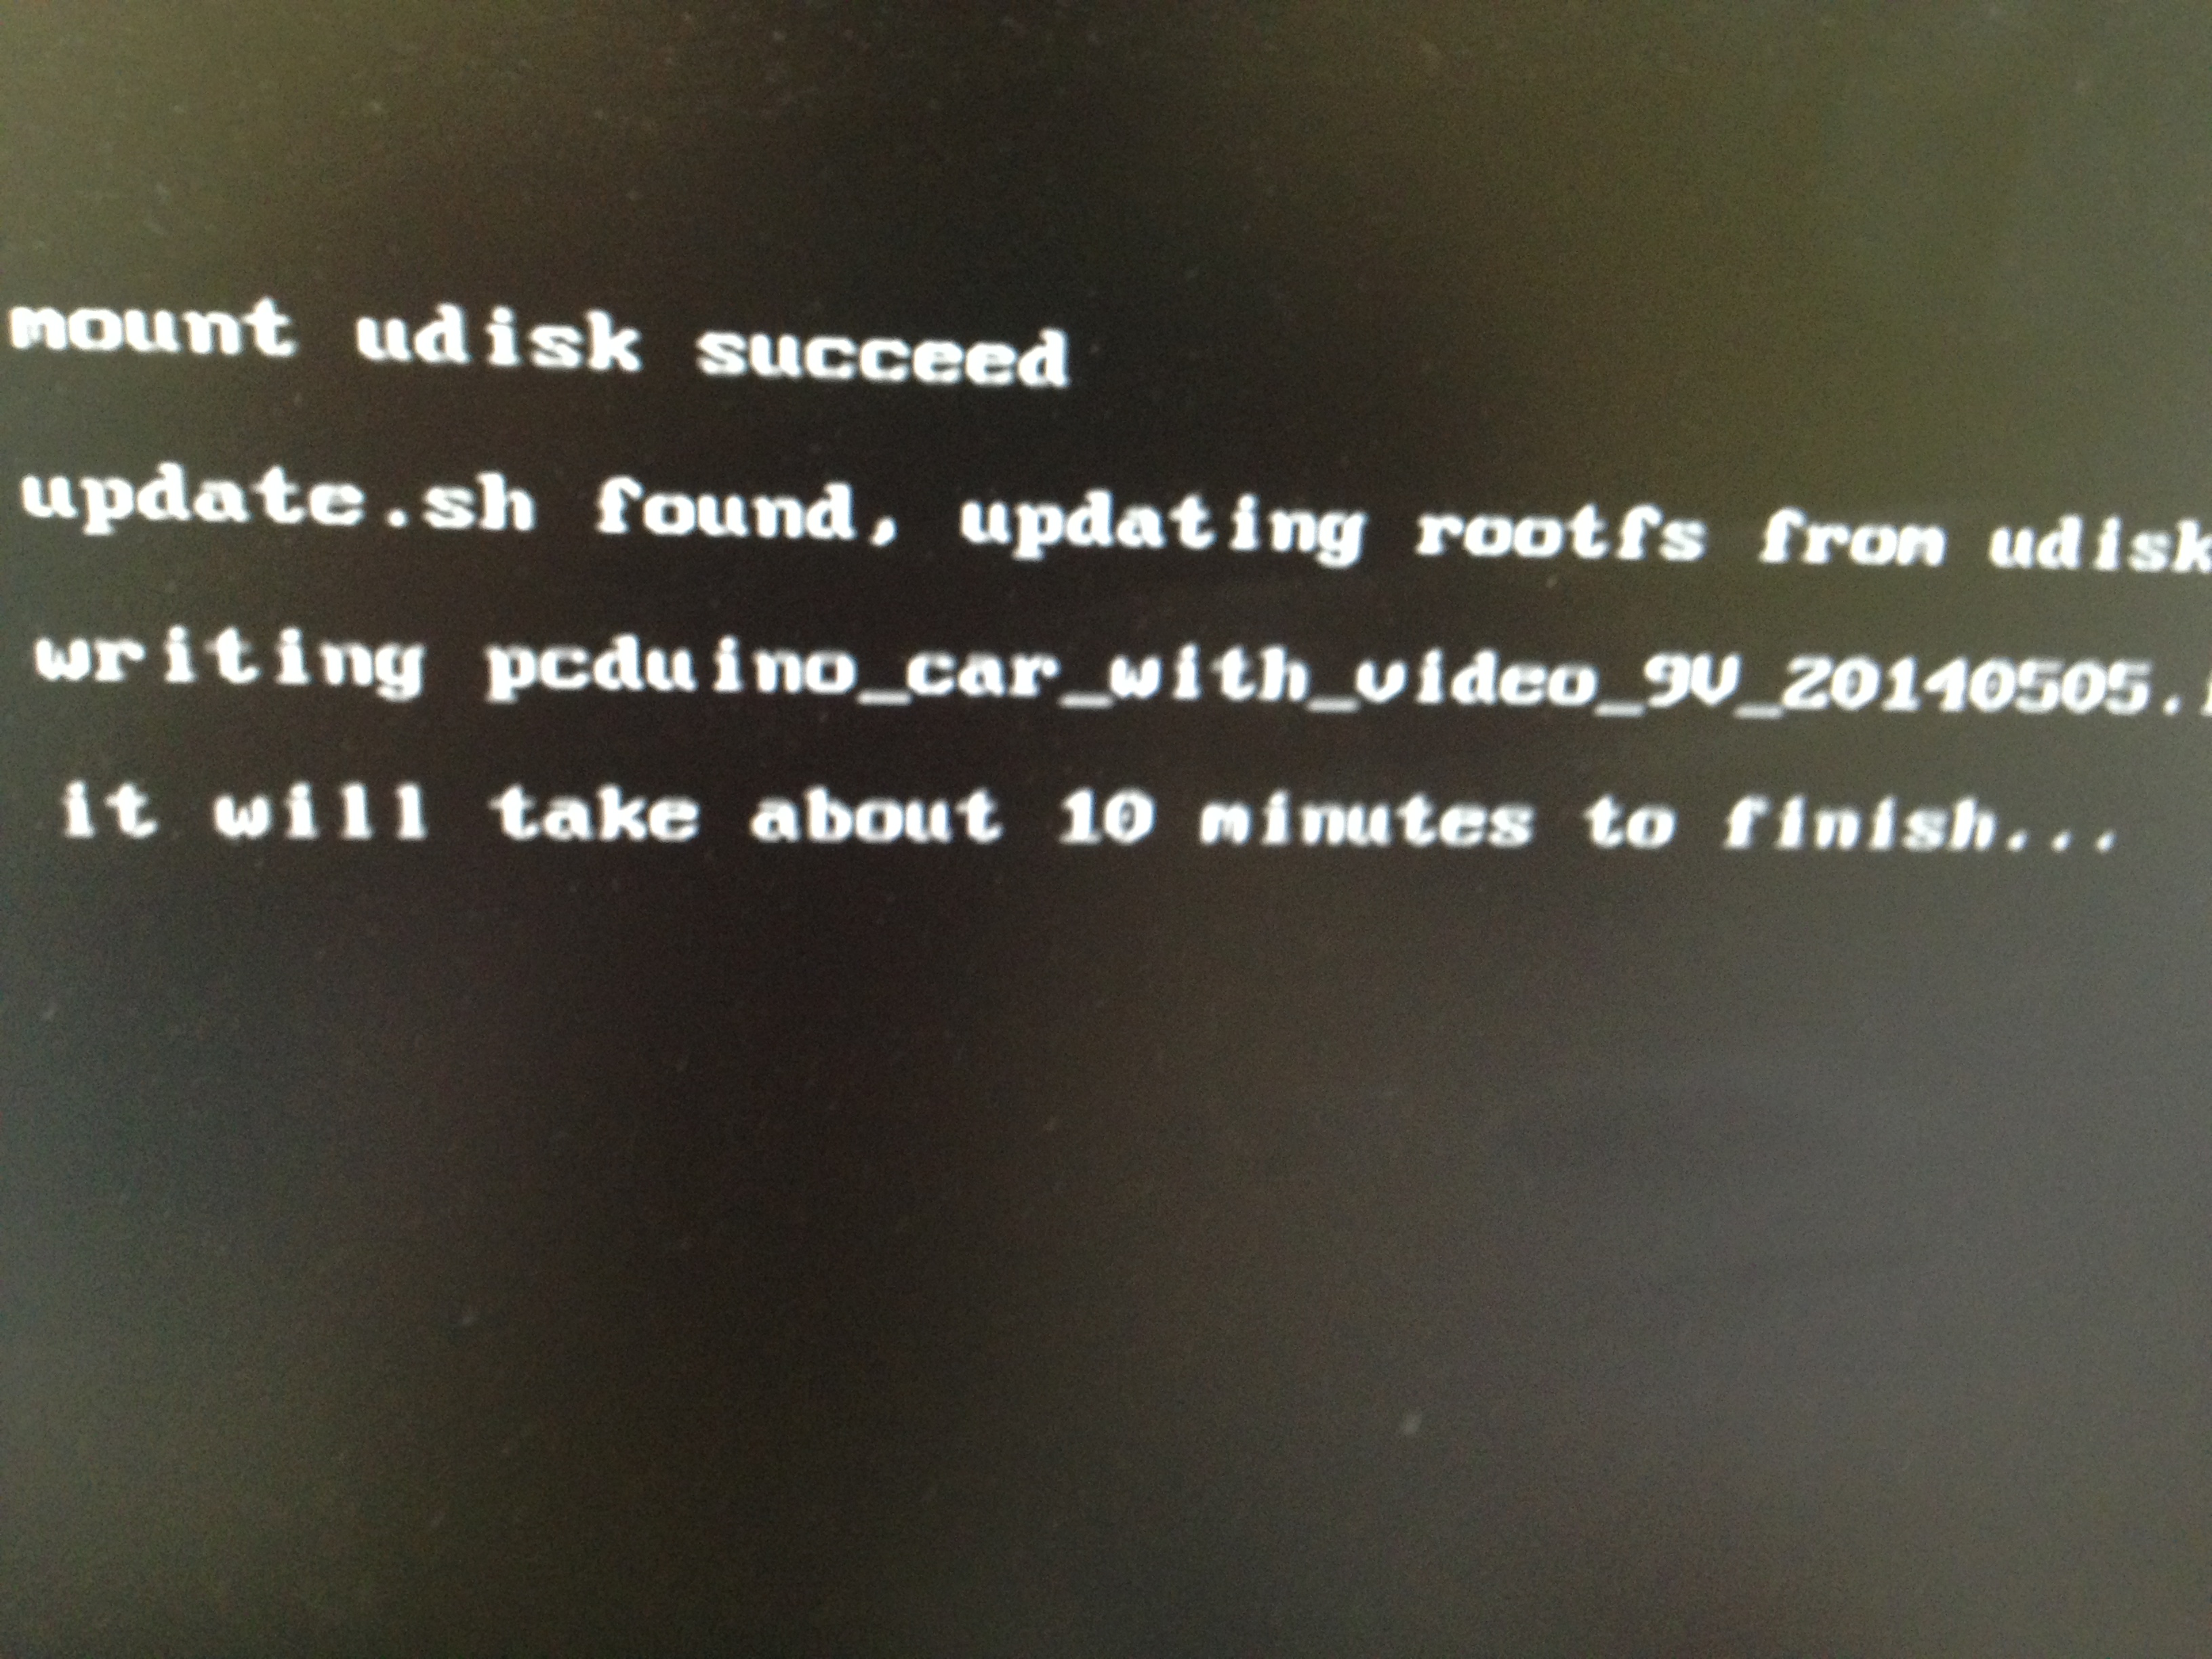
After around 10 minutes, the process will be finished:
Remove the USB drive, and power cycle pcDuino2 again. After pcDuino2 booted, we are able to find an Access Point named ‘carwifi’. That’s pcDuino2!
The password is ‘12345678’.[/vc_column_text][/vc_tab][vc_tab title=”Install Android APK on Android Smartphone” tab_id=”1402497878-2-71″][vc_column_text]In this step, we will install the Android APK on the Android smartphone or table. To install it, simple point the browser on your Android device to: https://s3.amazonaws.com/pcduino/Images/v2/VideoRobot9V/WiFiRobot.apk, and download and install it.
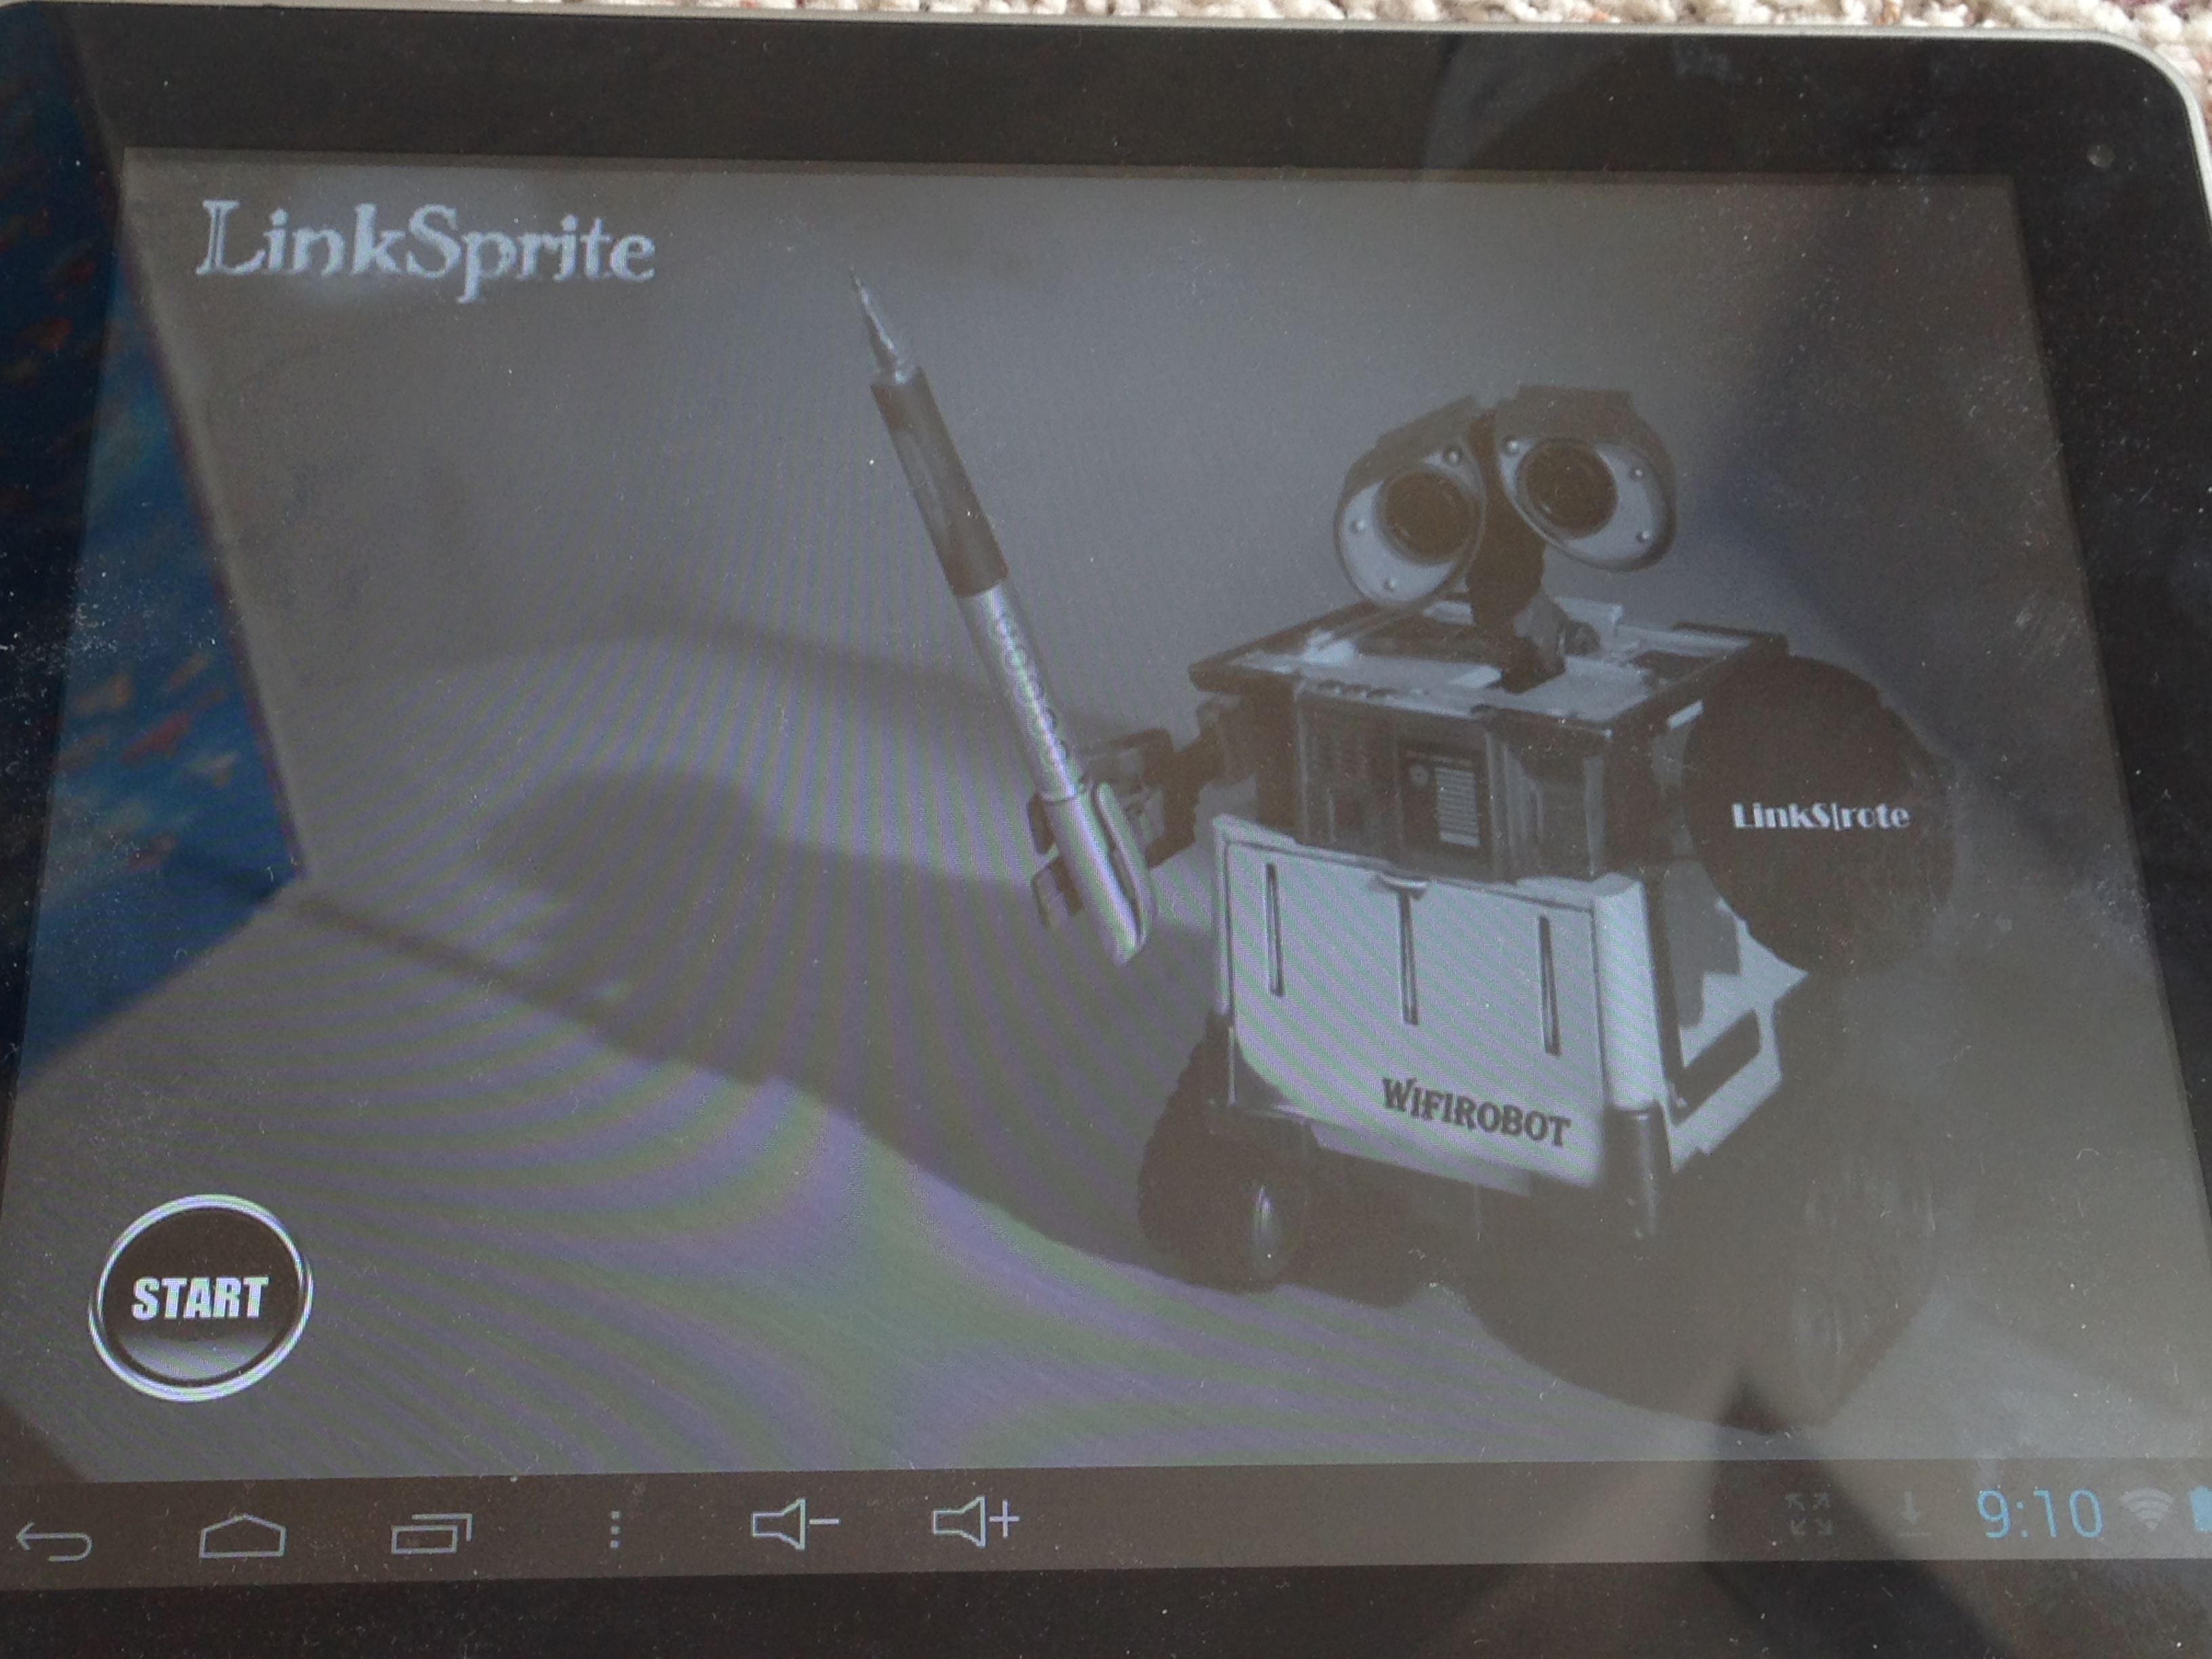
The following is the tablet with WiFi robot APK running:
Click the ‘setting’ as shown below to configure the application:

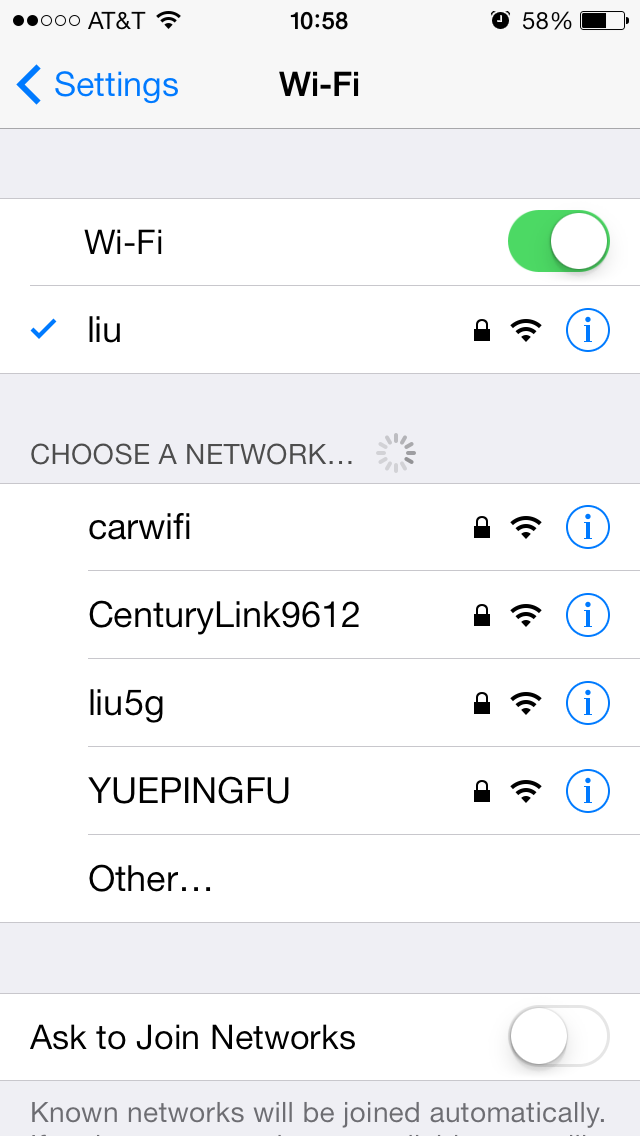
We need to configure the IP address exactly same as below:

Now, we need to use your Android tablet/Android to connect to the Wifi AP ‘carwifi’ with a password of ‘12345678’.
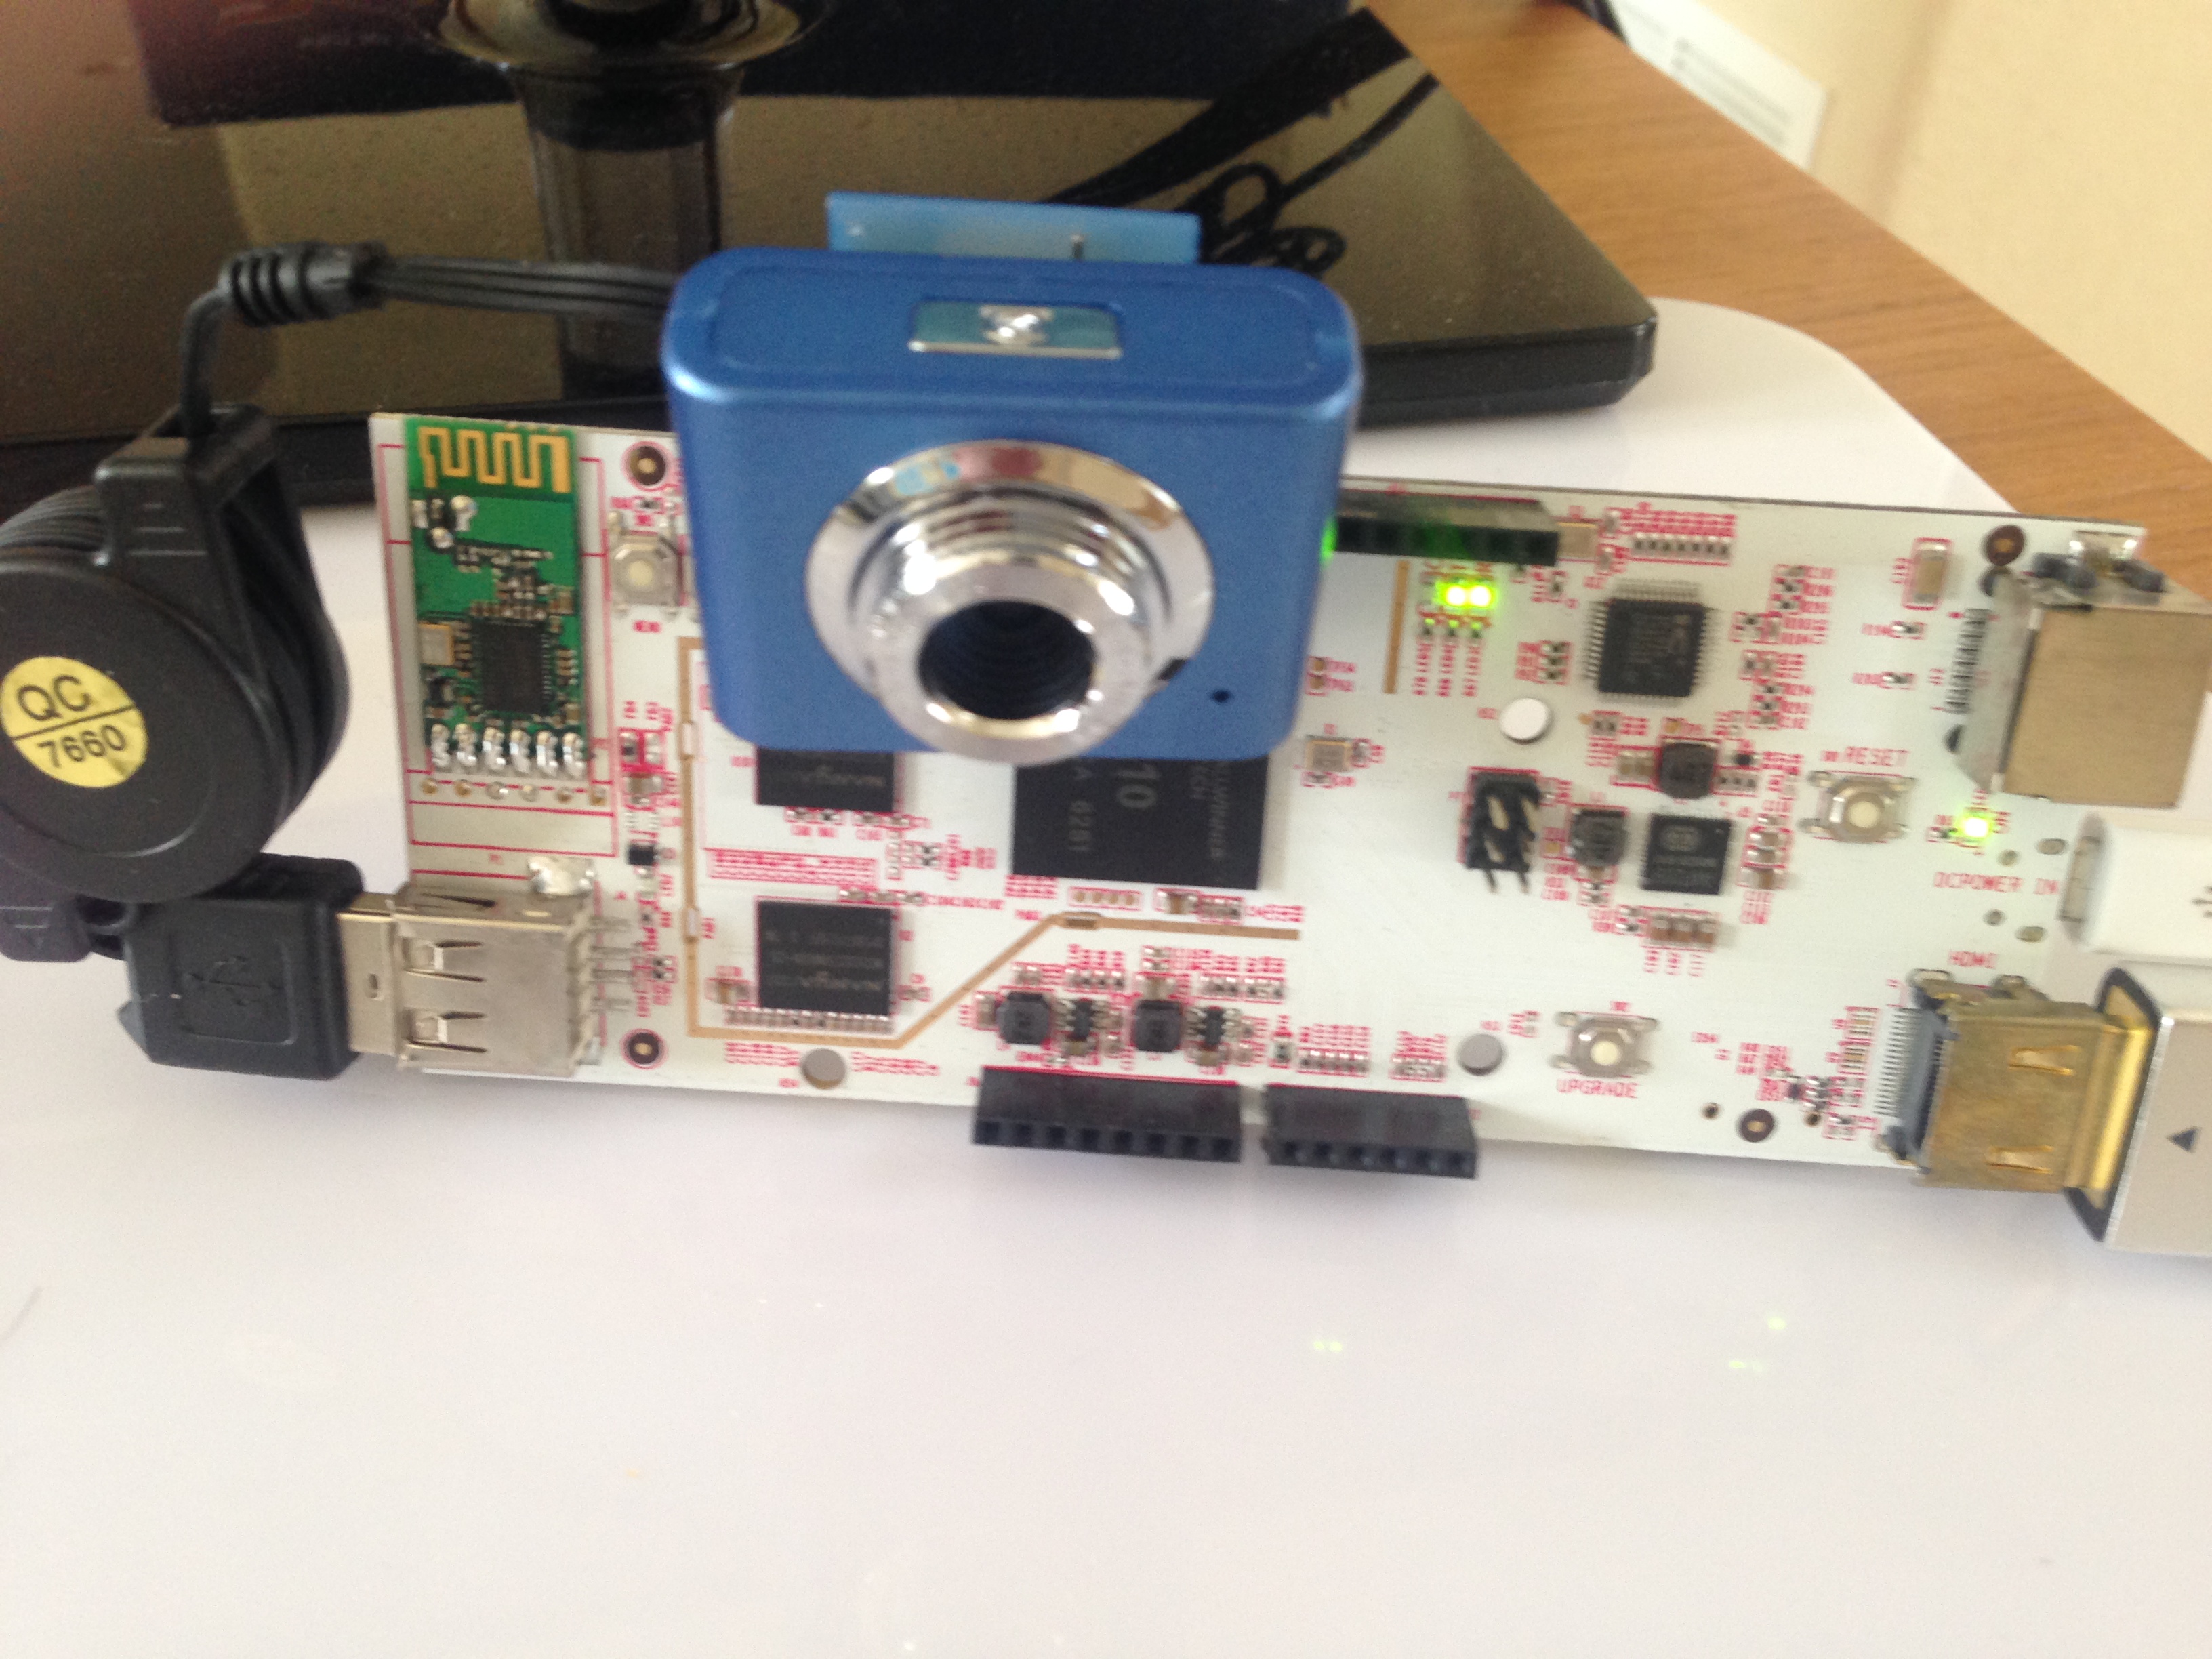
On pcDuino side, we plug in a USB camera, and power cycle pcDuino2.
Click the ‘start’ on the APP, we will see the real time video streaming!
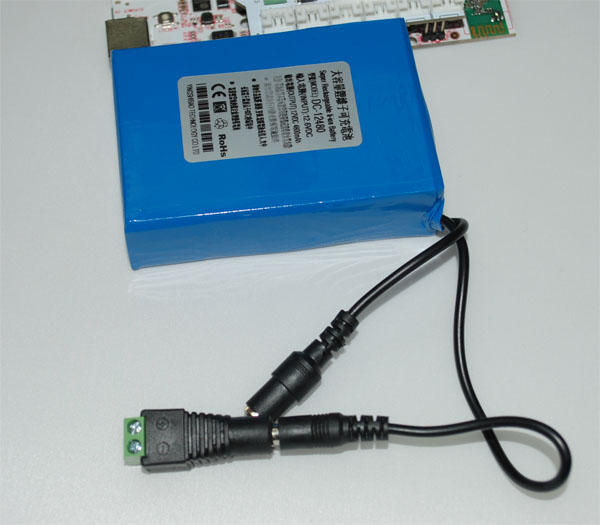
[/vc_column_text][/vc_tab][vc_tab title=”Install Motor Shield” tab_id=”1402514627078-2-0″][vc_column_text]We are going to use dual power supplies option. We use a 5V battery bank to power up the pcDuino, and a 12V 4800mAH robot battery pack to power the motors.
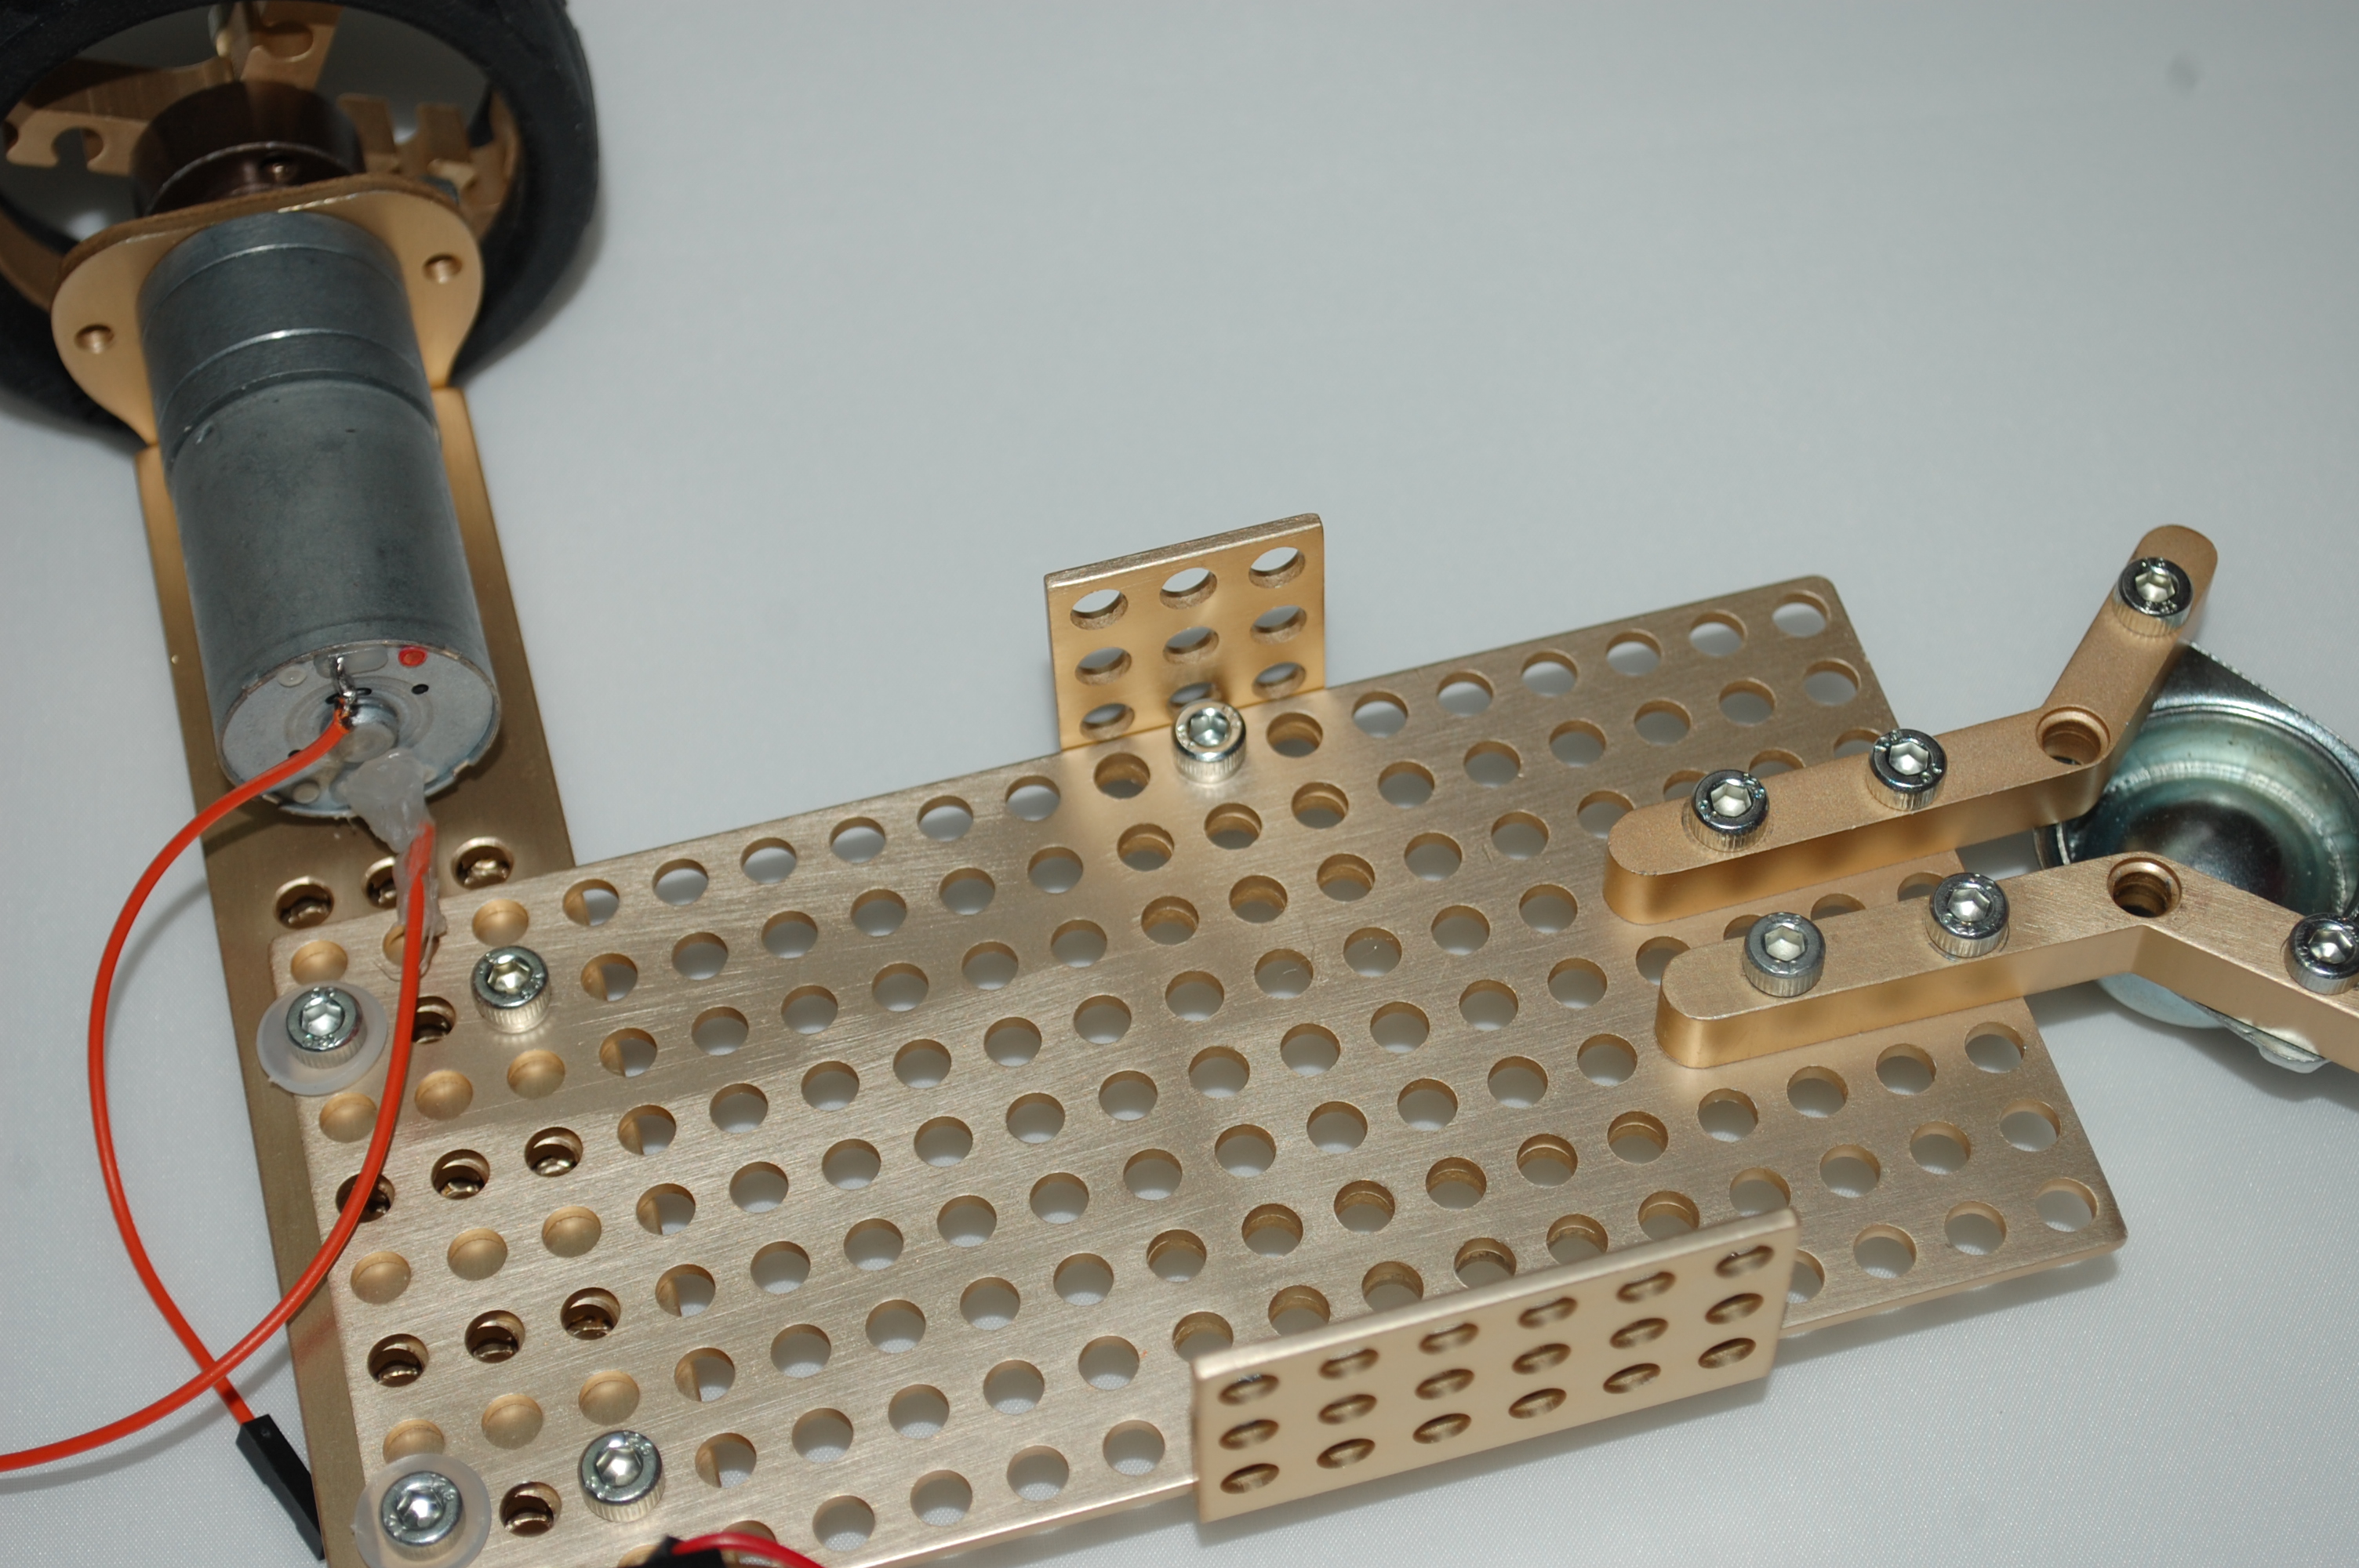
We add a bracket to the robot platform to support the battery pack:

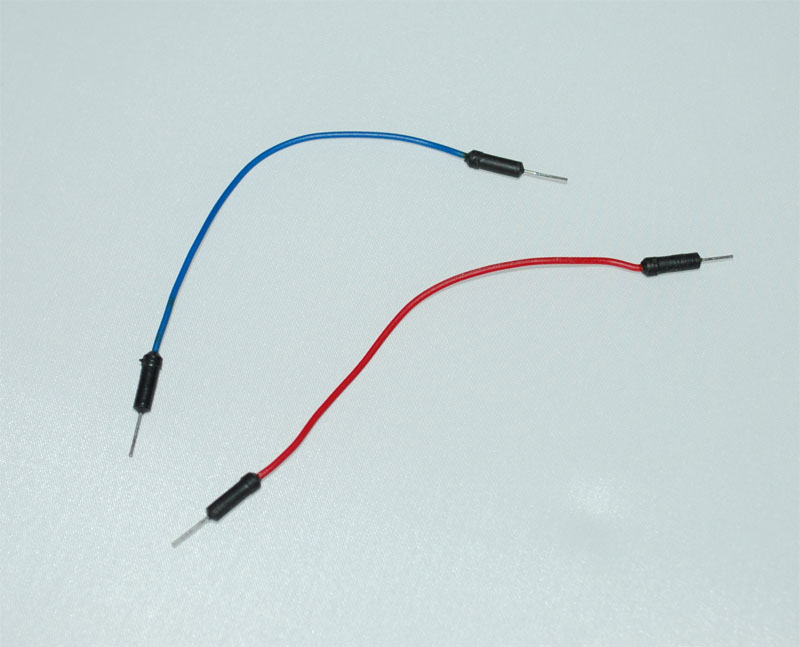
To power up the motors, we use two jumper wires:
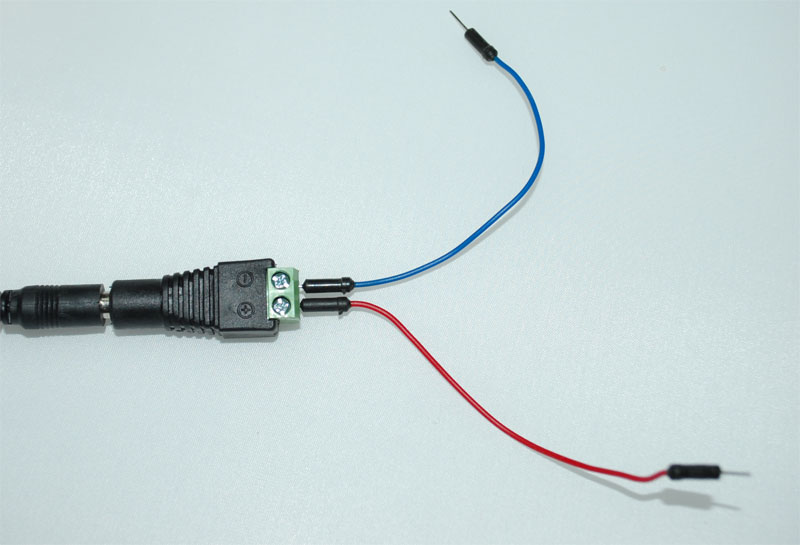
Break out the DC barrel connector of the battery pack using a DC barrel jack adapter.
To enable pcDuino2 to control the motors, we need a motor shield, which cam be directly installed on pcDuino:
Connect positive of the power supply to VS of the motor shield, and the ground to the ground of the motor shield:
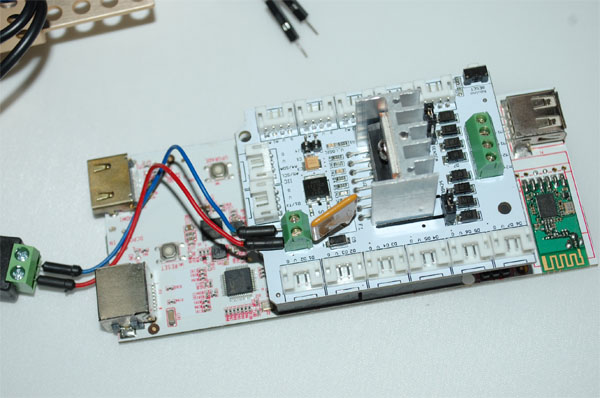
Hook up the leads from the two motors to the motor shield:
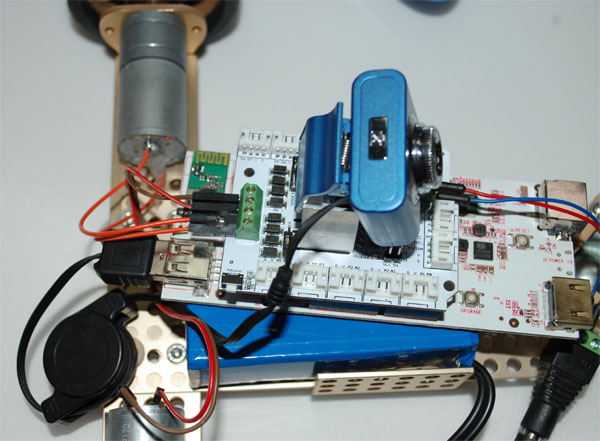
We may come back to adjust the polarity depending when we control the robot to see its direction. We also plug in the USB camera.
[/vc_column_text][/vc_tab][vc_tab title=”Demo Video” tab_id=”1402522075263-3-6″][vc_column_text]http://www.youtube.com/watch?v=6wp6g_6qz4w[/vc_column_text][/vc_tab][/vc_tour][/vc_column][/vc_row]
September 10, 2014 at 11:15 am
Sorry,
I’ve tried t use wifiRobot.apk, but my phone doesn’t have any “Menu Button” ,this is a StarAddict4. Is there another way to access the menu, and change the adresseof the pcduino ? or to get the source of the apk to change it ?
thanks…
I’m really happy with my pcduino, this is a great board
David de France