[vc_row][vc_column width=”1/1″][vc_column_text]OpenVPN is an open source software application that implements virtual private network (VPN) techniques for creating secure point-to-point or site-to-site connections in routed or bridged configurations and remote access facilities. It uses a custom security protocol[2] that utilizes SSL/TLS for key exchange. It is capable of traversing network address translators (NATs) and firewalls. It was written by James Yonan and is published under the GNU General Public License (GPL).[3]
OpenVPN allows peers to authenticate each other using a pre-shared secret key, certificates, or username/password. When used in a multiclient-server configuration, it allows the server to release an authentication certificate for every client, using signature and Certificate authority. It uses the OpenSSL encryption library extensively, as well as the SSLv3/TLSv1 protocol, and contains many security and control features.
![]()
In part I, we have looked at how to replace kernel with the one has NAT enabled. In this part, we will continue to look at how to install OpenVPN server on pcDuino, and set up the Windows Client to access the pcDuino server.[/vc_column_text][vc_tour][vc_tab title=”Install Server Software on pcDuio” tab_id=”1388201149-1-88″][vc_column_text]Before we do the following, we need to make sure the kernel has NAT enabled.
We can either build the kernel ourselves as shown in Part I, or we can download the ready one from pcduino_a10_hwpack_20131226.tar, Then we follow the instruction in How to replace kernel of pcDuino to replace the kernel.
1. Update the source list:
$sudo apt-get update
2. Install openvps and openssl:
$sudo apt-get install openvpn openssl
3.Edit Script
We enter into directory:
$cd /etc/openvpn
Copy the existing script:
$sudo cp -r /usr/share/doc/openvpn/examples/easy-rsa/2.0 ./easy-rsa
$sudo nano /easy-rsa/vars
Locate the line as following:
export EASY_RSA=”`pwd`”
and replace it with:
export EASY_RSA=”/etc/openvpn/easy-rsa”
4. Generate key:
$cd easy-rsa
$sudo su
$source vars
$./clean-all
$ln -s openssl-1.0.0.cnf openssl.cnf
$./pkitool –initca

5. Now we continue to generate the encryption files:
$./build-ca OpenVPN
$./build-key-server server
$./build-key client1
$./build-dh
6. Return to directory openvpn, and create file openvpn.conf:
$cd ..
$nano openvpn.conf
Copy and paste the following contents to openvpn.conf:
dev tun
proto udp
port 1194
ca /etc/openvpn/easy-rsa/keys/ca.crt
cert /etc/openvpn/easy-rsa/keys/server.crt
key /etc/openvpn/easy-rsa/keys/server.key
dh /etc/openvpn/easy-rsa/keys/dh1024.pem
user nobody
group nogroup
server 10.8.0.0 255.255.255.0
persist-key
persist-tun
status /var/log/openvpn-status.log
verb 3
client-to-client
push “redirect-gateway def1″
#set the dns servers
push “dhcp-option DNS 8.8.8.8″
push “dhcp-option DNS 8.8.4.4″
log-append /var/log/openvpn
comp-lzo
7. Enable IP forward. We used eth0, if you are using WiFi, you can use ‘$ifconfig’ to find out which device you are using.
$sh -c ‘echo 1 > /proc/sys/net/ipv4/ip_forward’
$apt-get install iptables
$ iptables -t nat -A POSTROUTING -s 10.0.0.0/8 ! -d 10.0.0.0/8 -o eth0 -j MASQUERADE
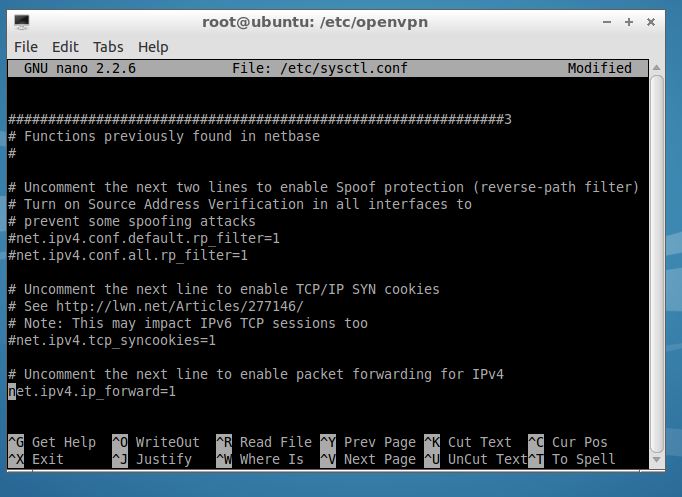
8. Edit /etc/sysctl.conf:
$nano /etc/sysctl.conf
Locate the line “net.ipv4.ip_forward=1” and remove ‘#’
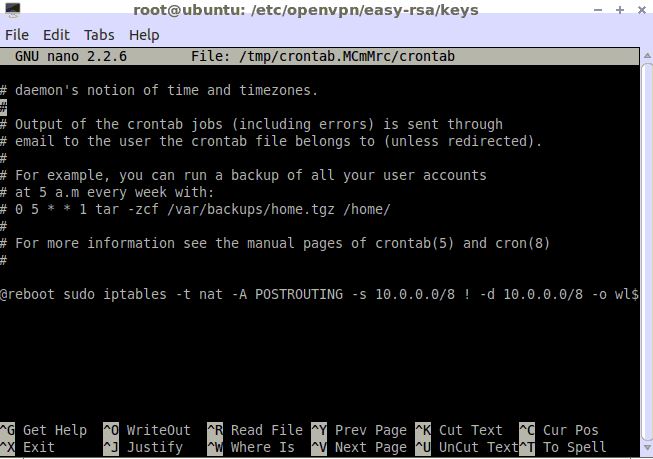
9. Turn the IP forward on every reset:
We use the following command: “$crontab -e”. It will bring up an edit windows, and we add the following sentence to it:
@reboot sudo iptables -t nat -A POSTROUTING -s 10.0.0.0/8 ! -d 10.0.0.0/8 -o wlan4-j MASQUERADE
”
10. Create ovpn file:
$cd /etc/openvpn/easy-rsa/keys
use “$nano pcDuino.ovpn ” to create a file, and copy and paste the following content:
”
dev tun
client
proto udp
remote IPXX.XX.XX.XX 1194
resolv-retry infinite
nobind
persist-key
persist-tun
ca ca.crt
cert client1.crt
key client1.key
comp-lzo
verb 3
”
In the above content, IPXX.XX.XX.XX is the IP address of pcDuino. It can be internal IP address if you are testing from LAN, or WAN IP address if you are accessing from WAN.
11. Package all key files:
$tar czf openvpn-keys.tgz ca.crt ca.key client1.crt client1.csr client1.key pcDuino.ovpn
$$mv openvpn-keys.tgz /home/ubuntu
12. Restart OpenVPN Server:
$sudo /etc/init.d/openvpn start
[/vc_column_text][/vc_tab][vc_tab title=”Download and Configure Windows Client” tab_id=”1388201149-2-76″][vc_column_text]The Windows client can be downloaded from:
http://openvpn.net/index.php/access-server/download-openvpn-as-sw/357.html
You can also download from:
https://s3.amazonaws.com/linksprite/cnlearn/tools/openvpn-client.msi
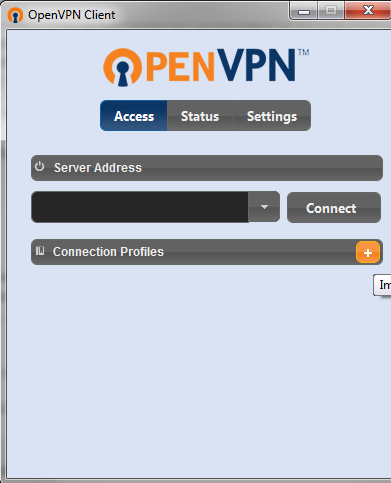
We click the + next to connections to add a profile:
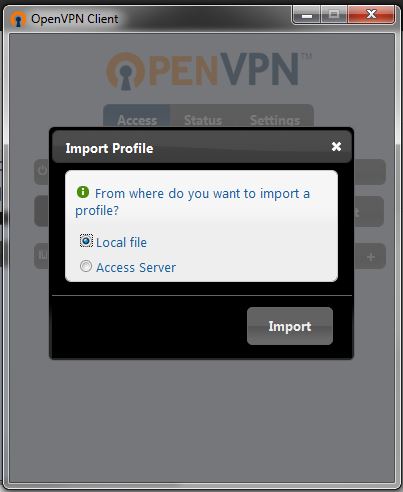
Locate the key files that were generated on pcDuino:

We will get an icon named pcDuino:
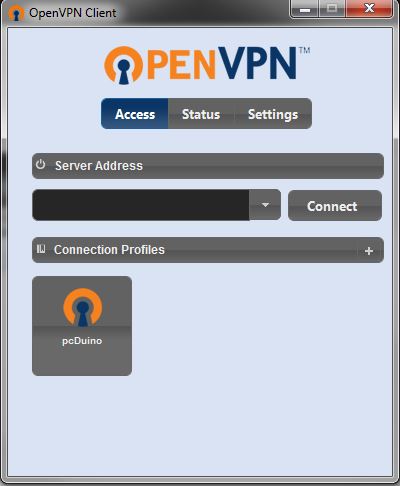
Click pcDuino icon to connect:
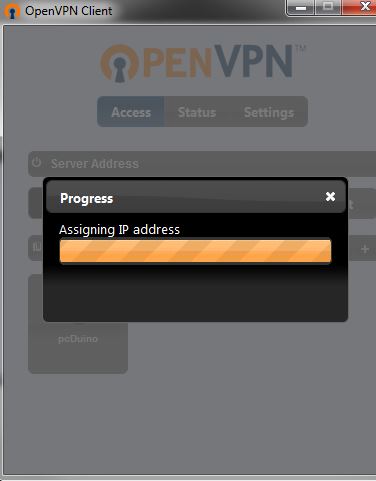
Enjoy![/vc_column_text][/vc_tab][/vc_tour][/vc_column][/vc_row]
Leave a Reply
You must be logged in to post a comment.