When pcDuino team released firmware, they usually release a kernel image for PhoenixCard first. But Phonenixcard can only be used on Windows machine. For Linux and Mac, ‘dd’ is the tool used to create a production SD.
In this post, we show how to generate the ‘dd’ image from the PhonenixCard image.
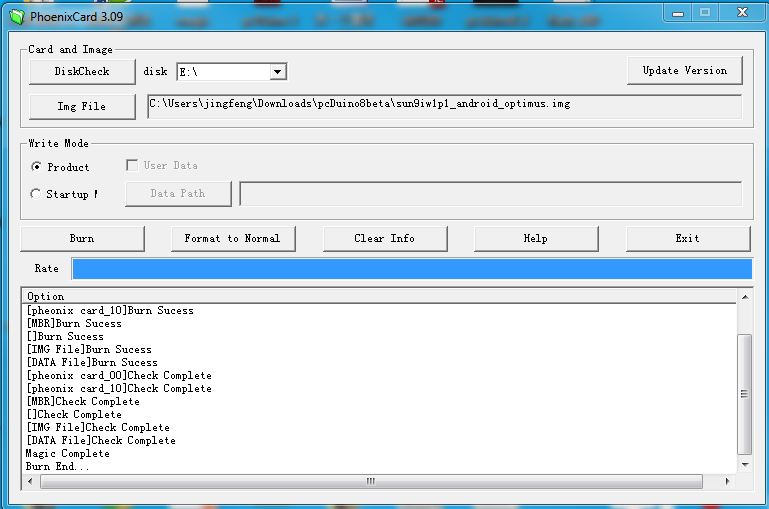
First, we need to create a production SD using PhoenixCard on a windows machine. Sorry. We have to do this.
We then check the size of partitions of the production SD card. Oops. Still on the windows PC.

We can see that the size of the special partition is 82MB. We just need to copy out these content. Insert the just made production SD into a linux machine, and use the following command:

Now we rename the file to be ‘pcduino_a10_kernel_dd_20140620.img’.
Copy out the file, and it can be used to create on Windows PC by win32diskimage.

Or on a linux or MAC, use the following command:
#sudo dd if=pcduino_a10_kernel_dd_20140620.img of=/dev/yourdevice bs=4M
Leave a Reply
You must be logged in to post a comment.