The pcDuino4 STB and pcDuino8 STB are set top box targeting media center applications.
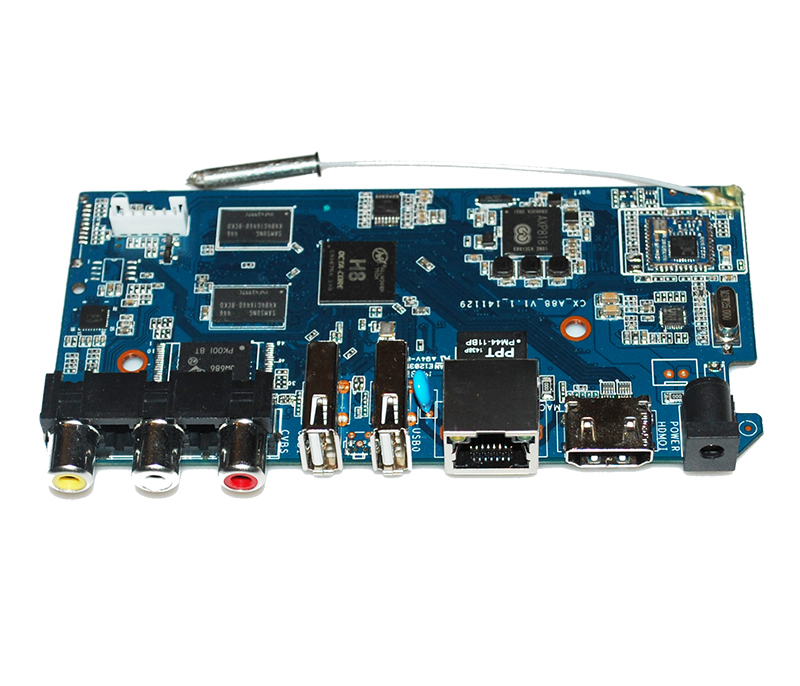
Since pcDuino4 STB and pcDuino8 STB don’t have SD slots. Many users are asking how to re-flash. The USB port 0, which is next to the Ethernet RJ45, is the USB OTG port. We will be able to flash image using that USB port using a special USB type A male to type A male cable.
The flashing process is similar to that in this post. The update button is on the back of the PCBA, and marked as SW2. We should press down SW2 during power cycle for pcDuino4 STB and pcDuino8 STB to enter into OTG flashing mode.
Leave a Reply
You must be logged in to post a comment.