George Mitsuoka provides the steps on how to VNC to pcDuino3 Nano through USB-OTG from a Mac. Thanks, George!
1. Connect power (at least 2000 ma) to the pcDuino
2. From the Apple menu, open “System Preferences…”
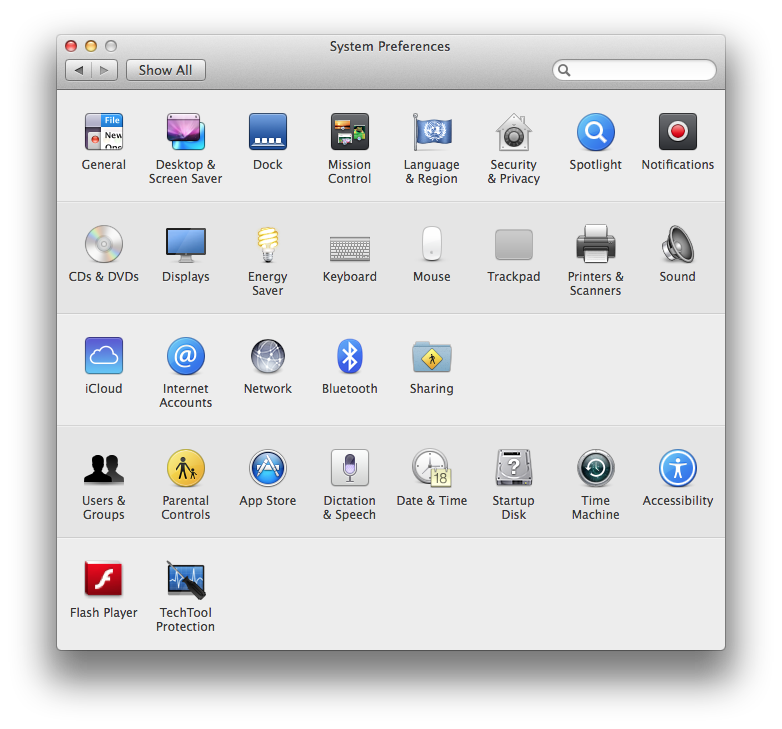
3. Select the “Network” control panel
4. Connect the pcDuino USB-OTG port to a Mac USB port using a microUSB cable
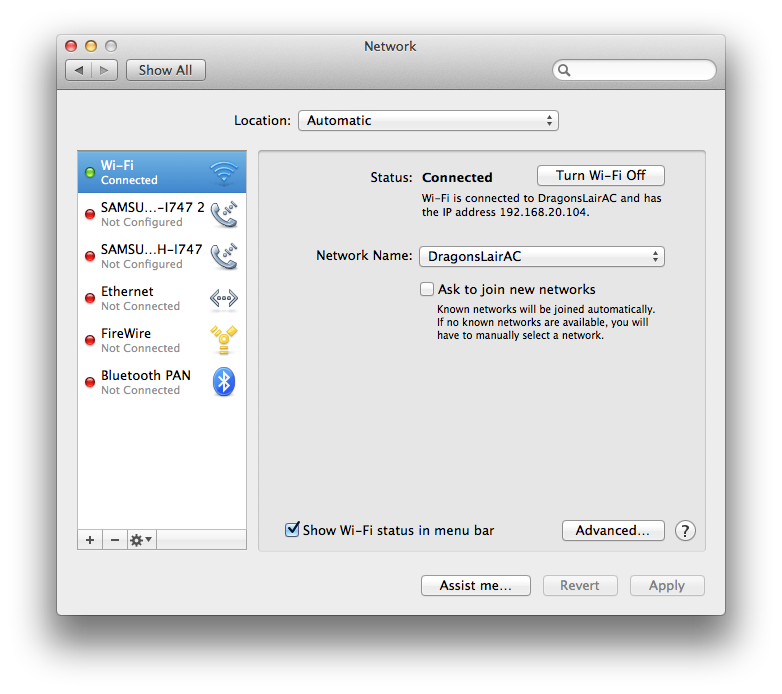
5. The “RNDIS/Ethernet Gadget” should appear in the Network control panel

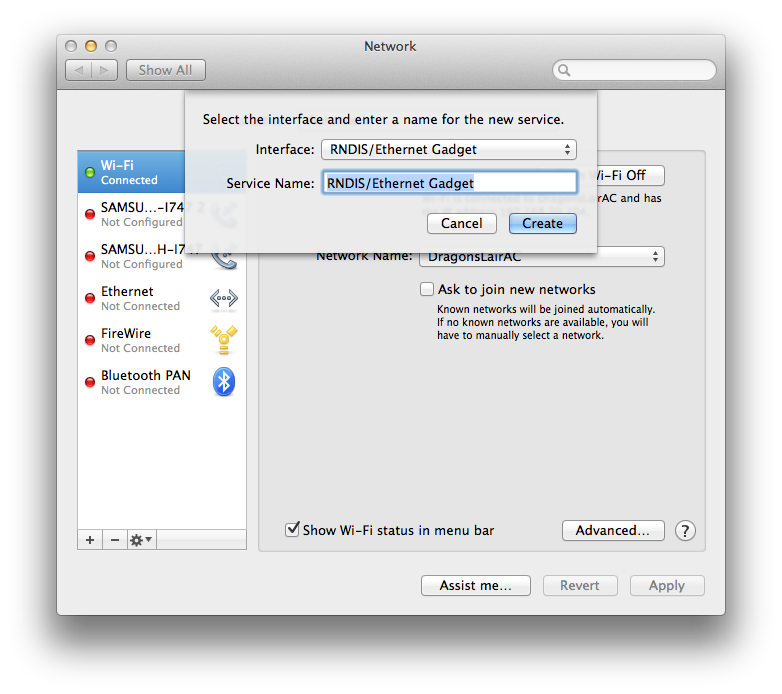
a. If the “RNDIS/Ethernet Gadget” does not appear, press the “+” button and create the “RNDIS/Ethernet Gadget”
6. Press the “Advanced…” button to open the IP configuration dialog
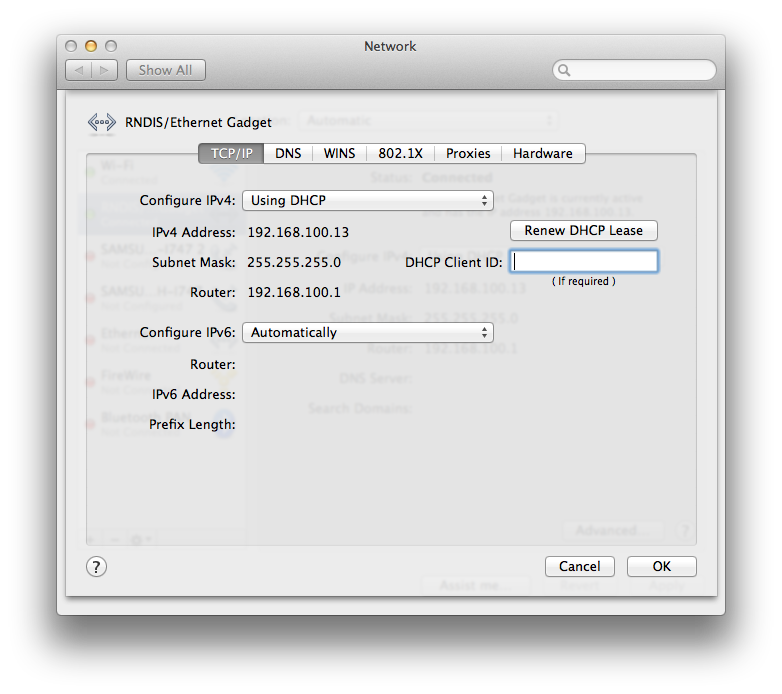
7. Make sure “Configure IPv4 using DHCP” is selected.
8. If the IP address does not start with “192.”, press the “Renew DHCP Lease” button. You may have to do this several times until the IP address looks like “192.168.100.xx”. Note the router address will be “192.168.100.1”
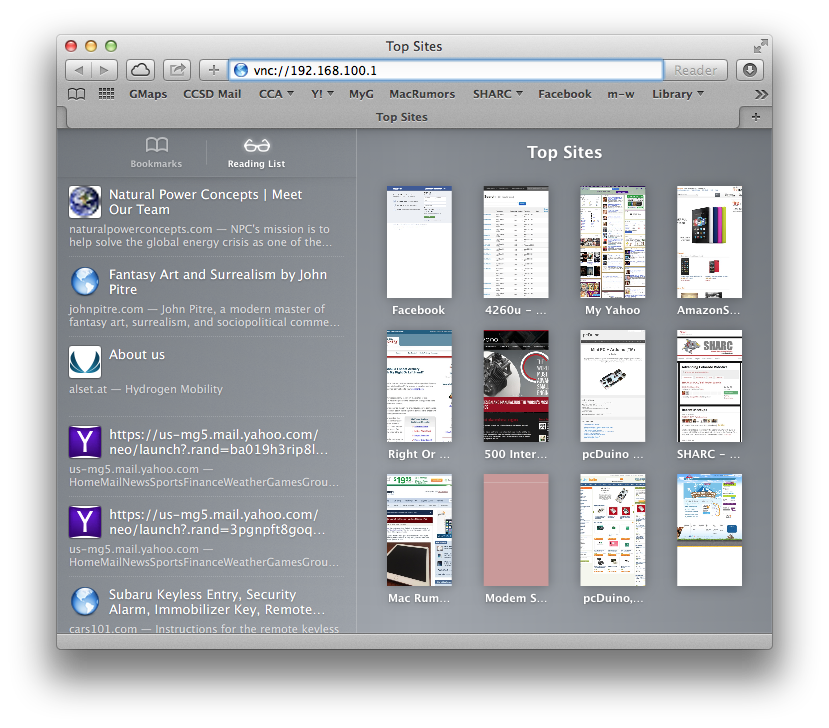
9. Open Safari and enter “VNC://192.168.100.1” in the address box
10. Press “Connect” in the dialog box. If you are asked for a password, enter “ubuntu”
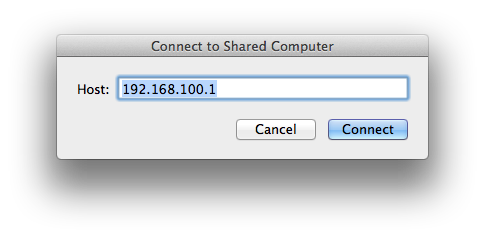
11. Success!

Leave a Reply
You must be logged in to post a comment.