At FTF 2015, we attended an mbed workshop. It amazed us so much that its so easy to use. In this tutorial, we show how to use Freescale Freedom board with mbed.
To use the Freedom board, first we plug it to the USB port of a Windows PC using the microUSB port marked as OpenSDA.
![IMG_0032[1]](http://learn.linksprite.com/wp-content/uploads/2015/07/IMG_00321.jpg)
For the first time, Windows will install proper driver, and the freedom board will show up as a USB driver.
![IMG_0033[1]](http://learn.linksprite.com/wp-content/uploads/2015/07/IMG_00331.jpg)
Open the html page that resides on the USB driver:
![IMG_0034[1]](http://learn.linksprite.com/wp-content/uploads/2015/07/IMG_00341.jpg)
It will asks for your mbed developer username and password. Create one if you don’t have one.
![IMG_0035[1]](http://learn.linksprite.com/wp-content/uploads/2015/07/IMG_00351.jpg)
After we log in, we will see that the freedom board will linked to our account.
![IMG_0036[1]](http://learn.linksprite.com/wp-content/uploads/2015/07/IMG_00361.jpg)
Scoll down the page, and we will found a sample application, “helloworld”:
![IMG_0037[1]](http://learn.linksprite.com/wp-content/uploads/2015/07/IMG_00371.jpg)
Click “Import programa” and the browser will open new tab showing the code files and complier. Click ‘Compile all’, it will build the code and prompt to download the binary file:
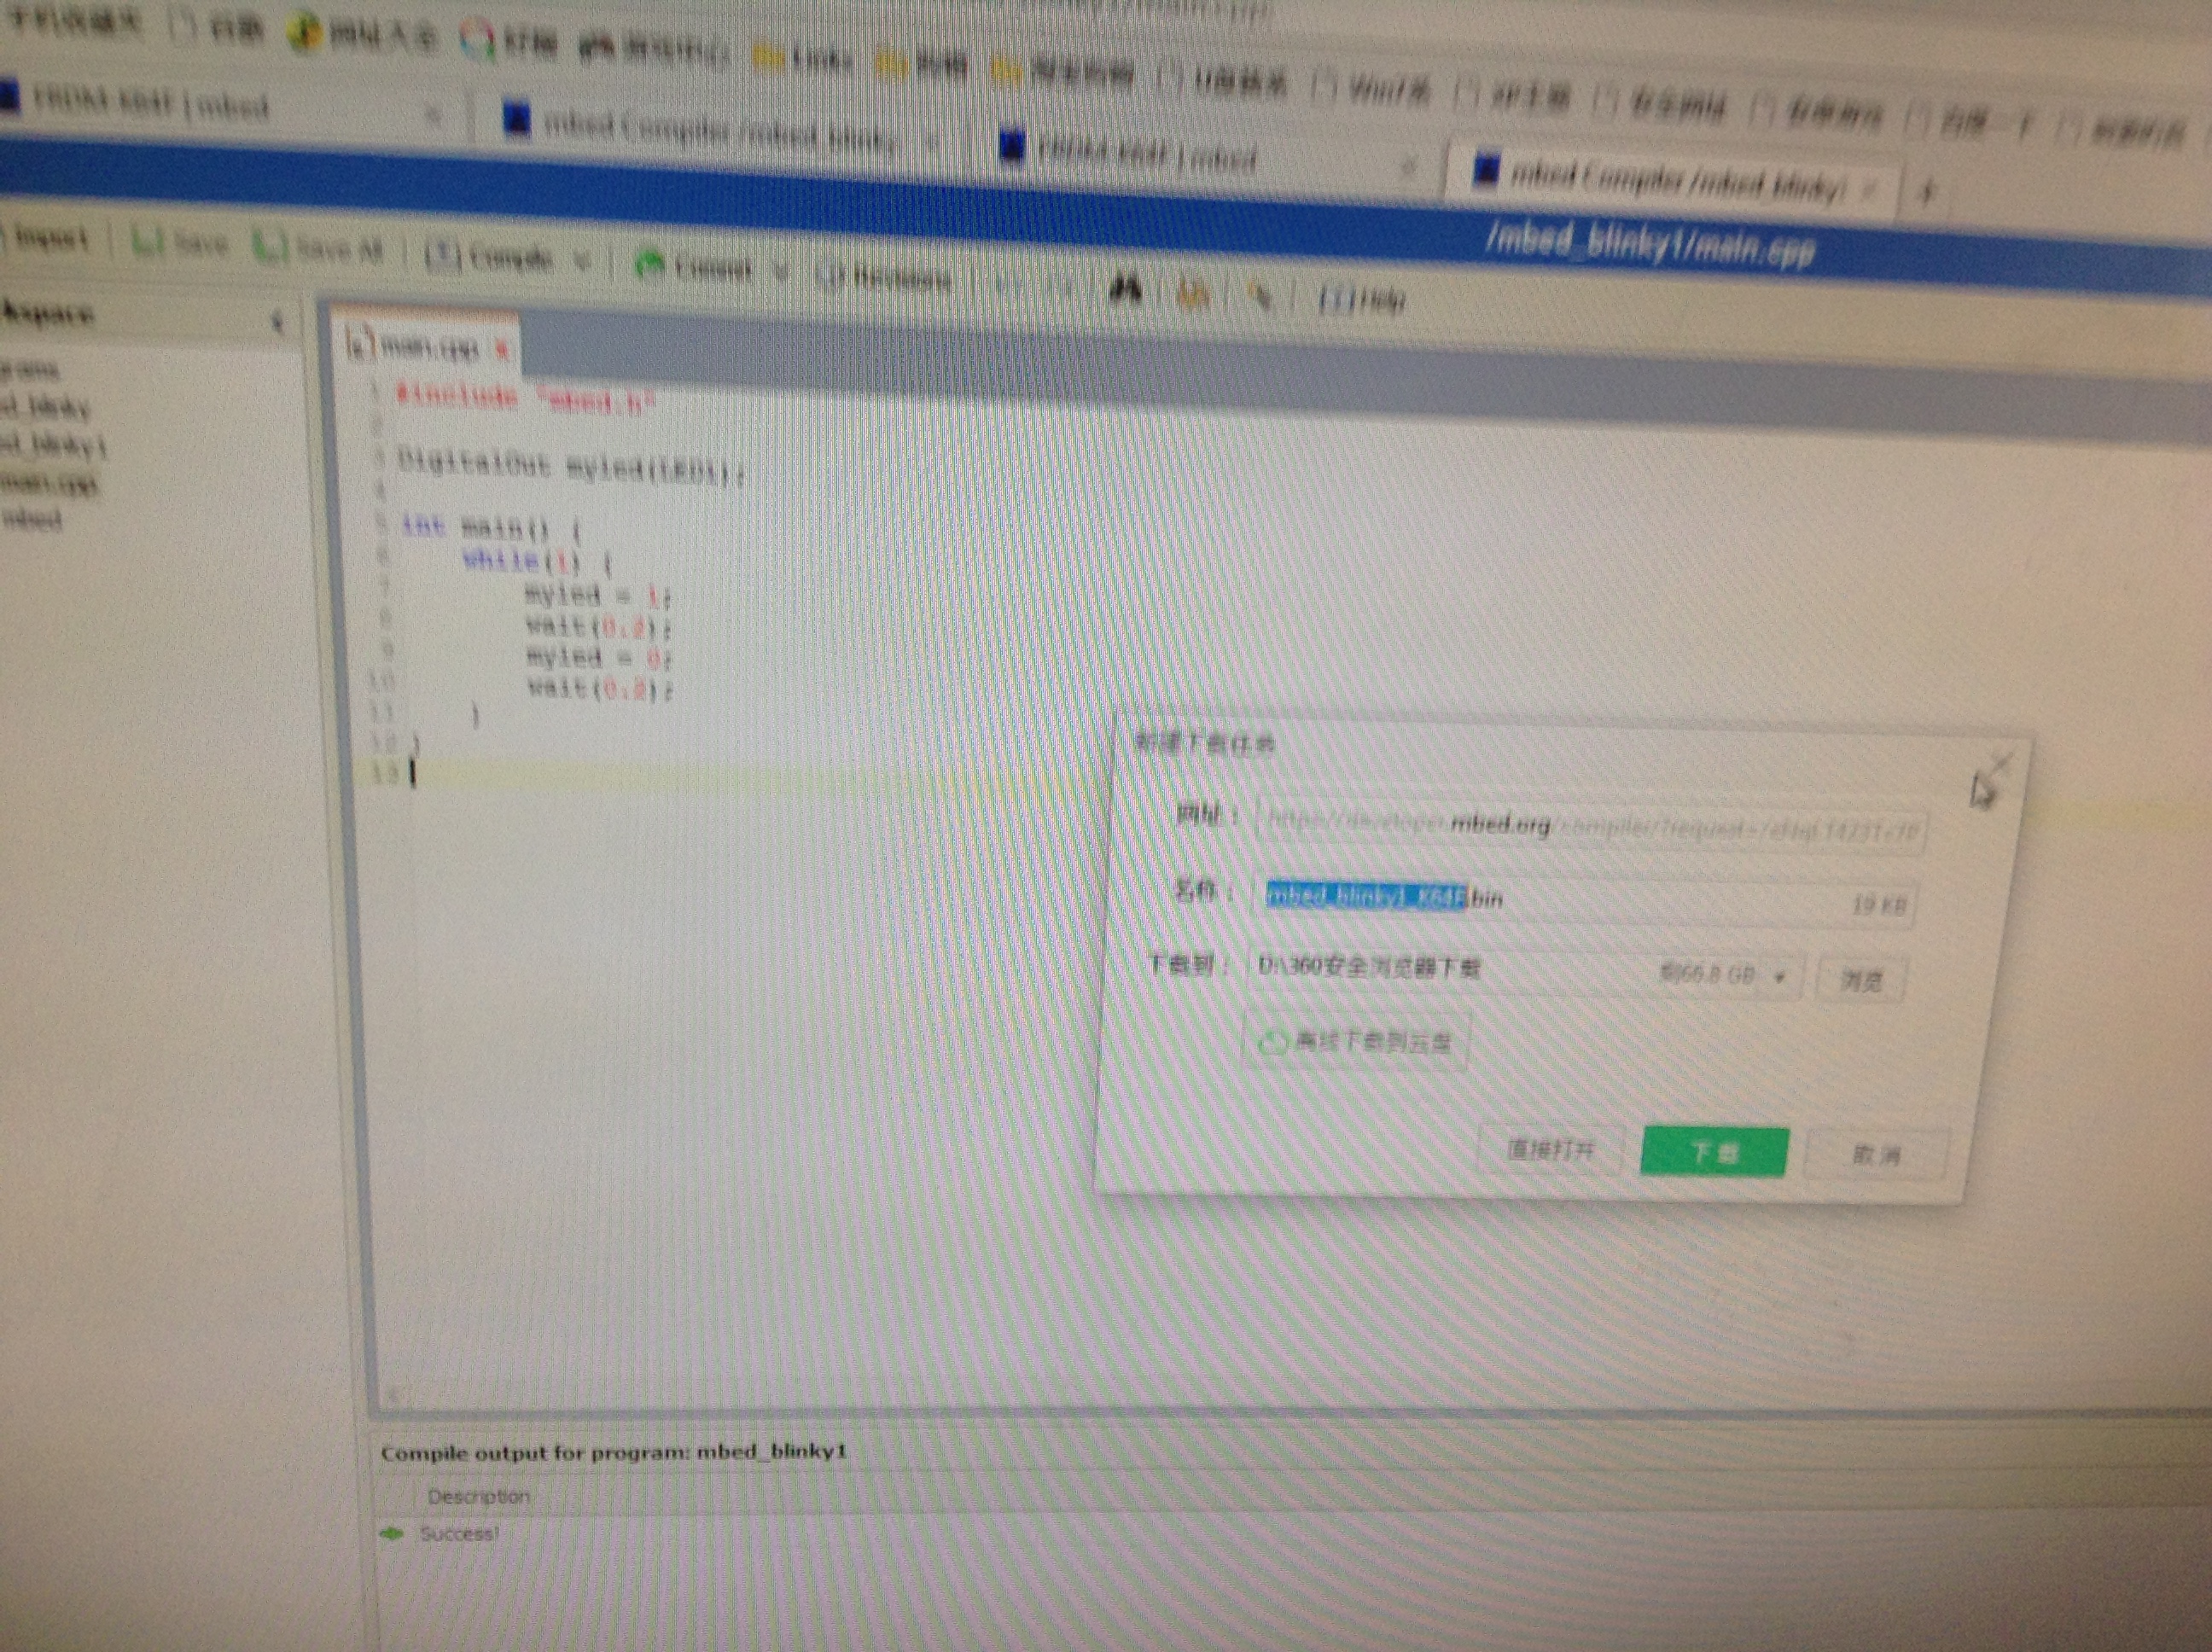
After download, copy the binary to the USB driver that created by the freedom board. The board will flash its memory using the file dragged to it, and the program will work after we hit the reset button.
Leave a Reply
You must be logged in to post a comment.