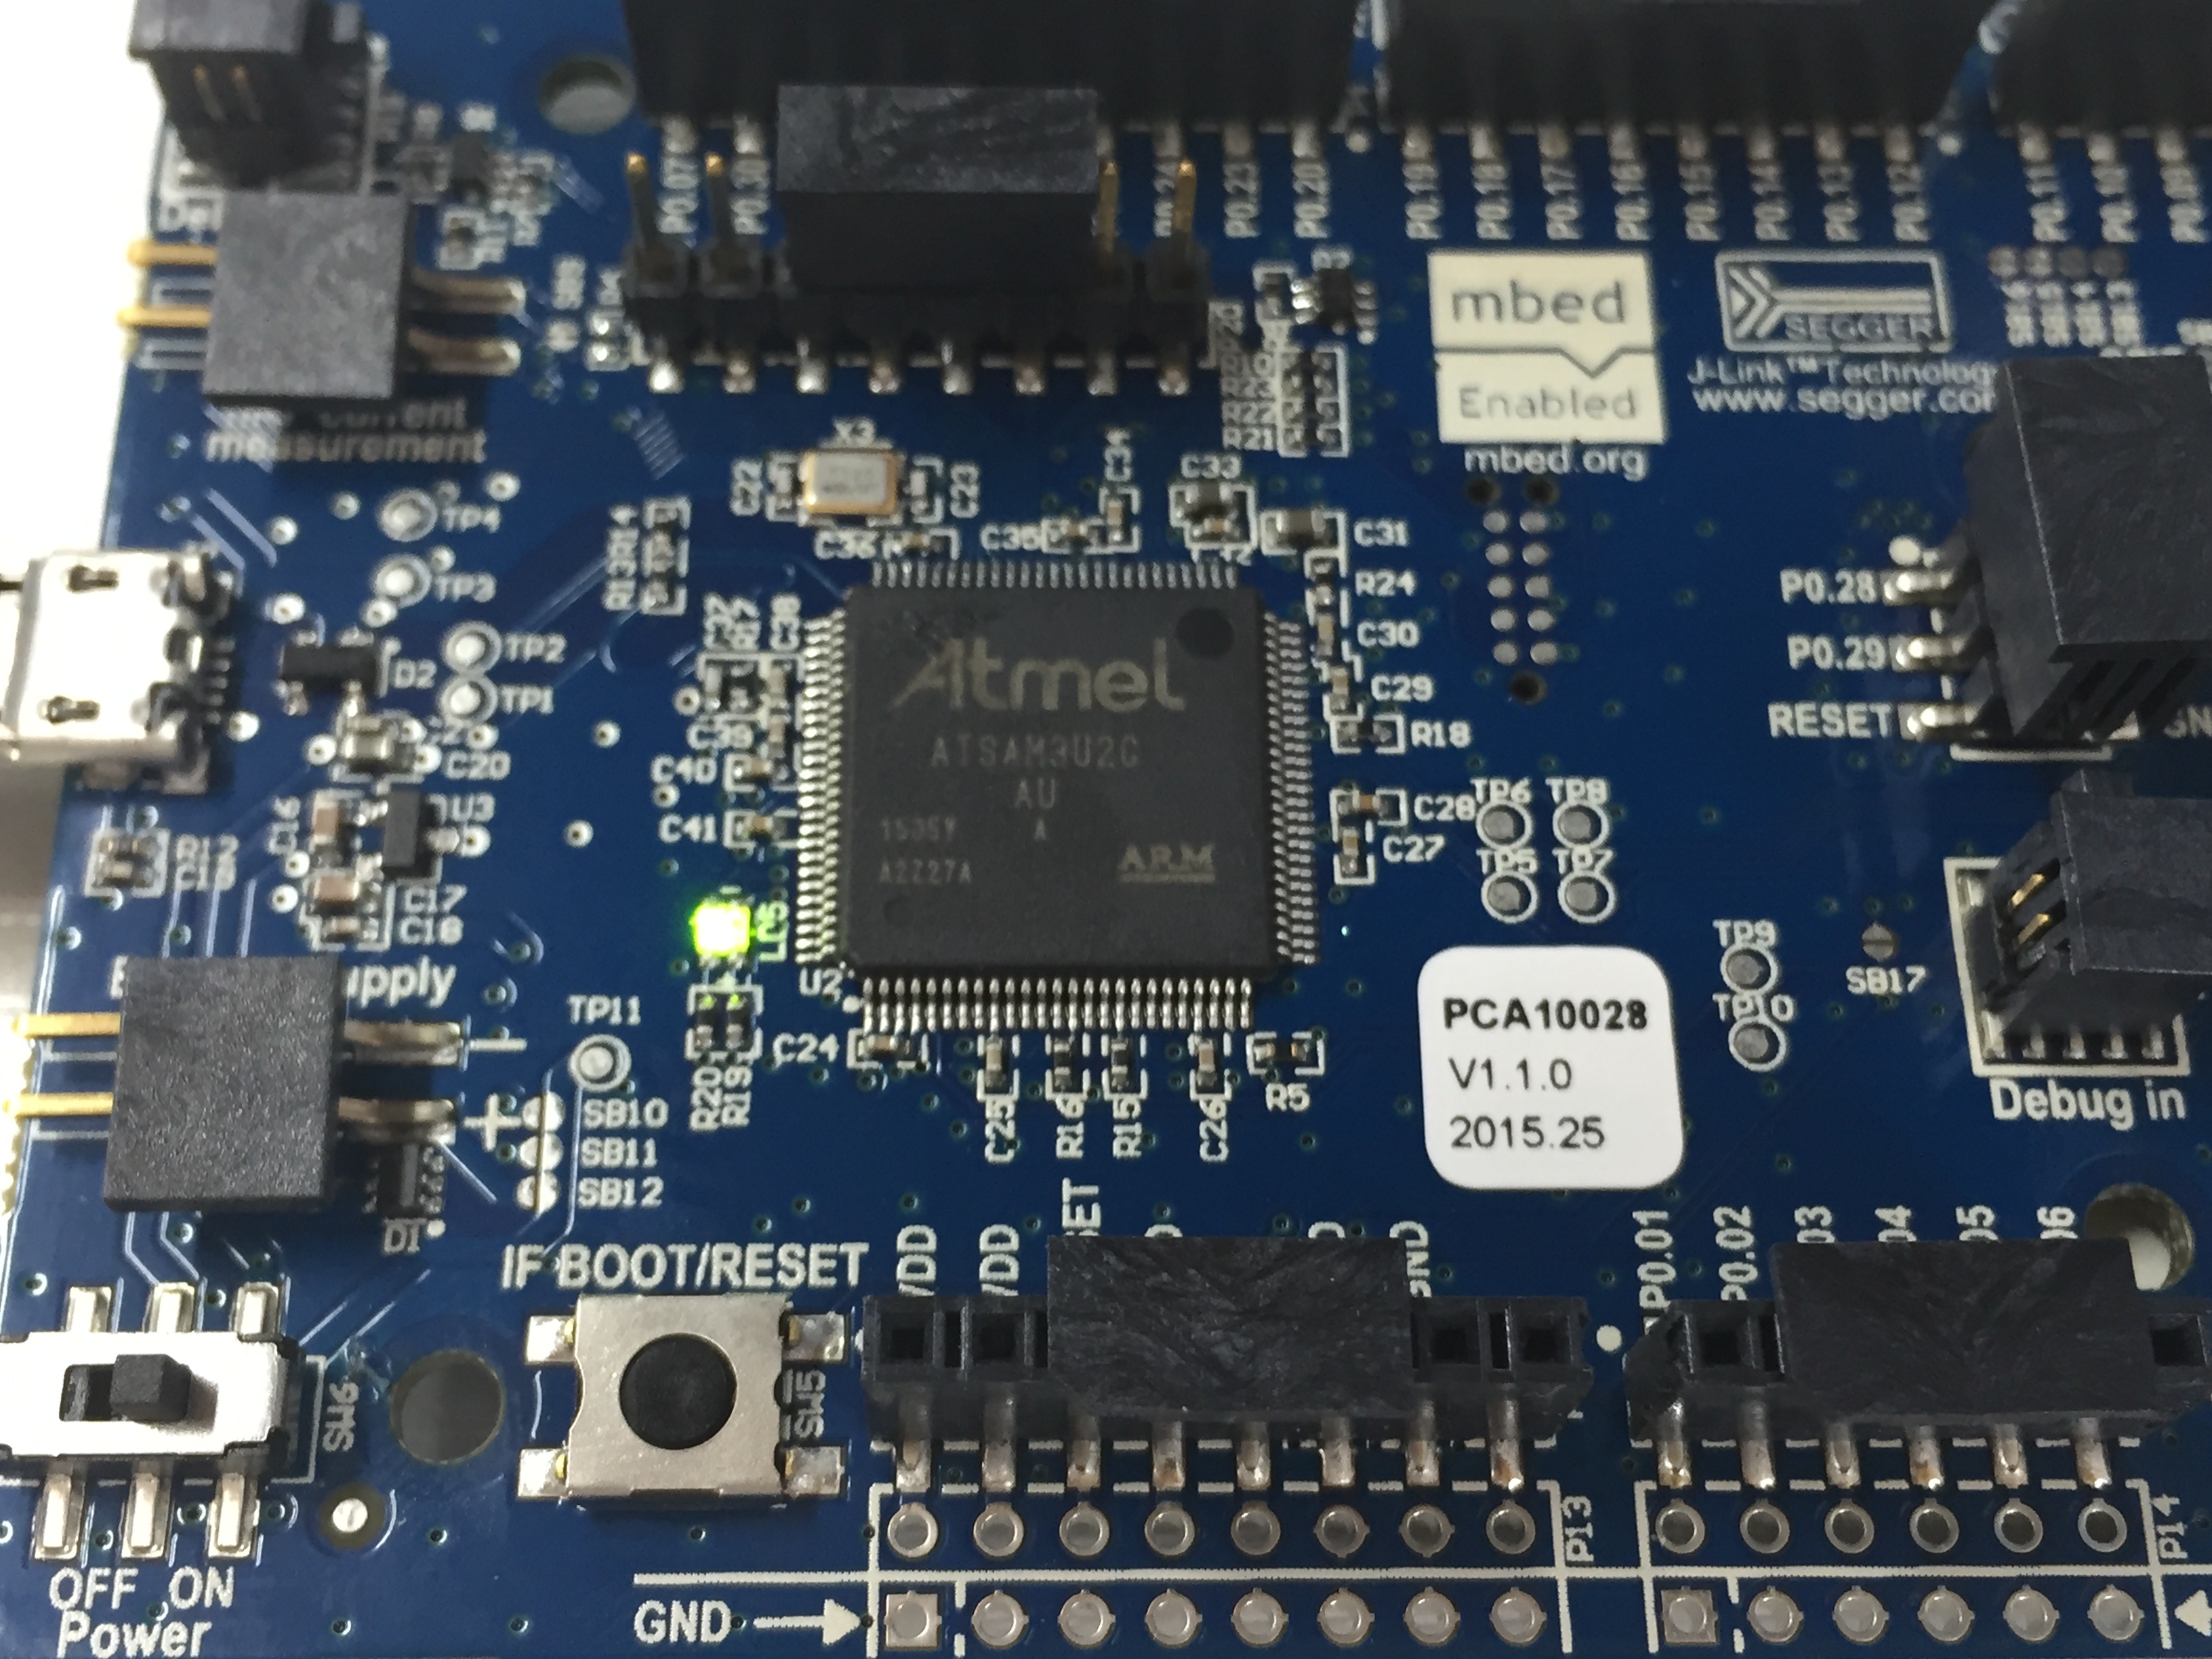
The nRF51 Development Kit is a single-board development kit for Bluetooth Smart, ANT and 2.4GHz proprietary applications using the nRF51 Series SoC. This kit supports both development for both nRF51822 and nRF51422 SoCs.
The USB port supports both J-Link and mbed toolchains. In this post, we show the details on how to using the mbed programming environment to develop BLE 4.0 application.
nRF51-DK defaults with J-Link. So the first step is to flash it with mbed CMSIS-DAP software. To load it, press the RESET button:
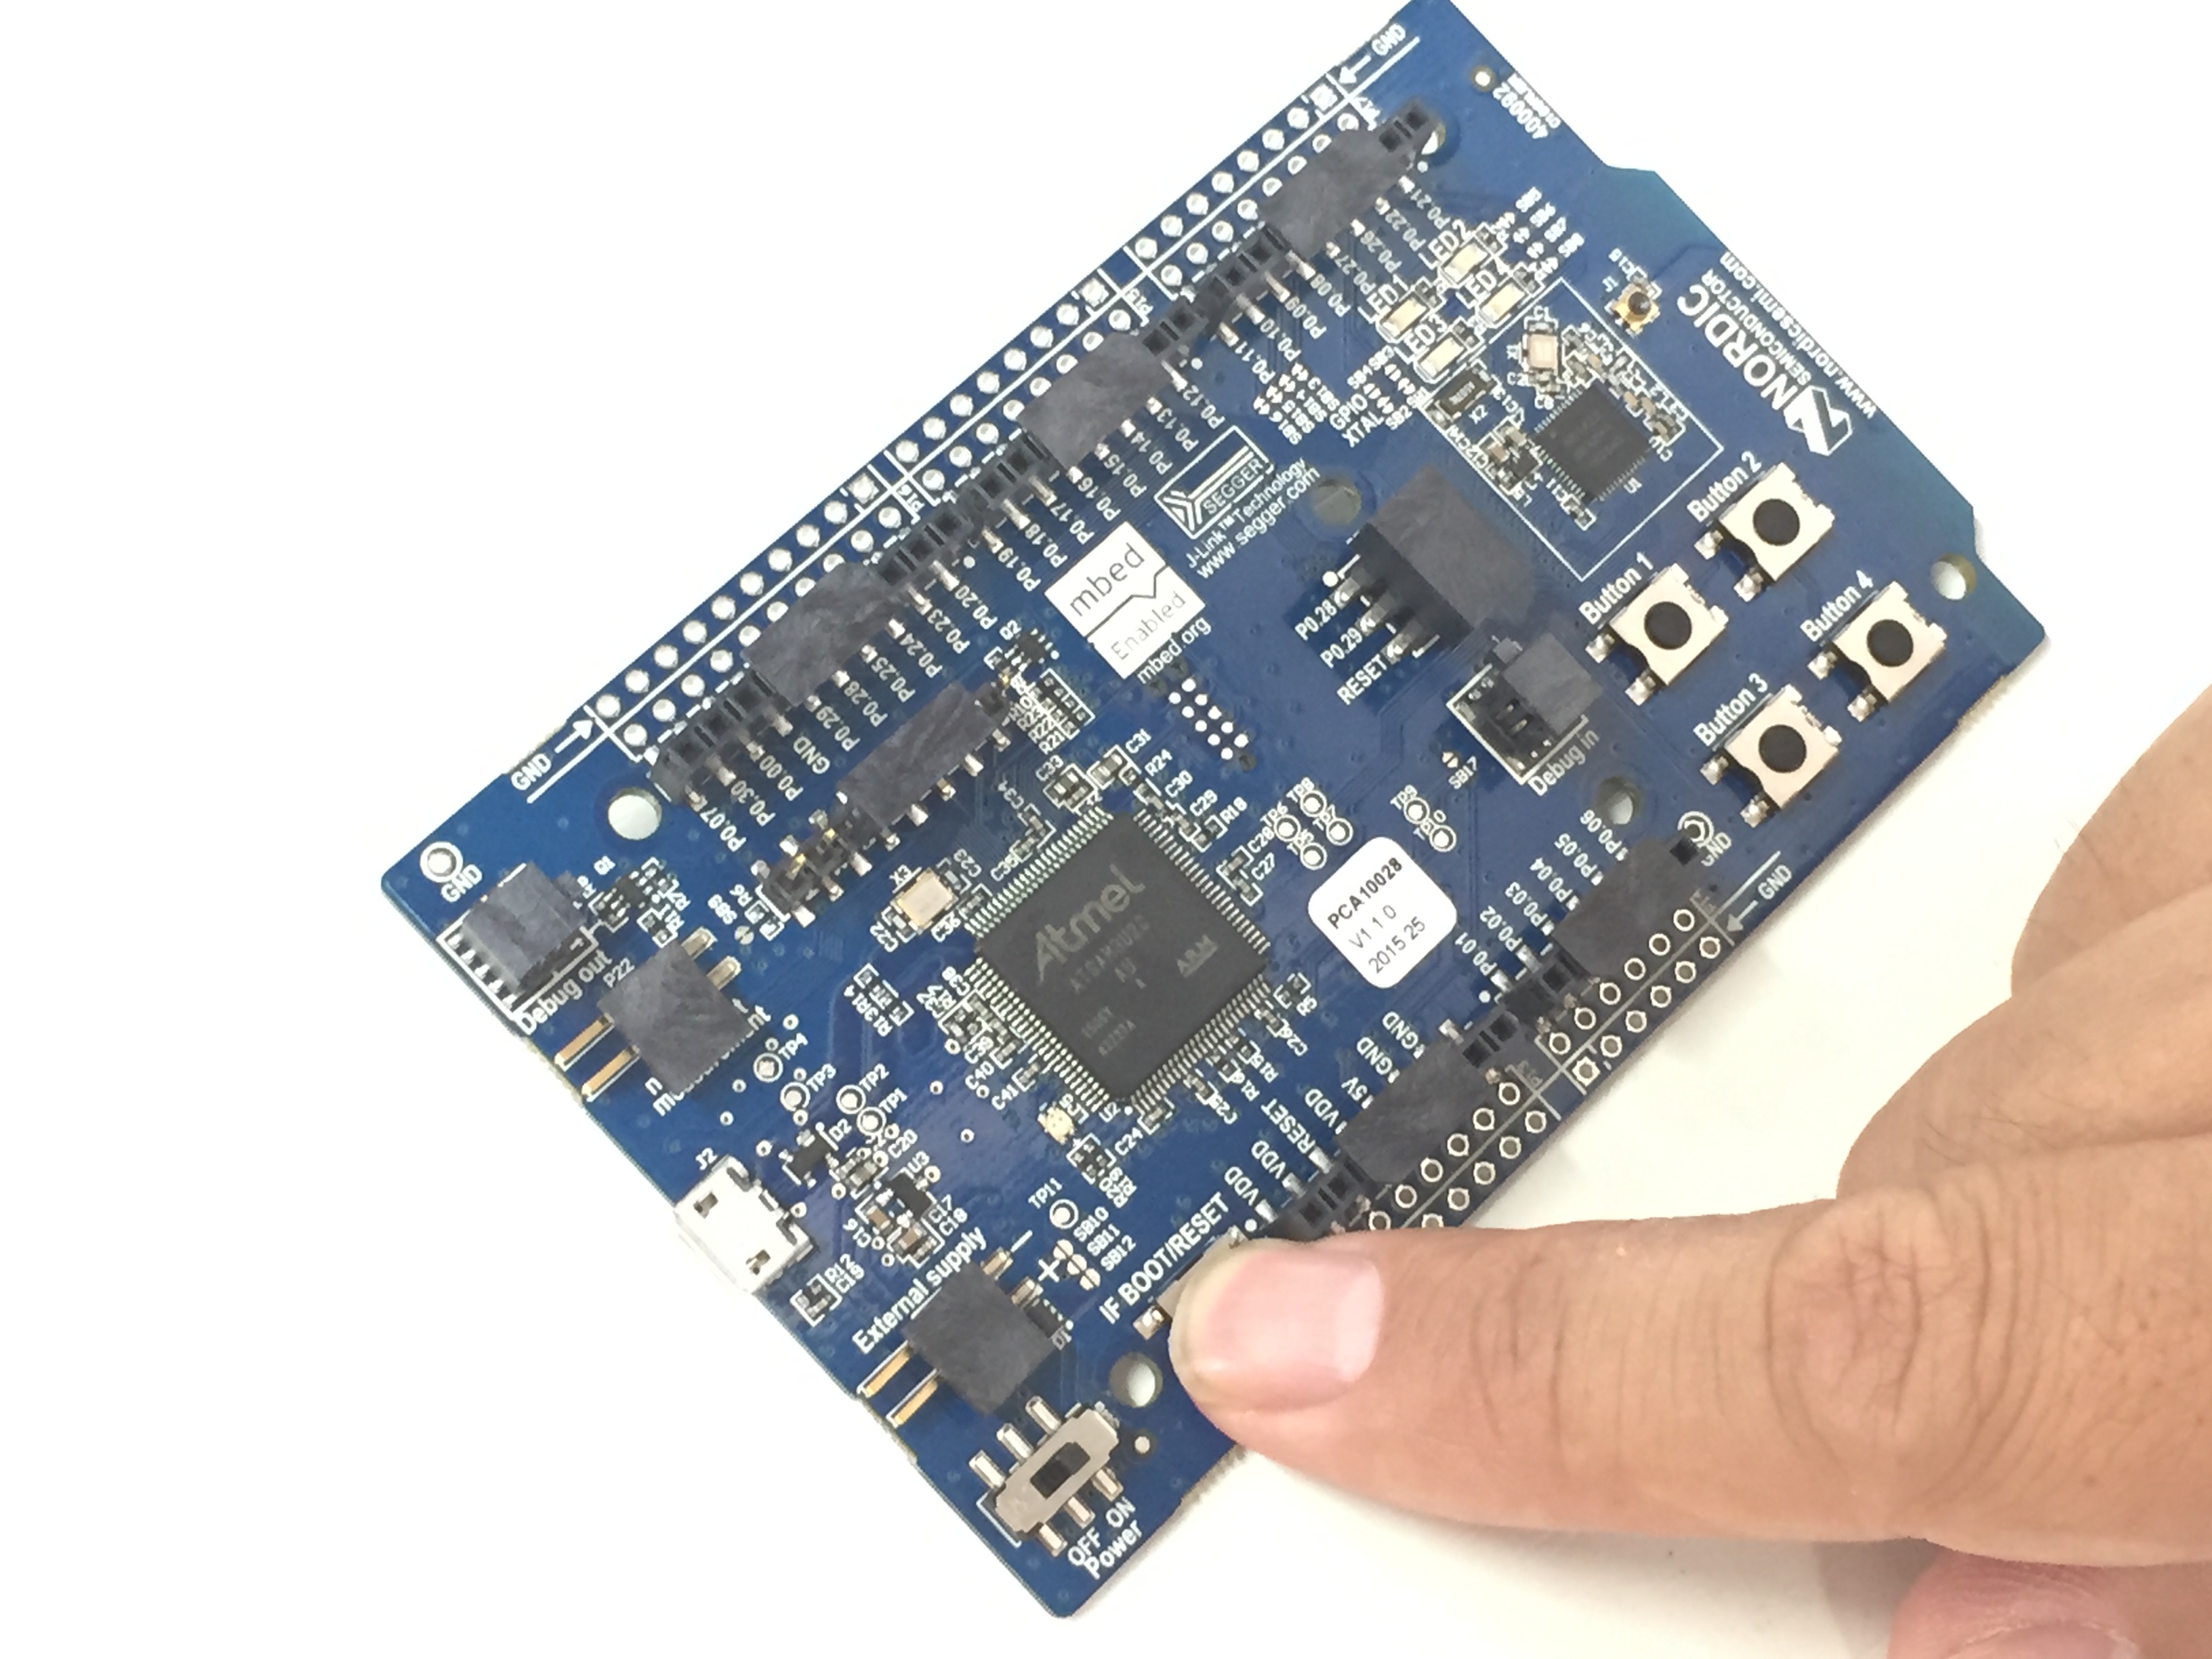
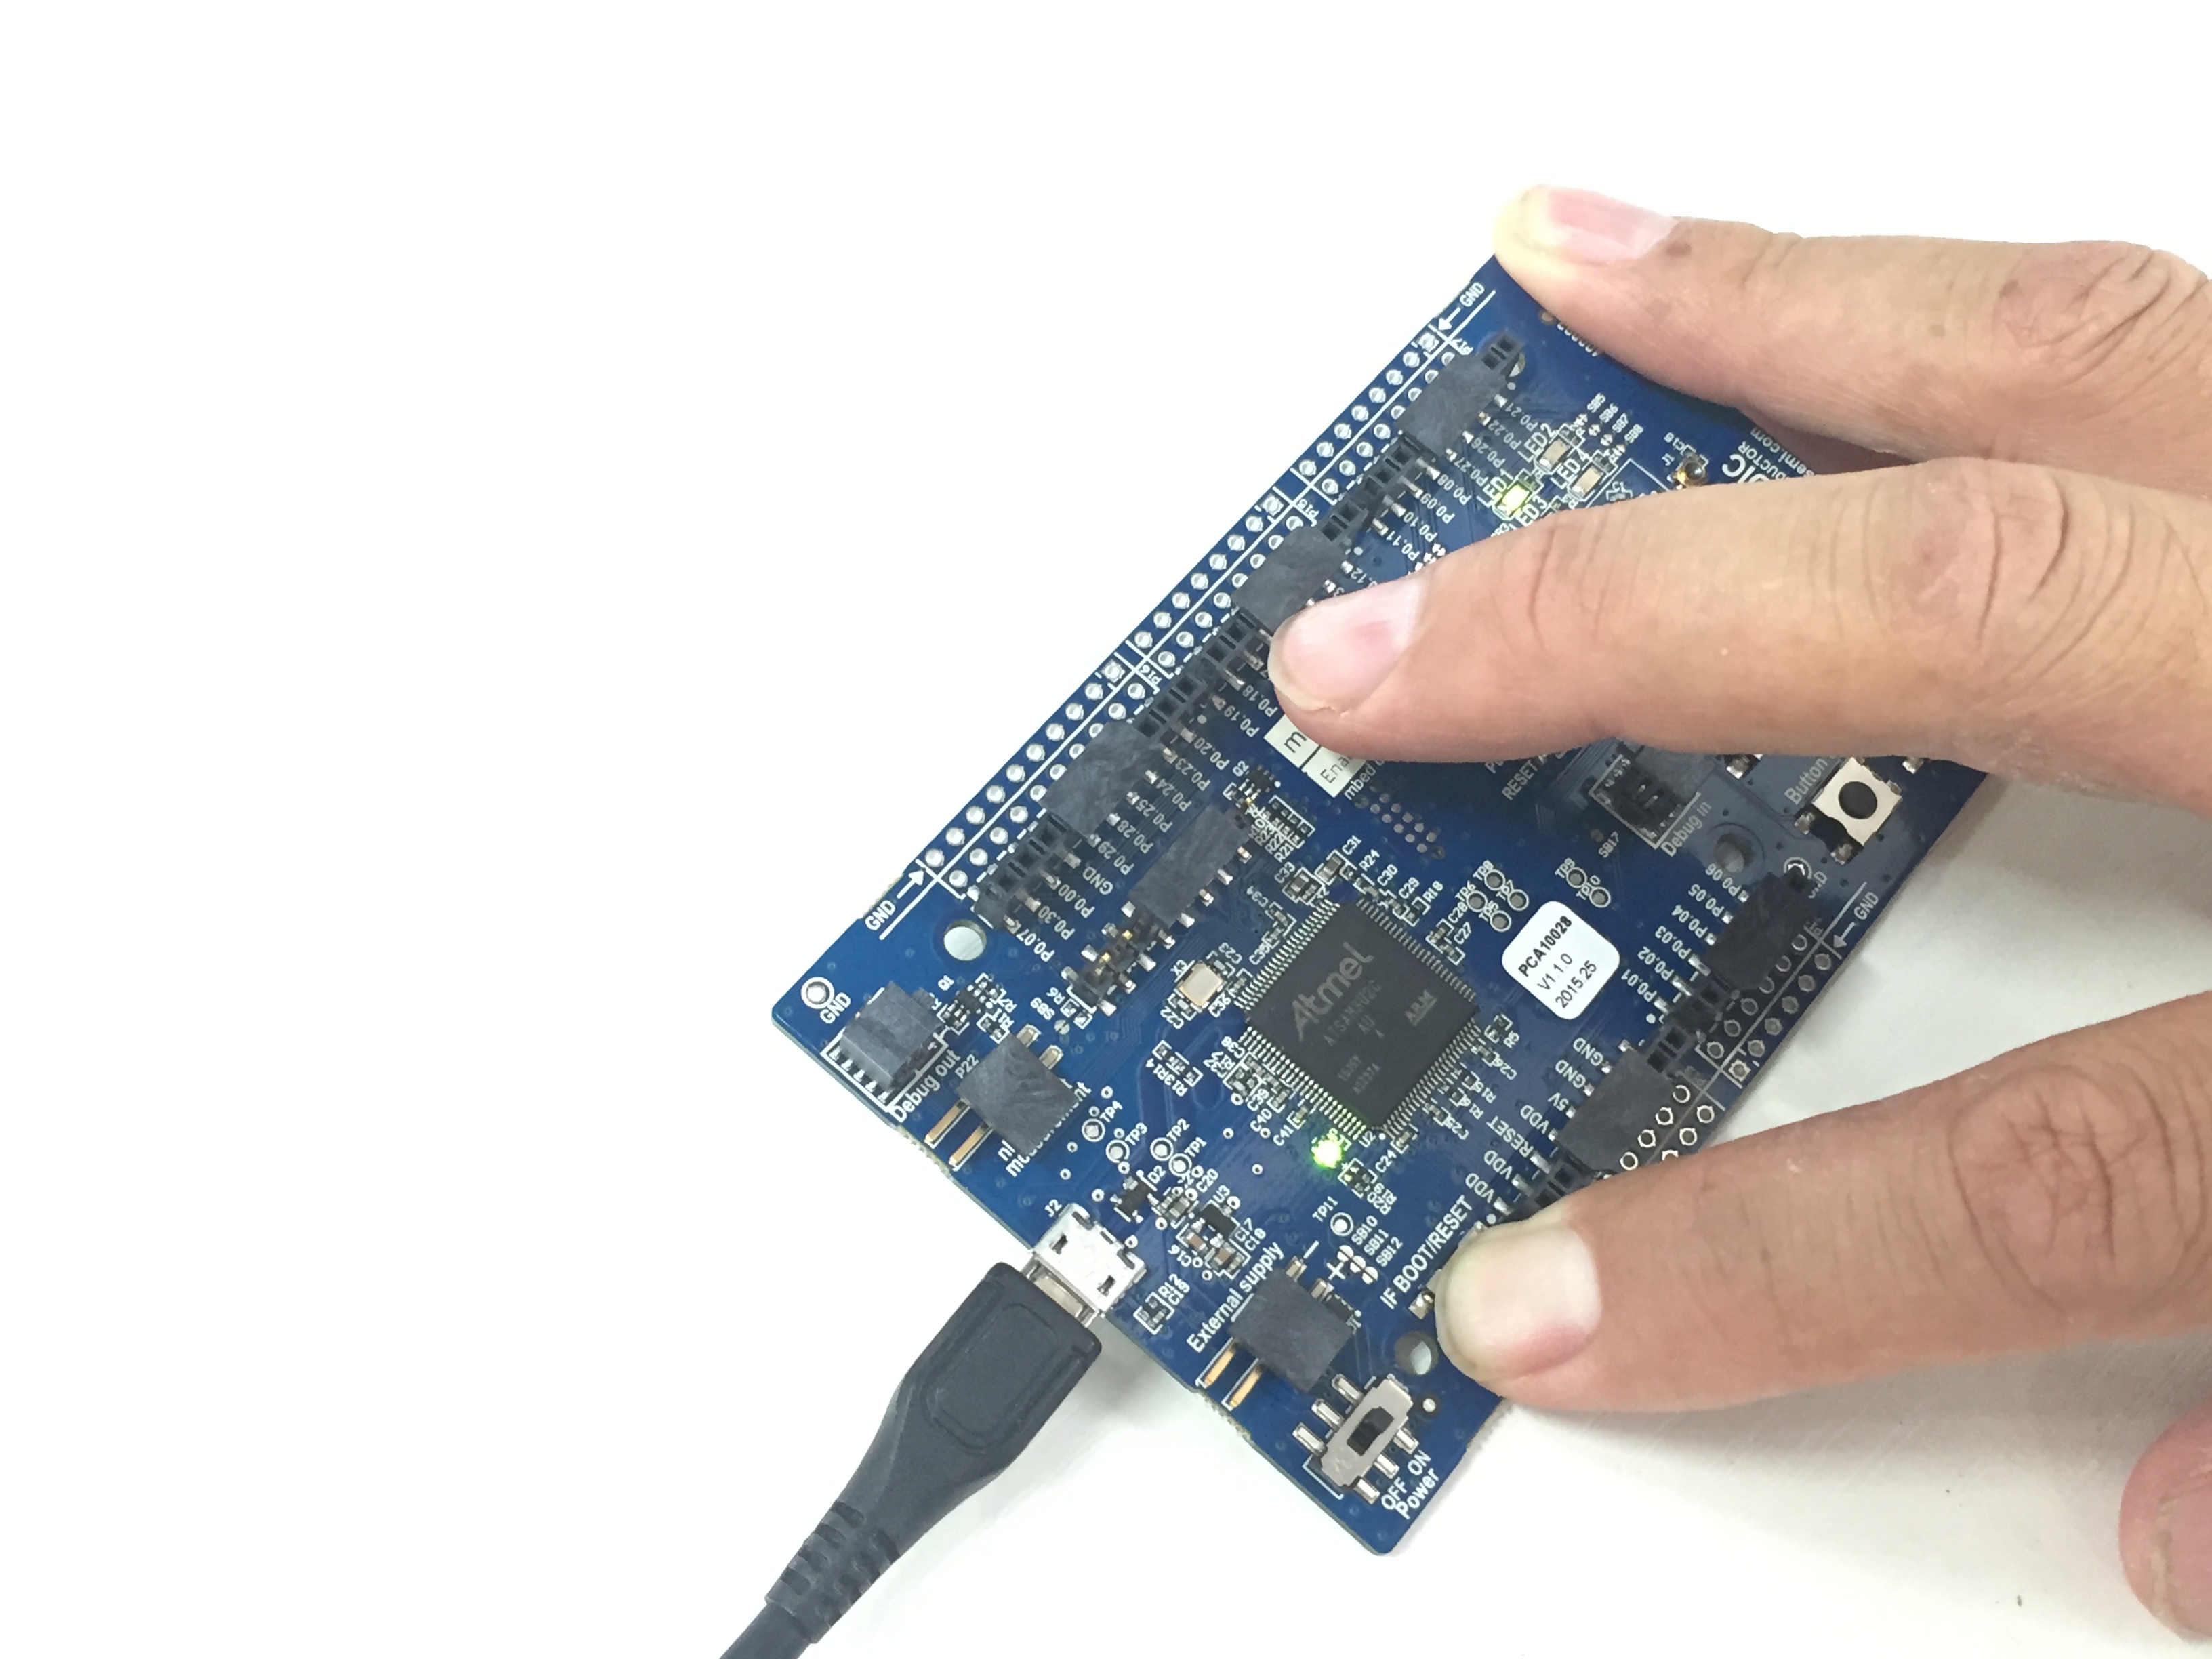
While the RESET button is pressed, connect it to the USB port of the PC with the power switch to ON position.
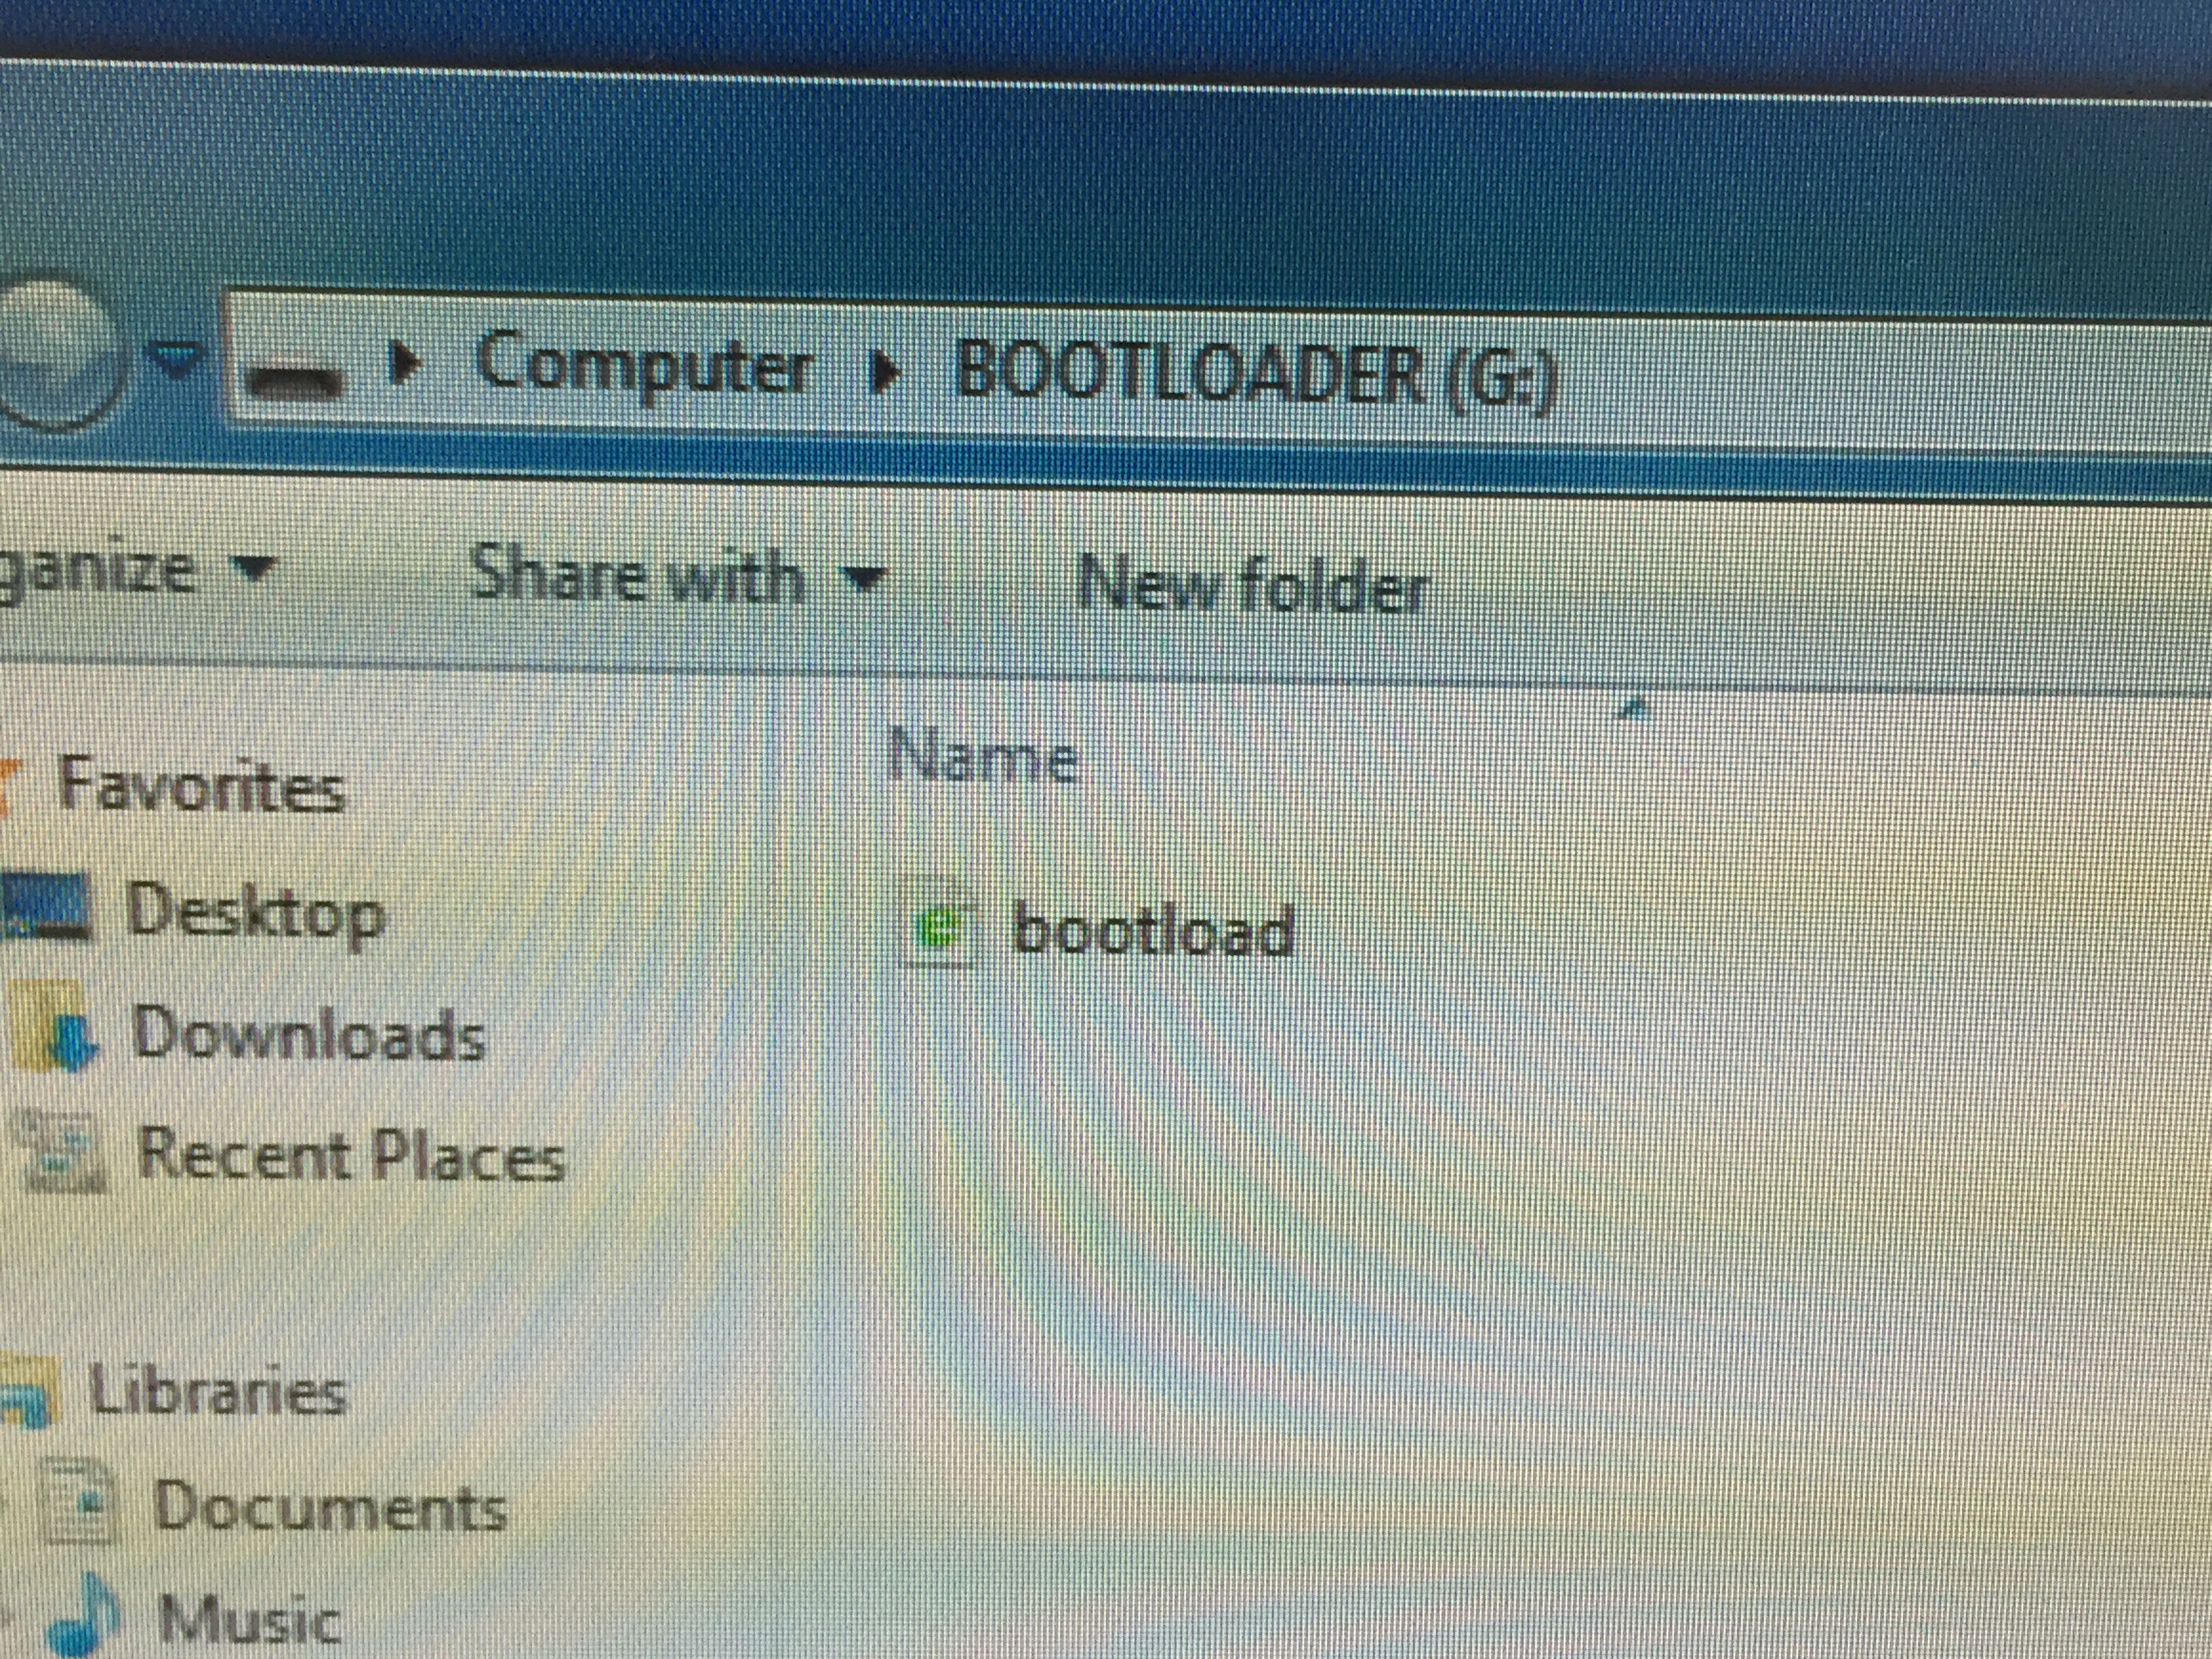
nRF51-DK will show up as a USB drive labeled as ‘BOOTLOADER’:
Go the the nRF51-DK website to download the firmware needed for mbed. Scroll down to the firmware section and download it:

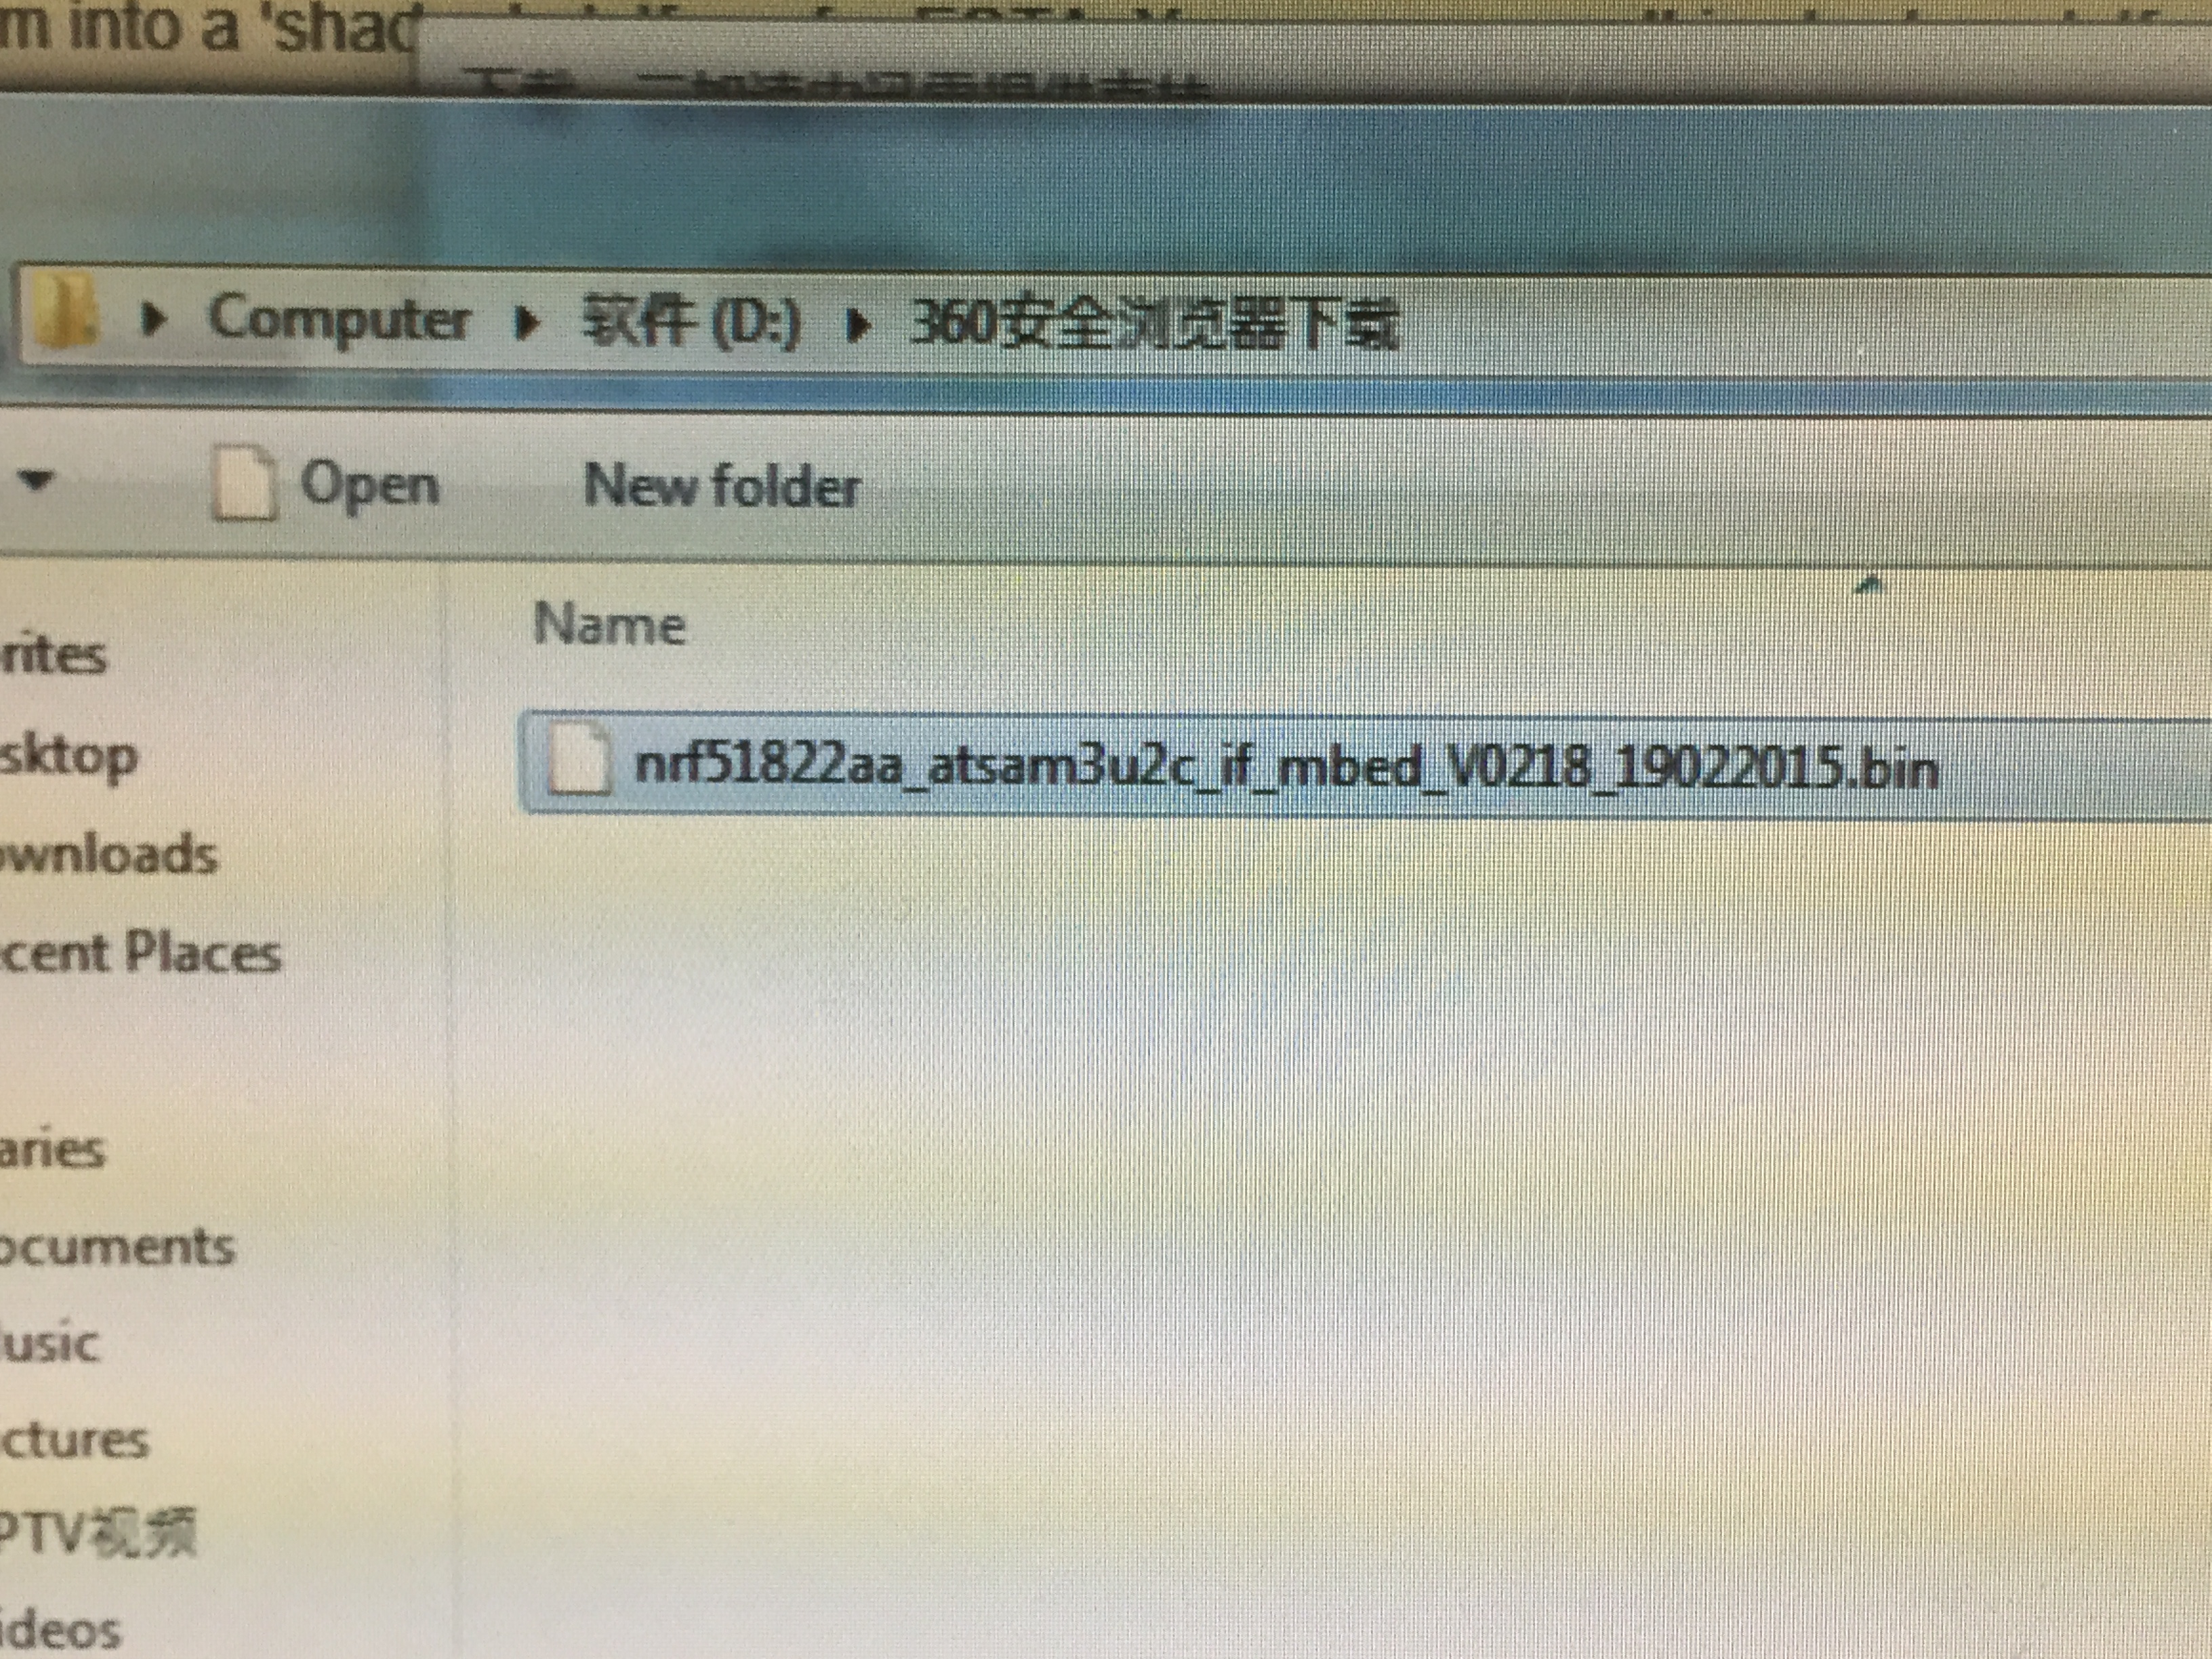
Drag the downloaded bin file to the USB drive that labeled as ‘BOOTLOADER’. The boar will start to flash its memory automatically, and after its done. the USB drive will unmount, and the LED will blink constantly.
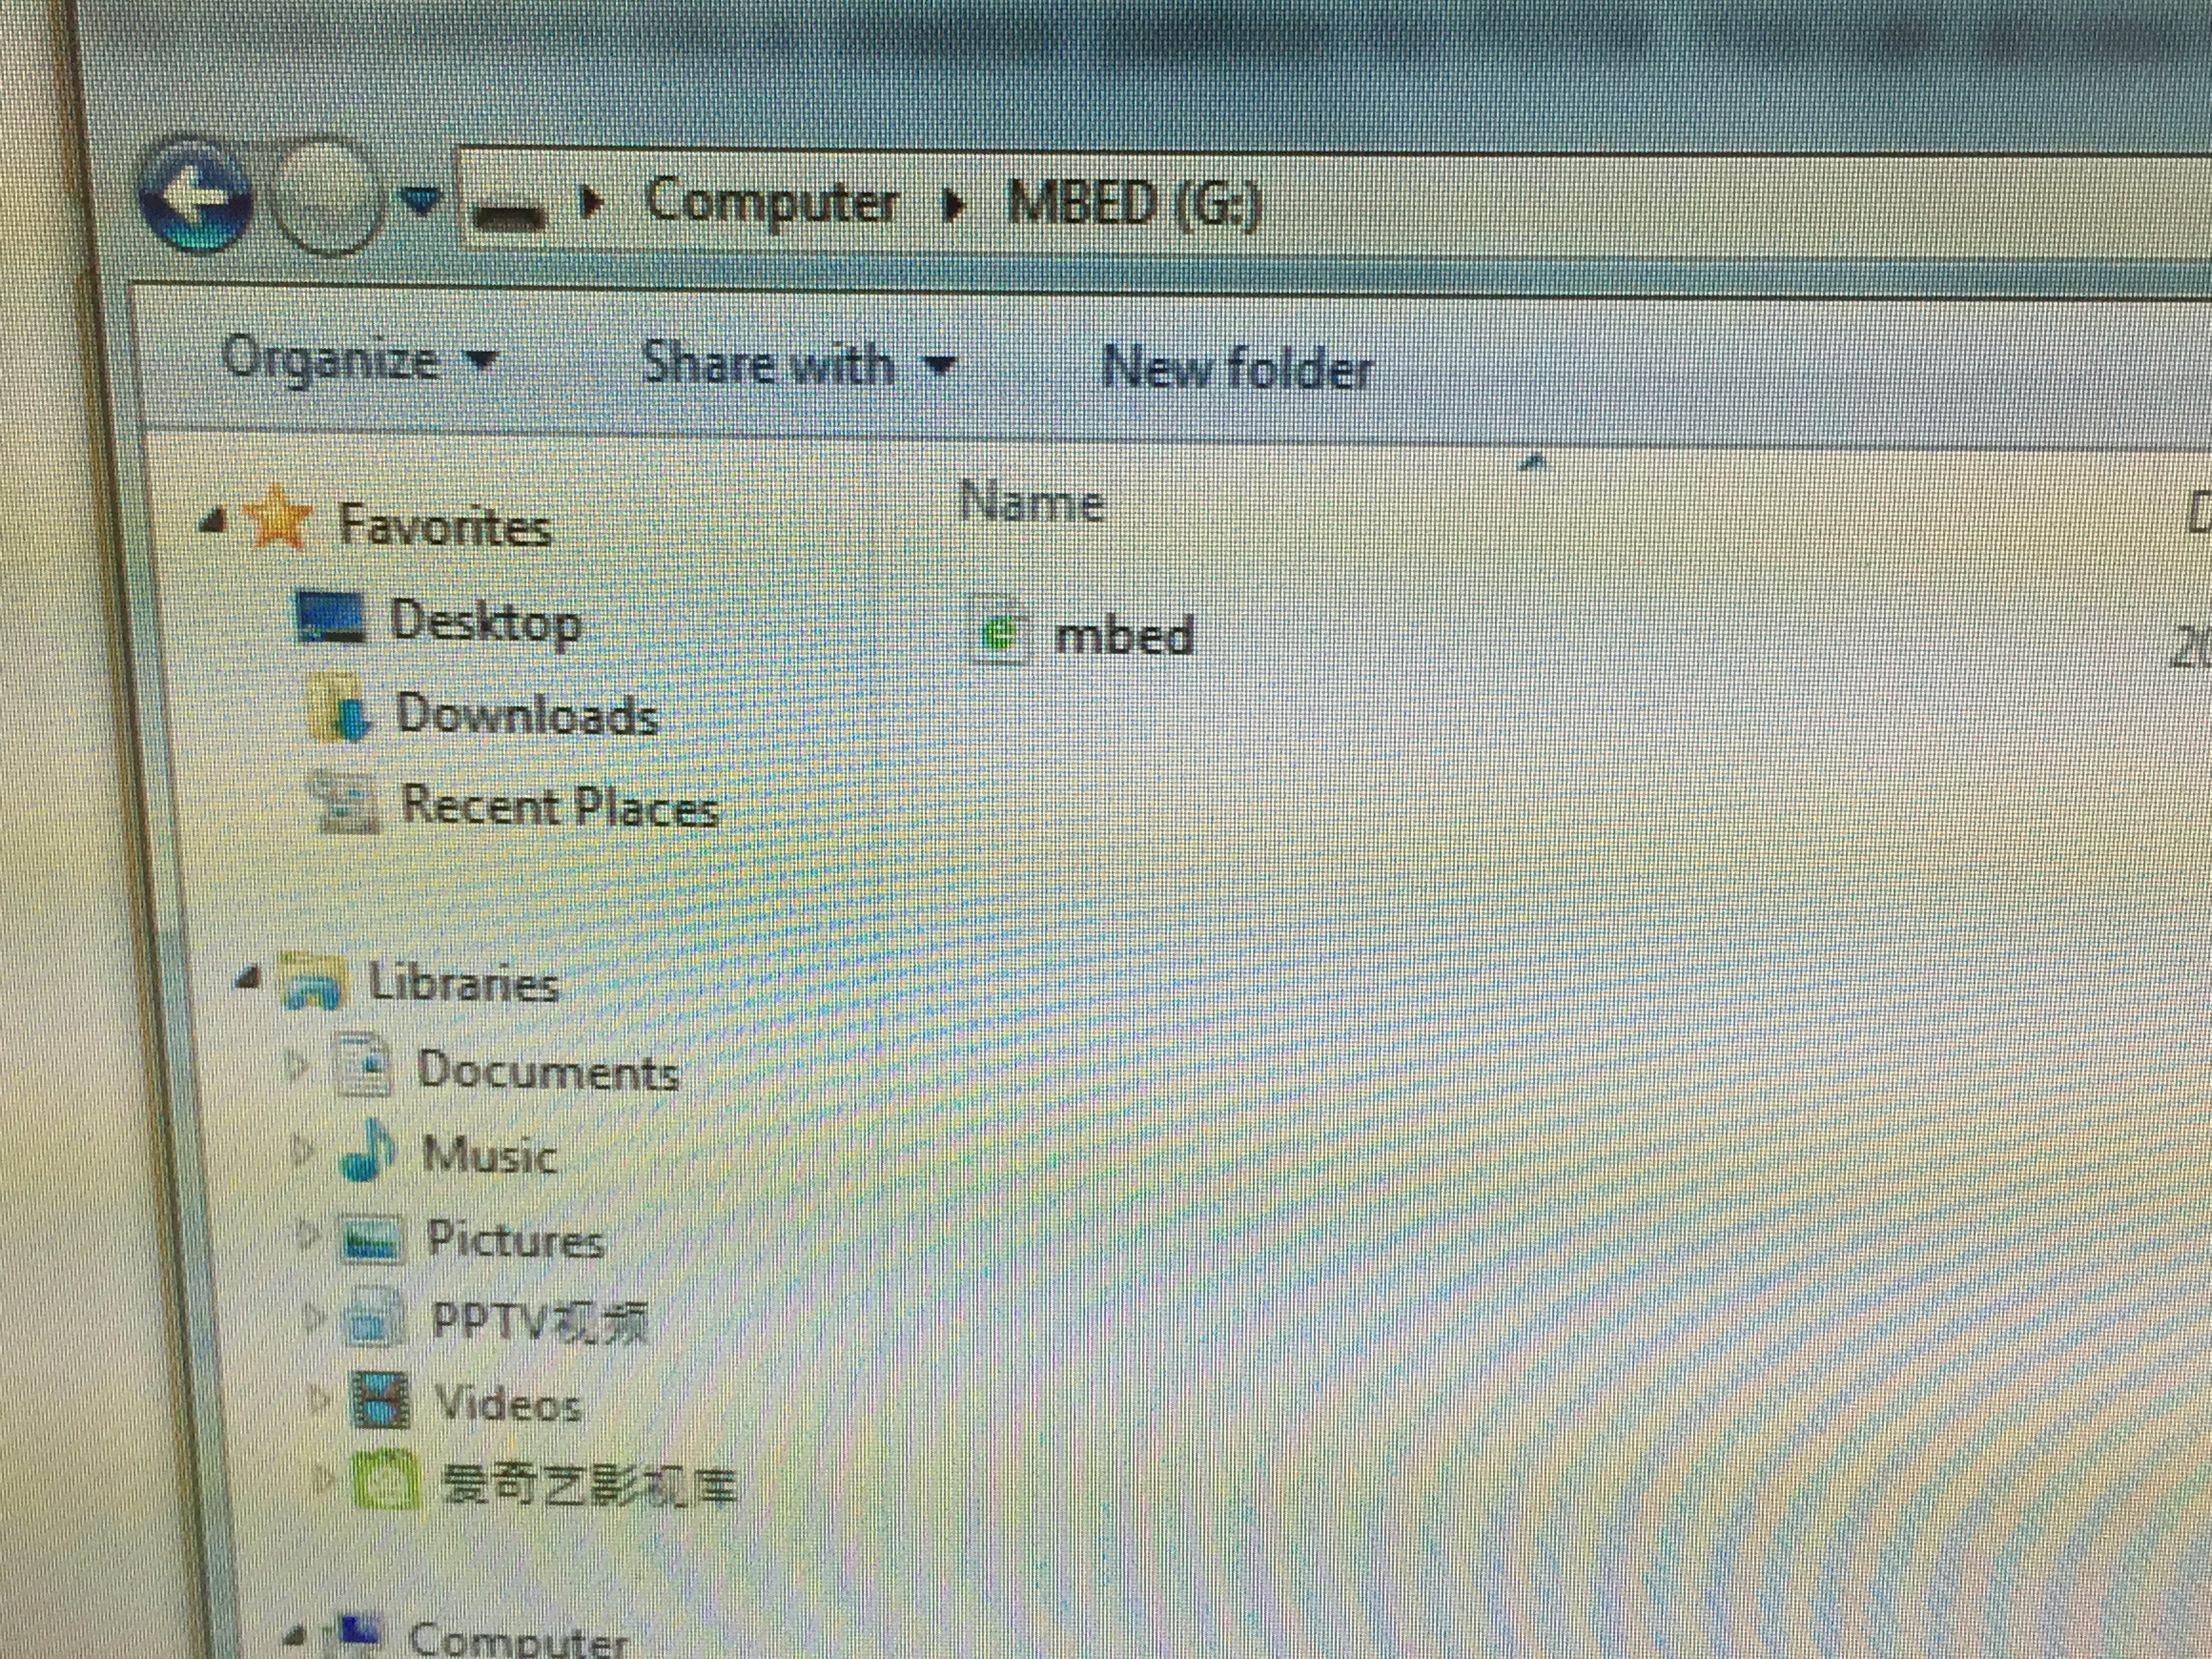
Power cycle the board, the nRF51-DK will show up as a USB drive again, but will a label ‘MBED’:
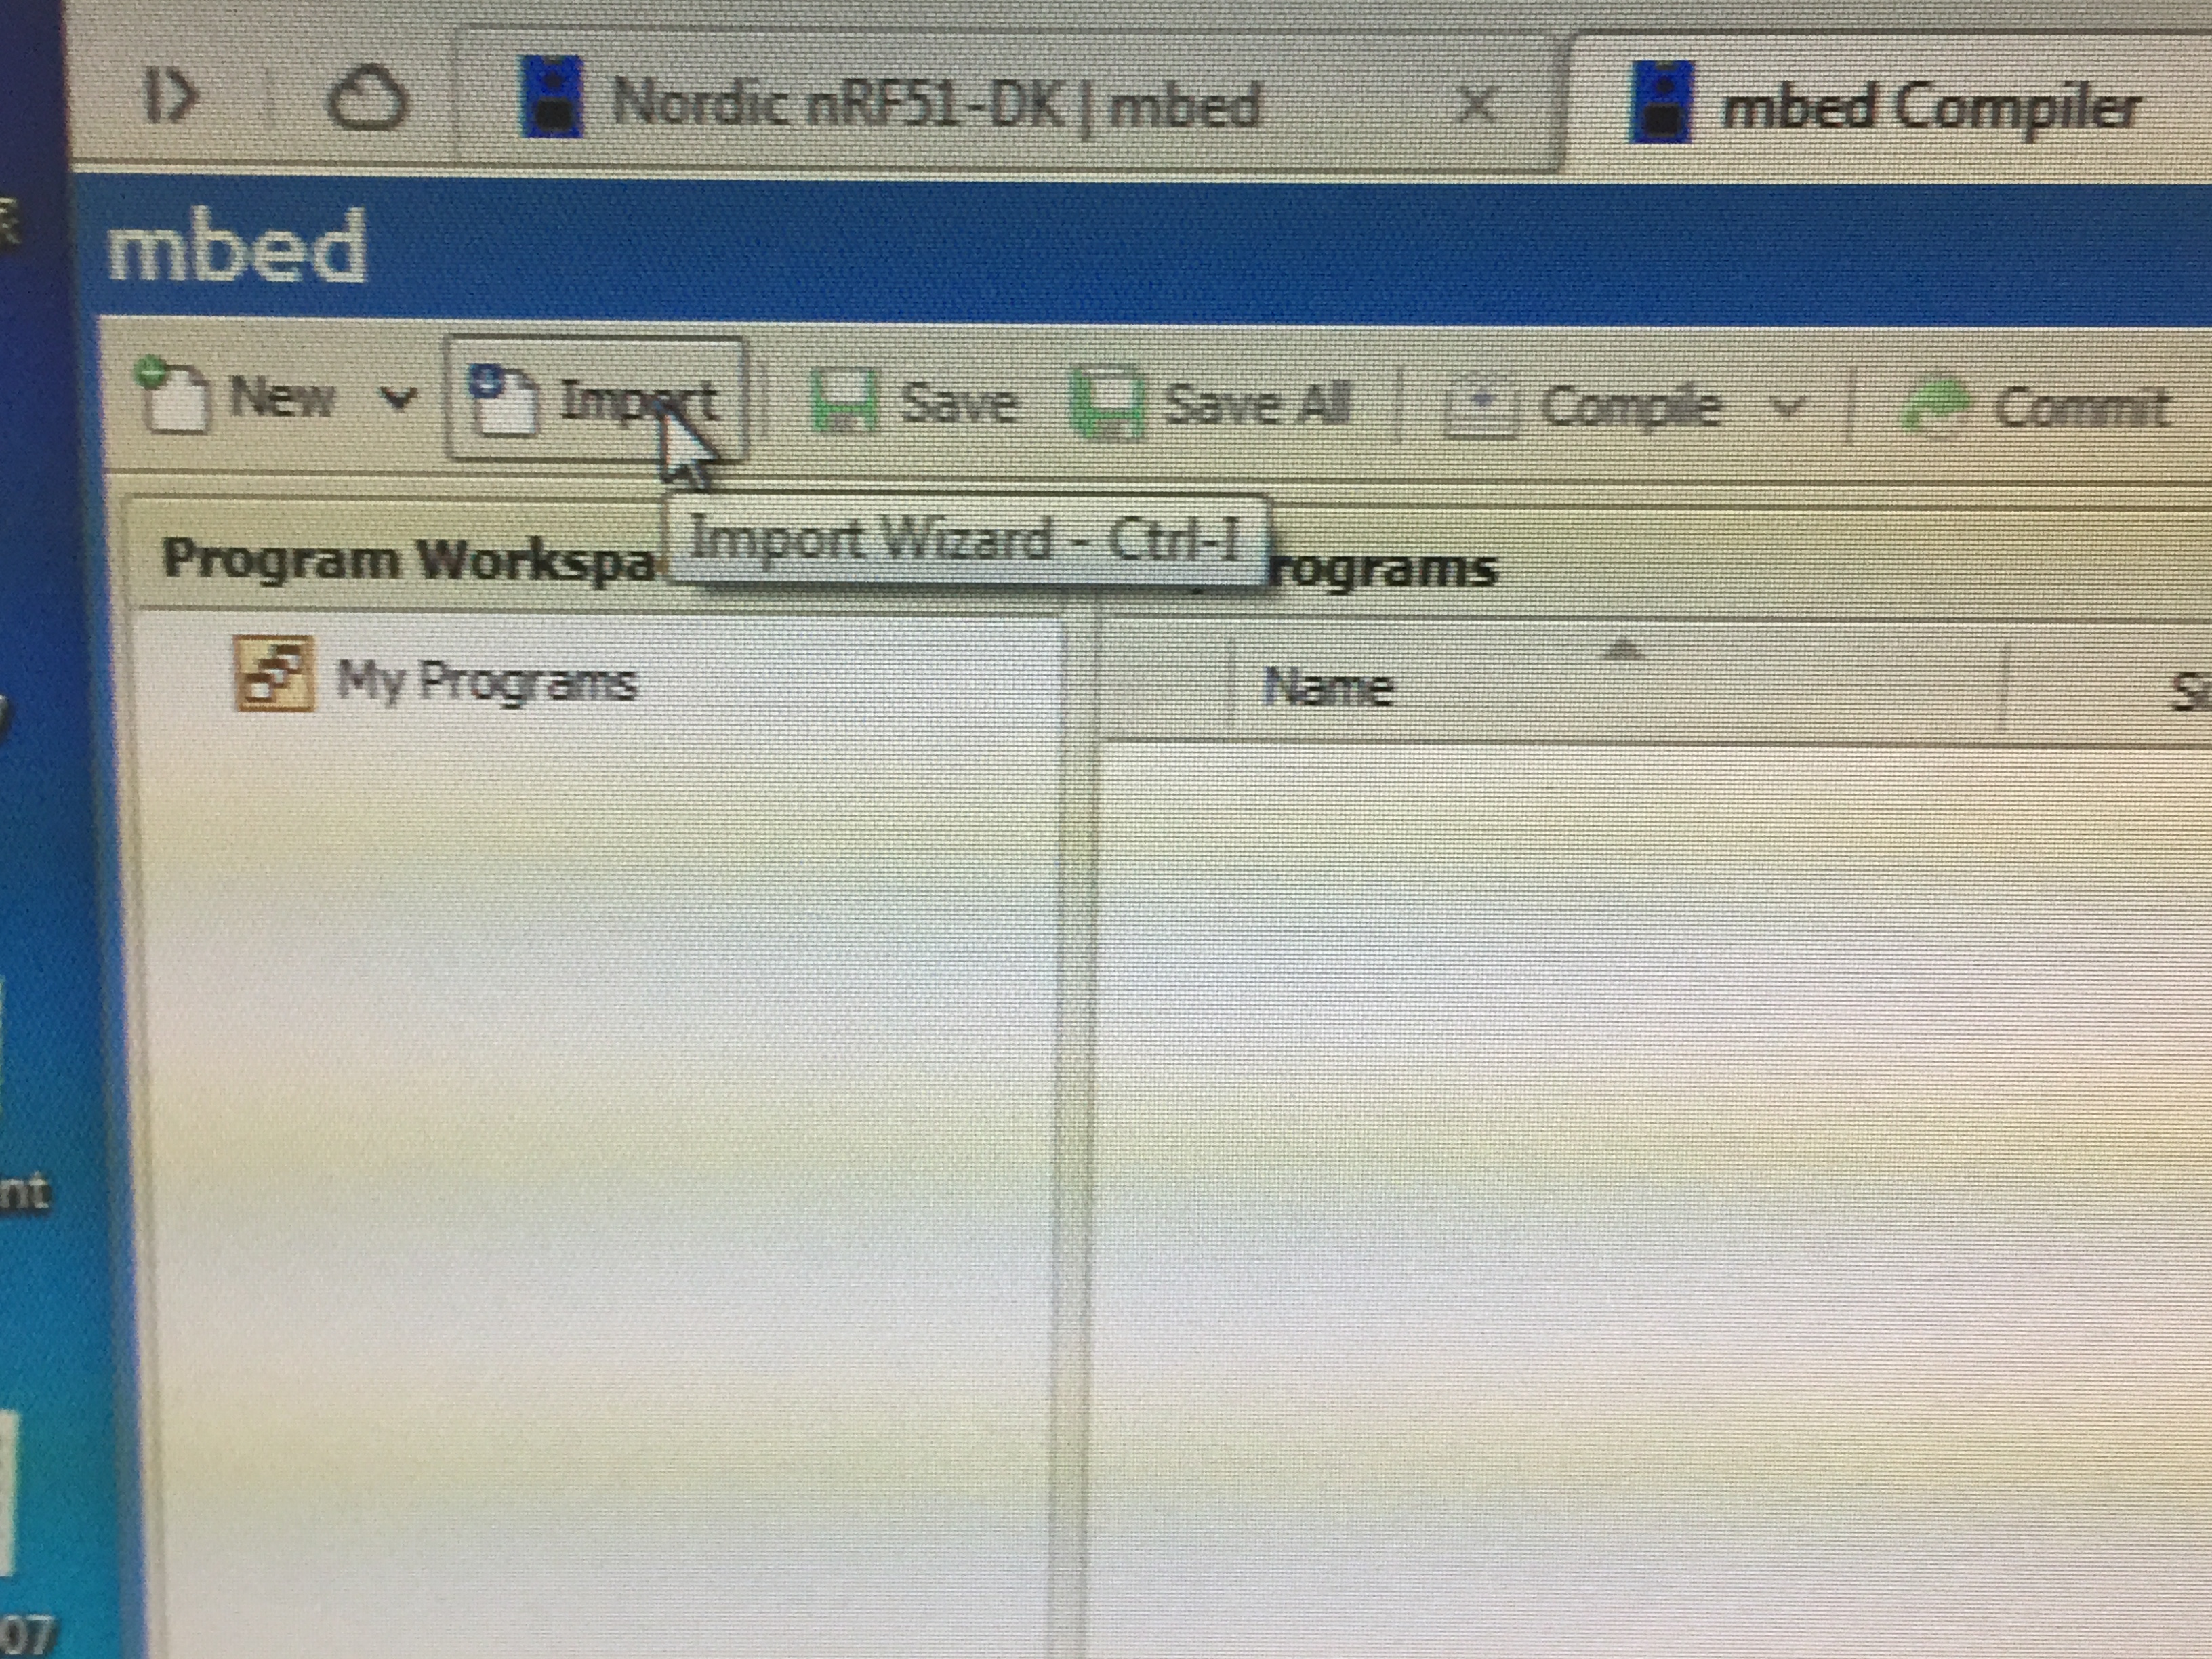
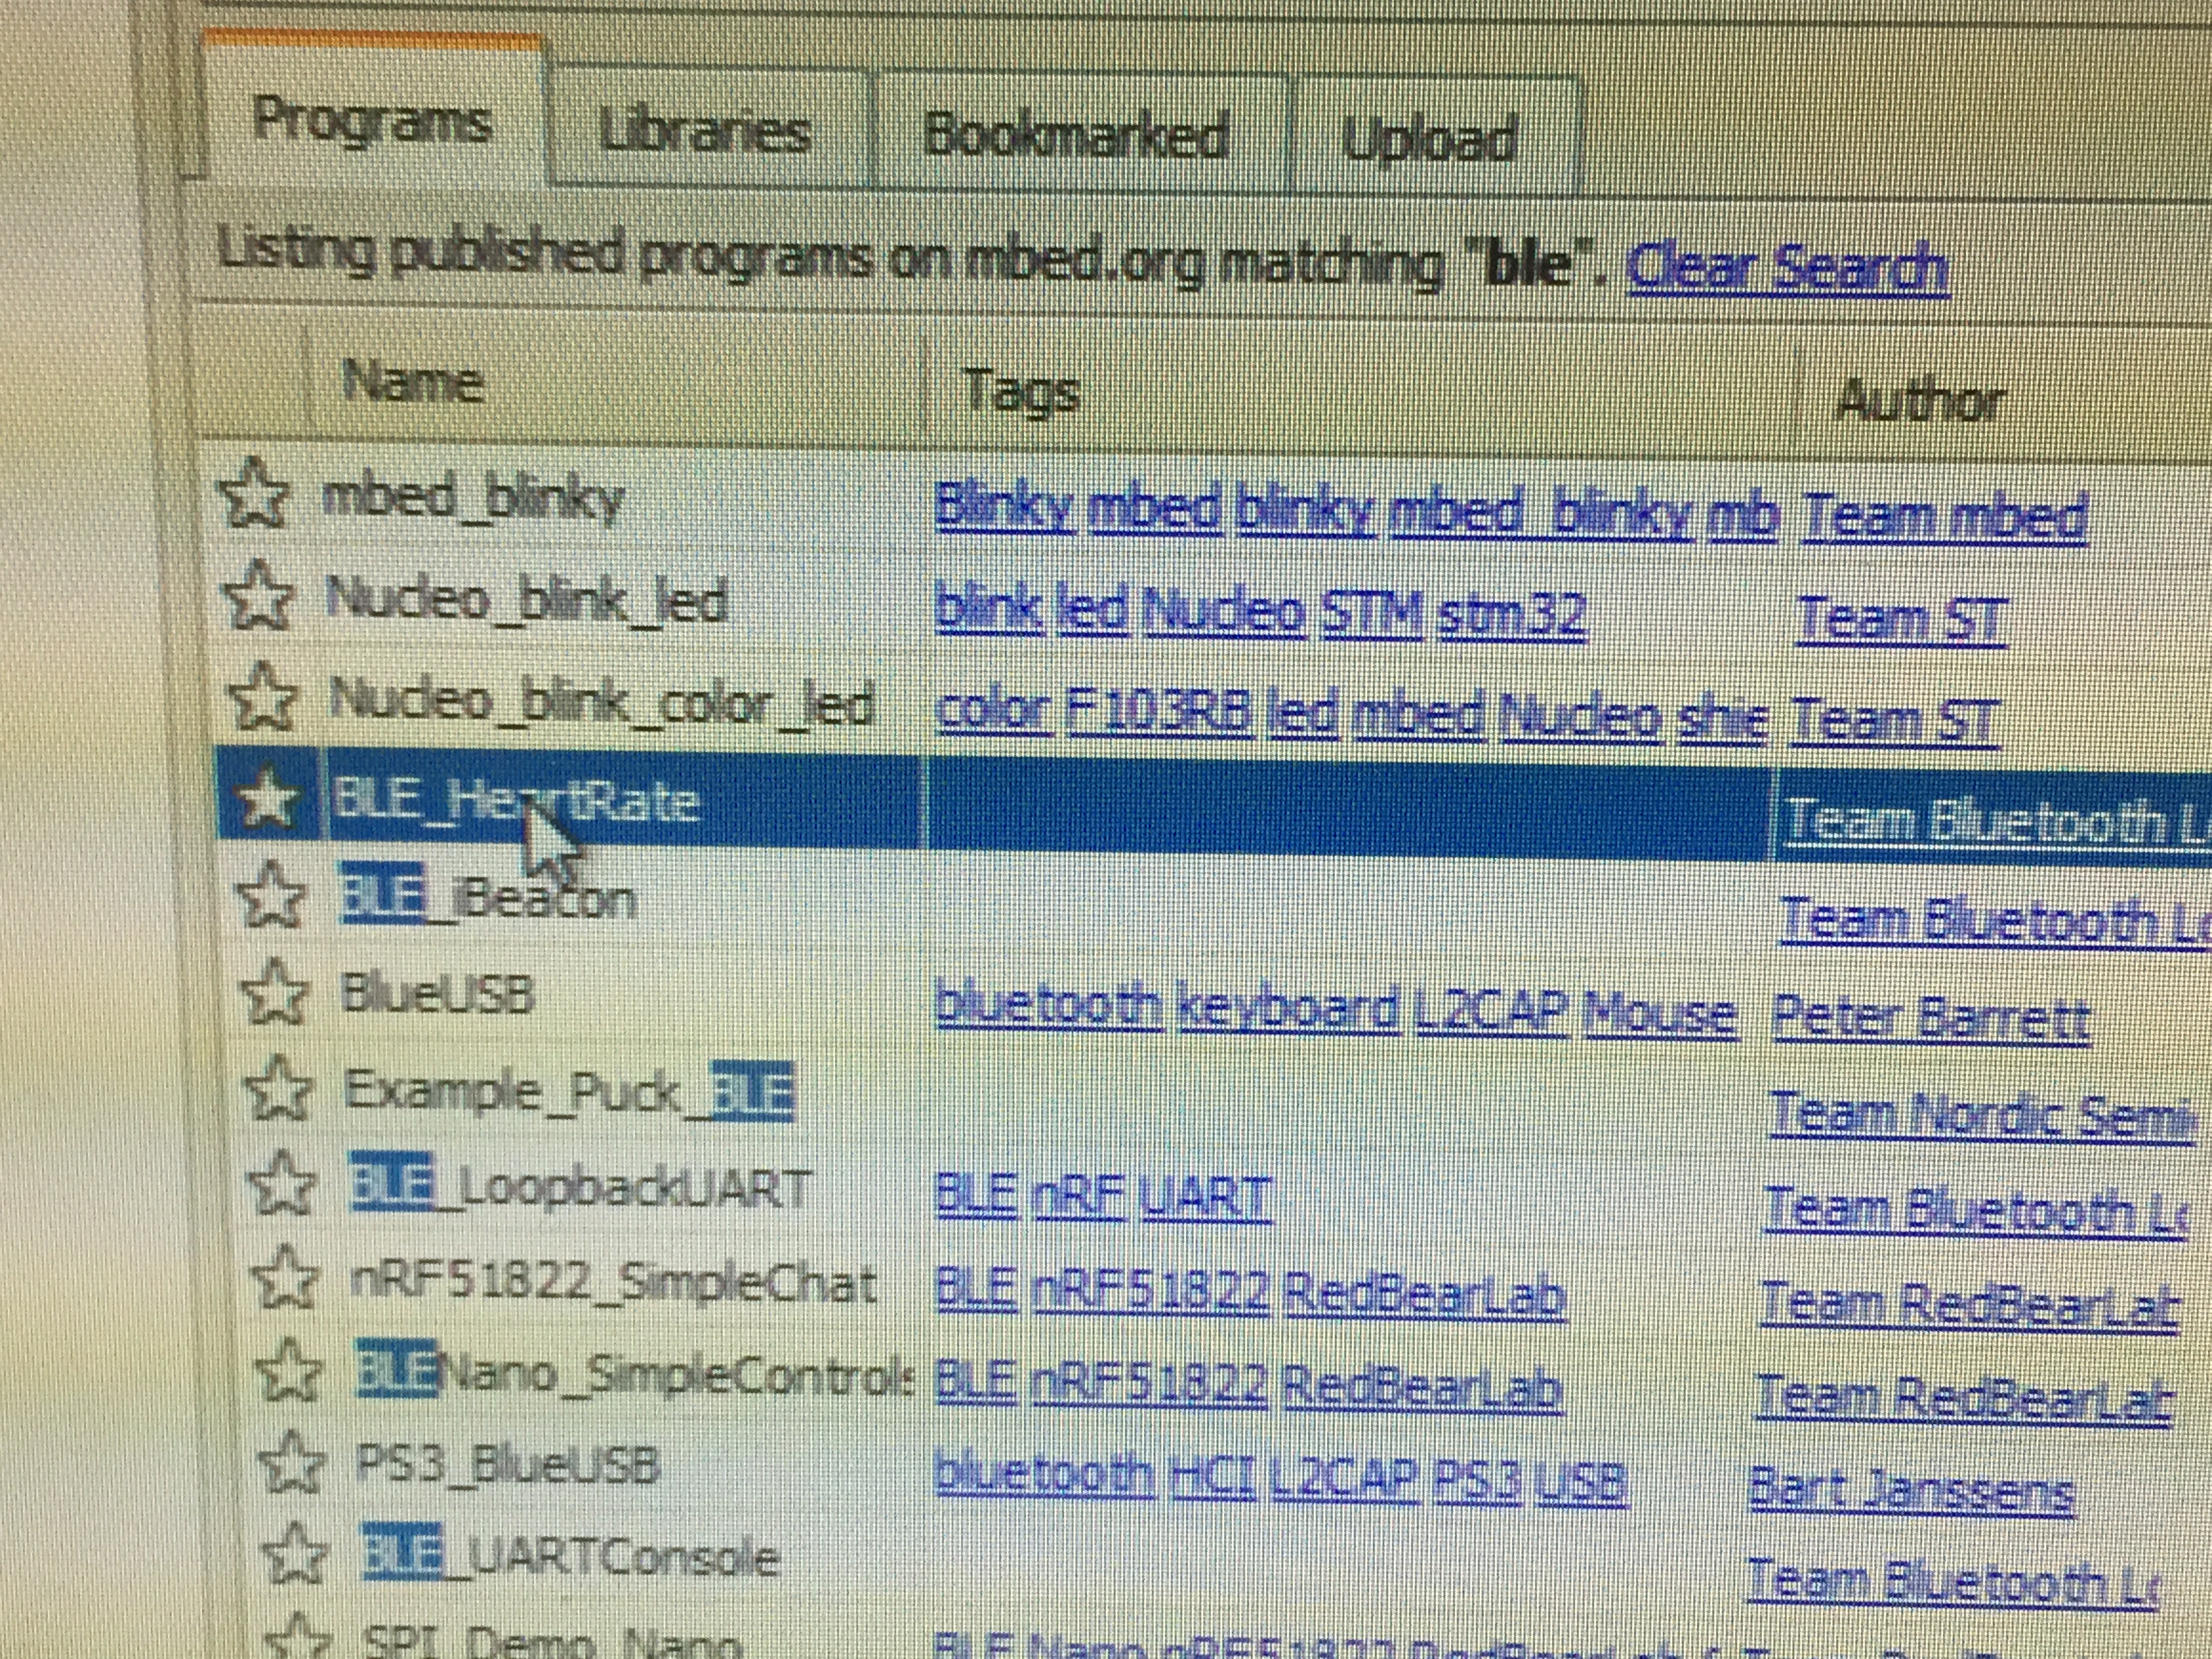
Go to the nRF51-DK website again, and find the mbed compiler,

Import the sample projects:
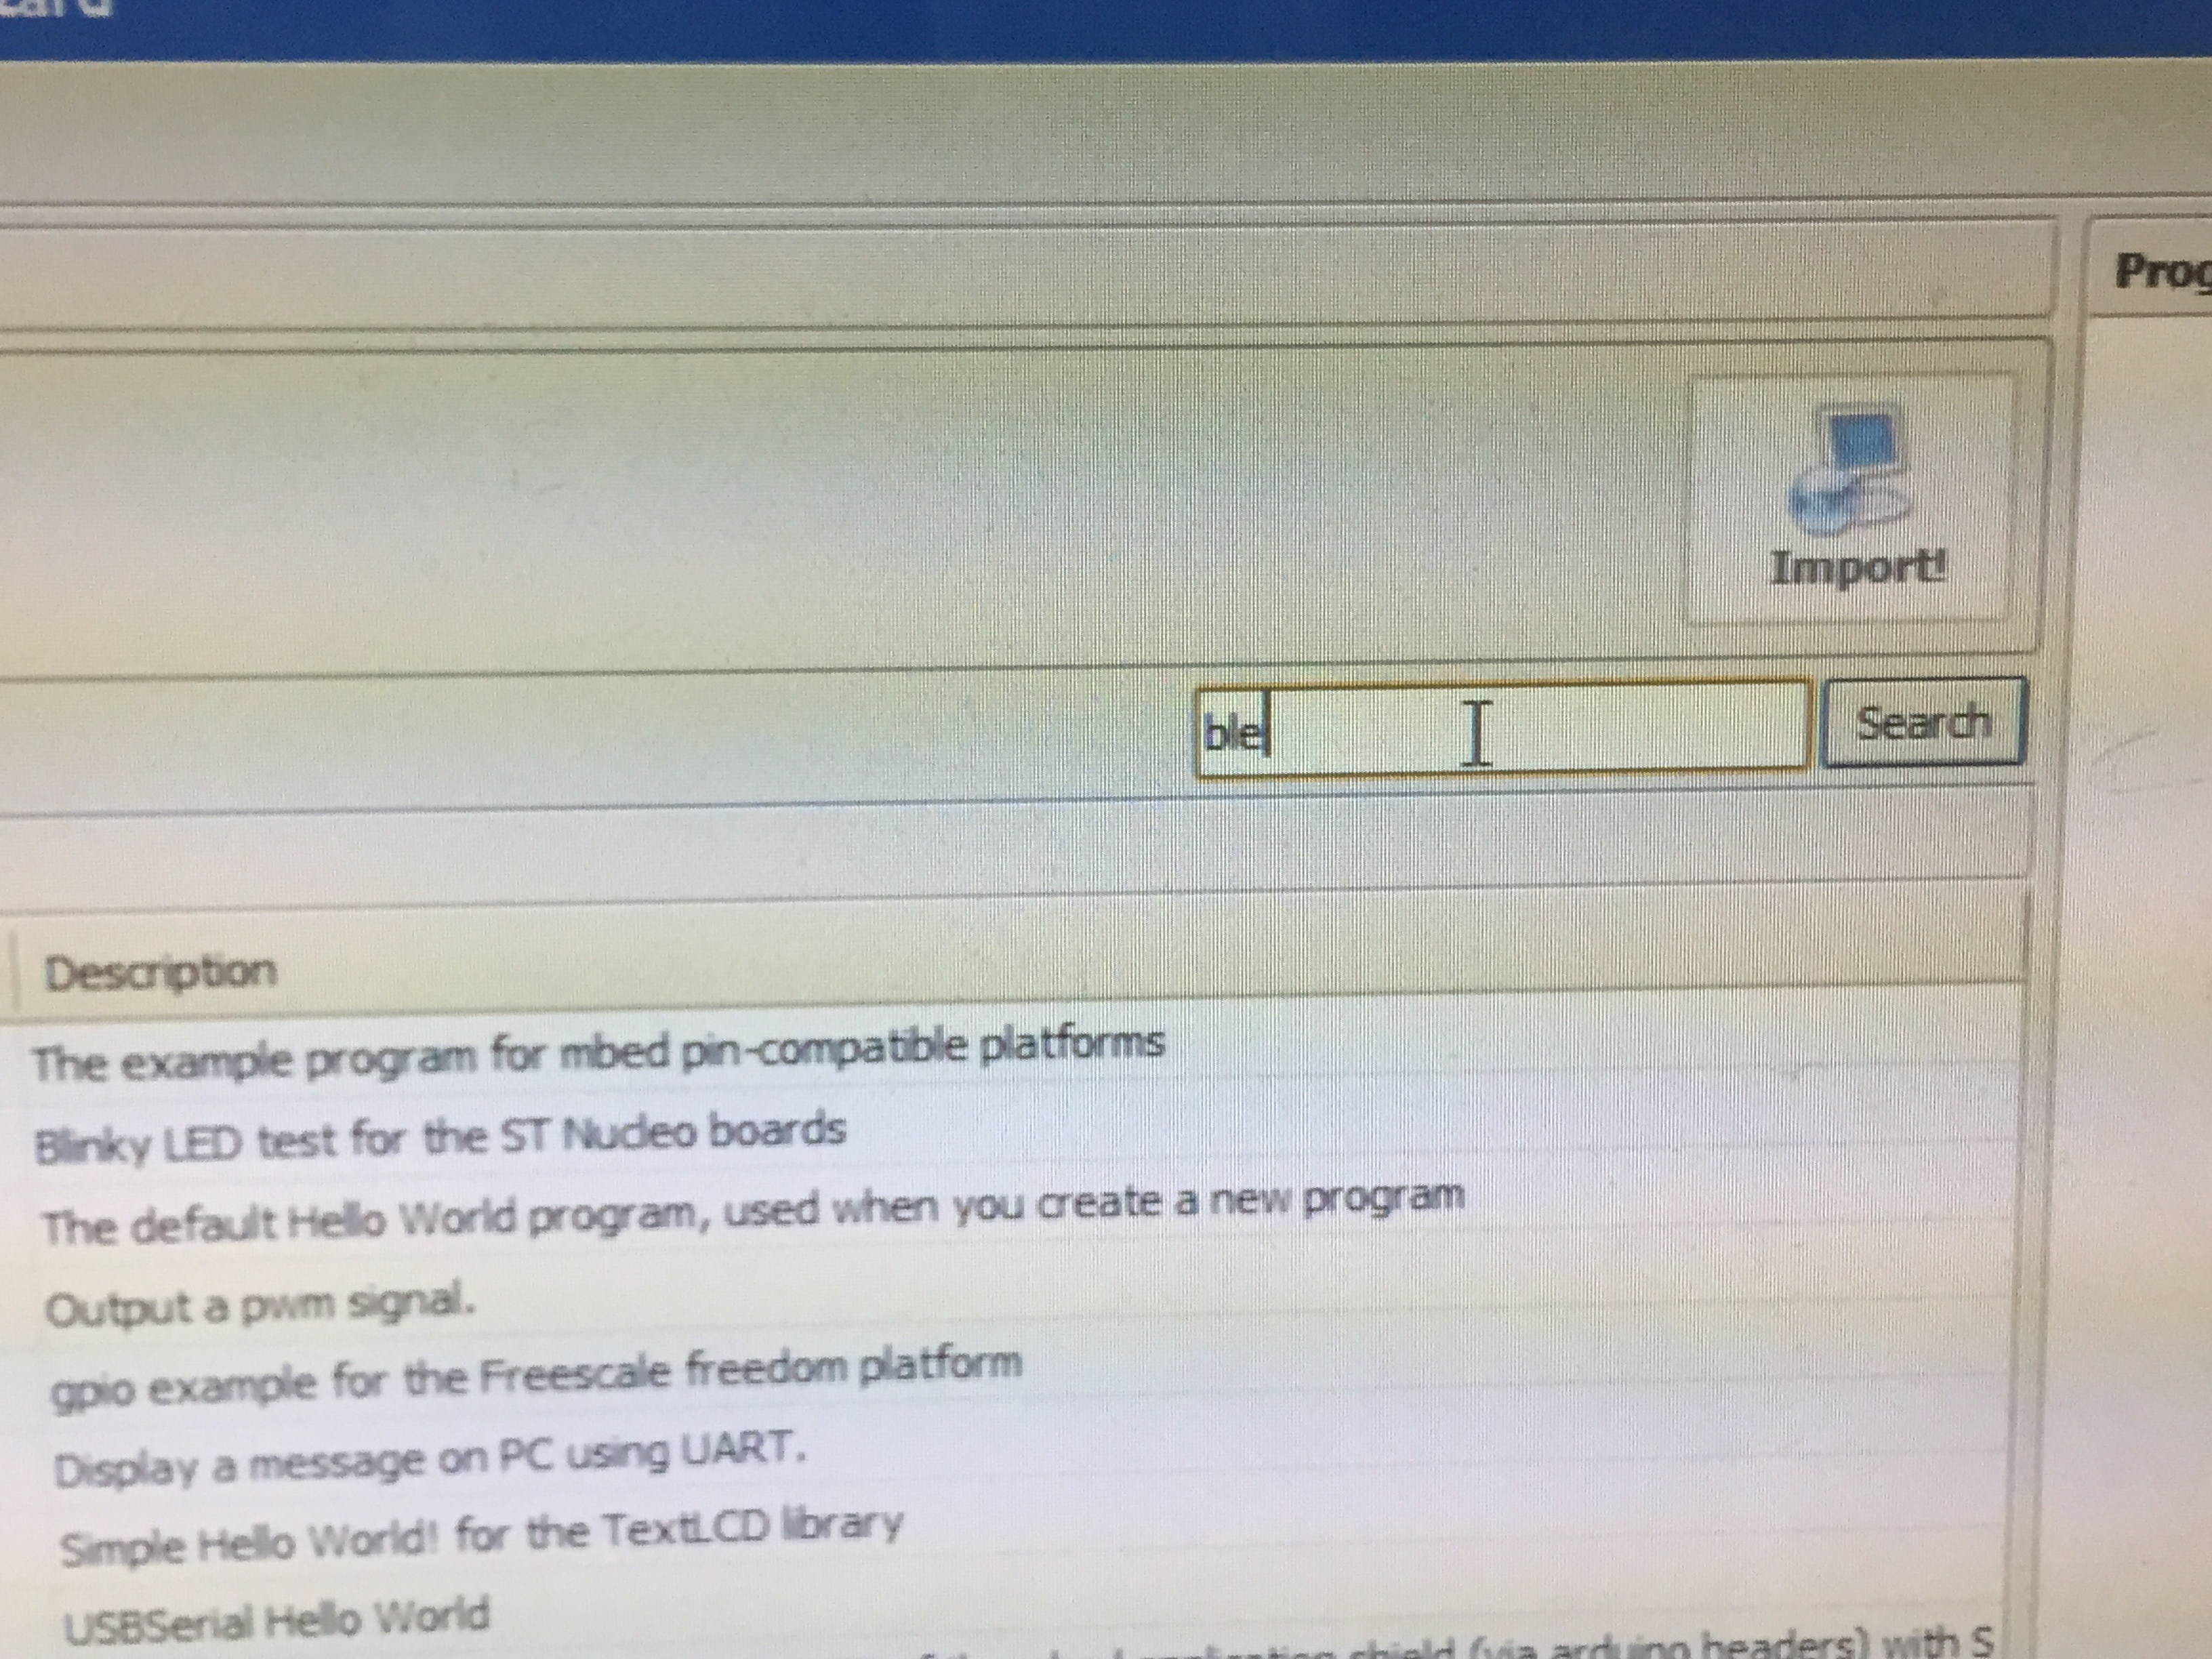
And find the BLE heart rate:

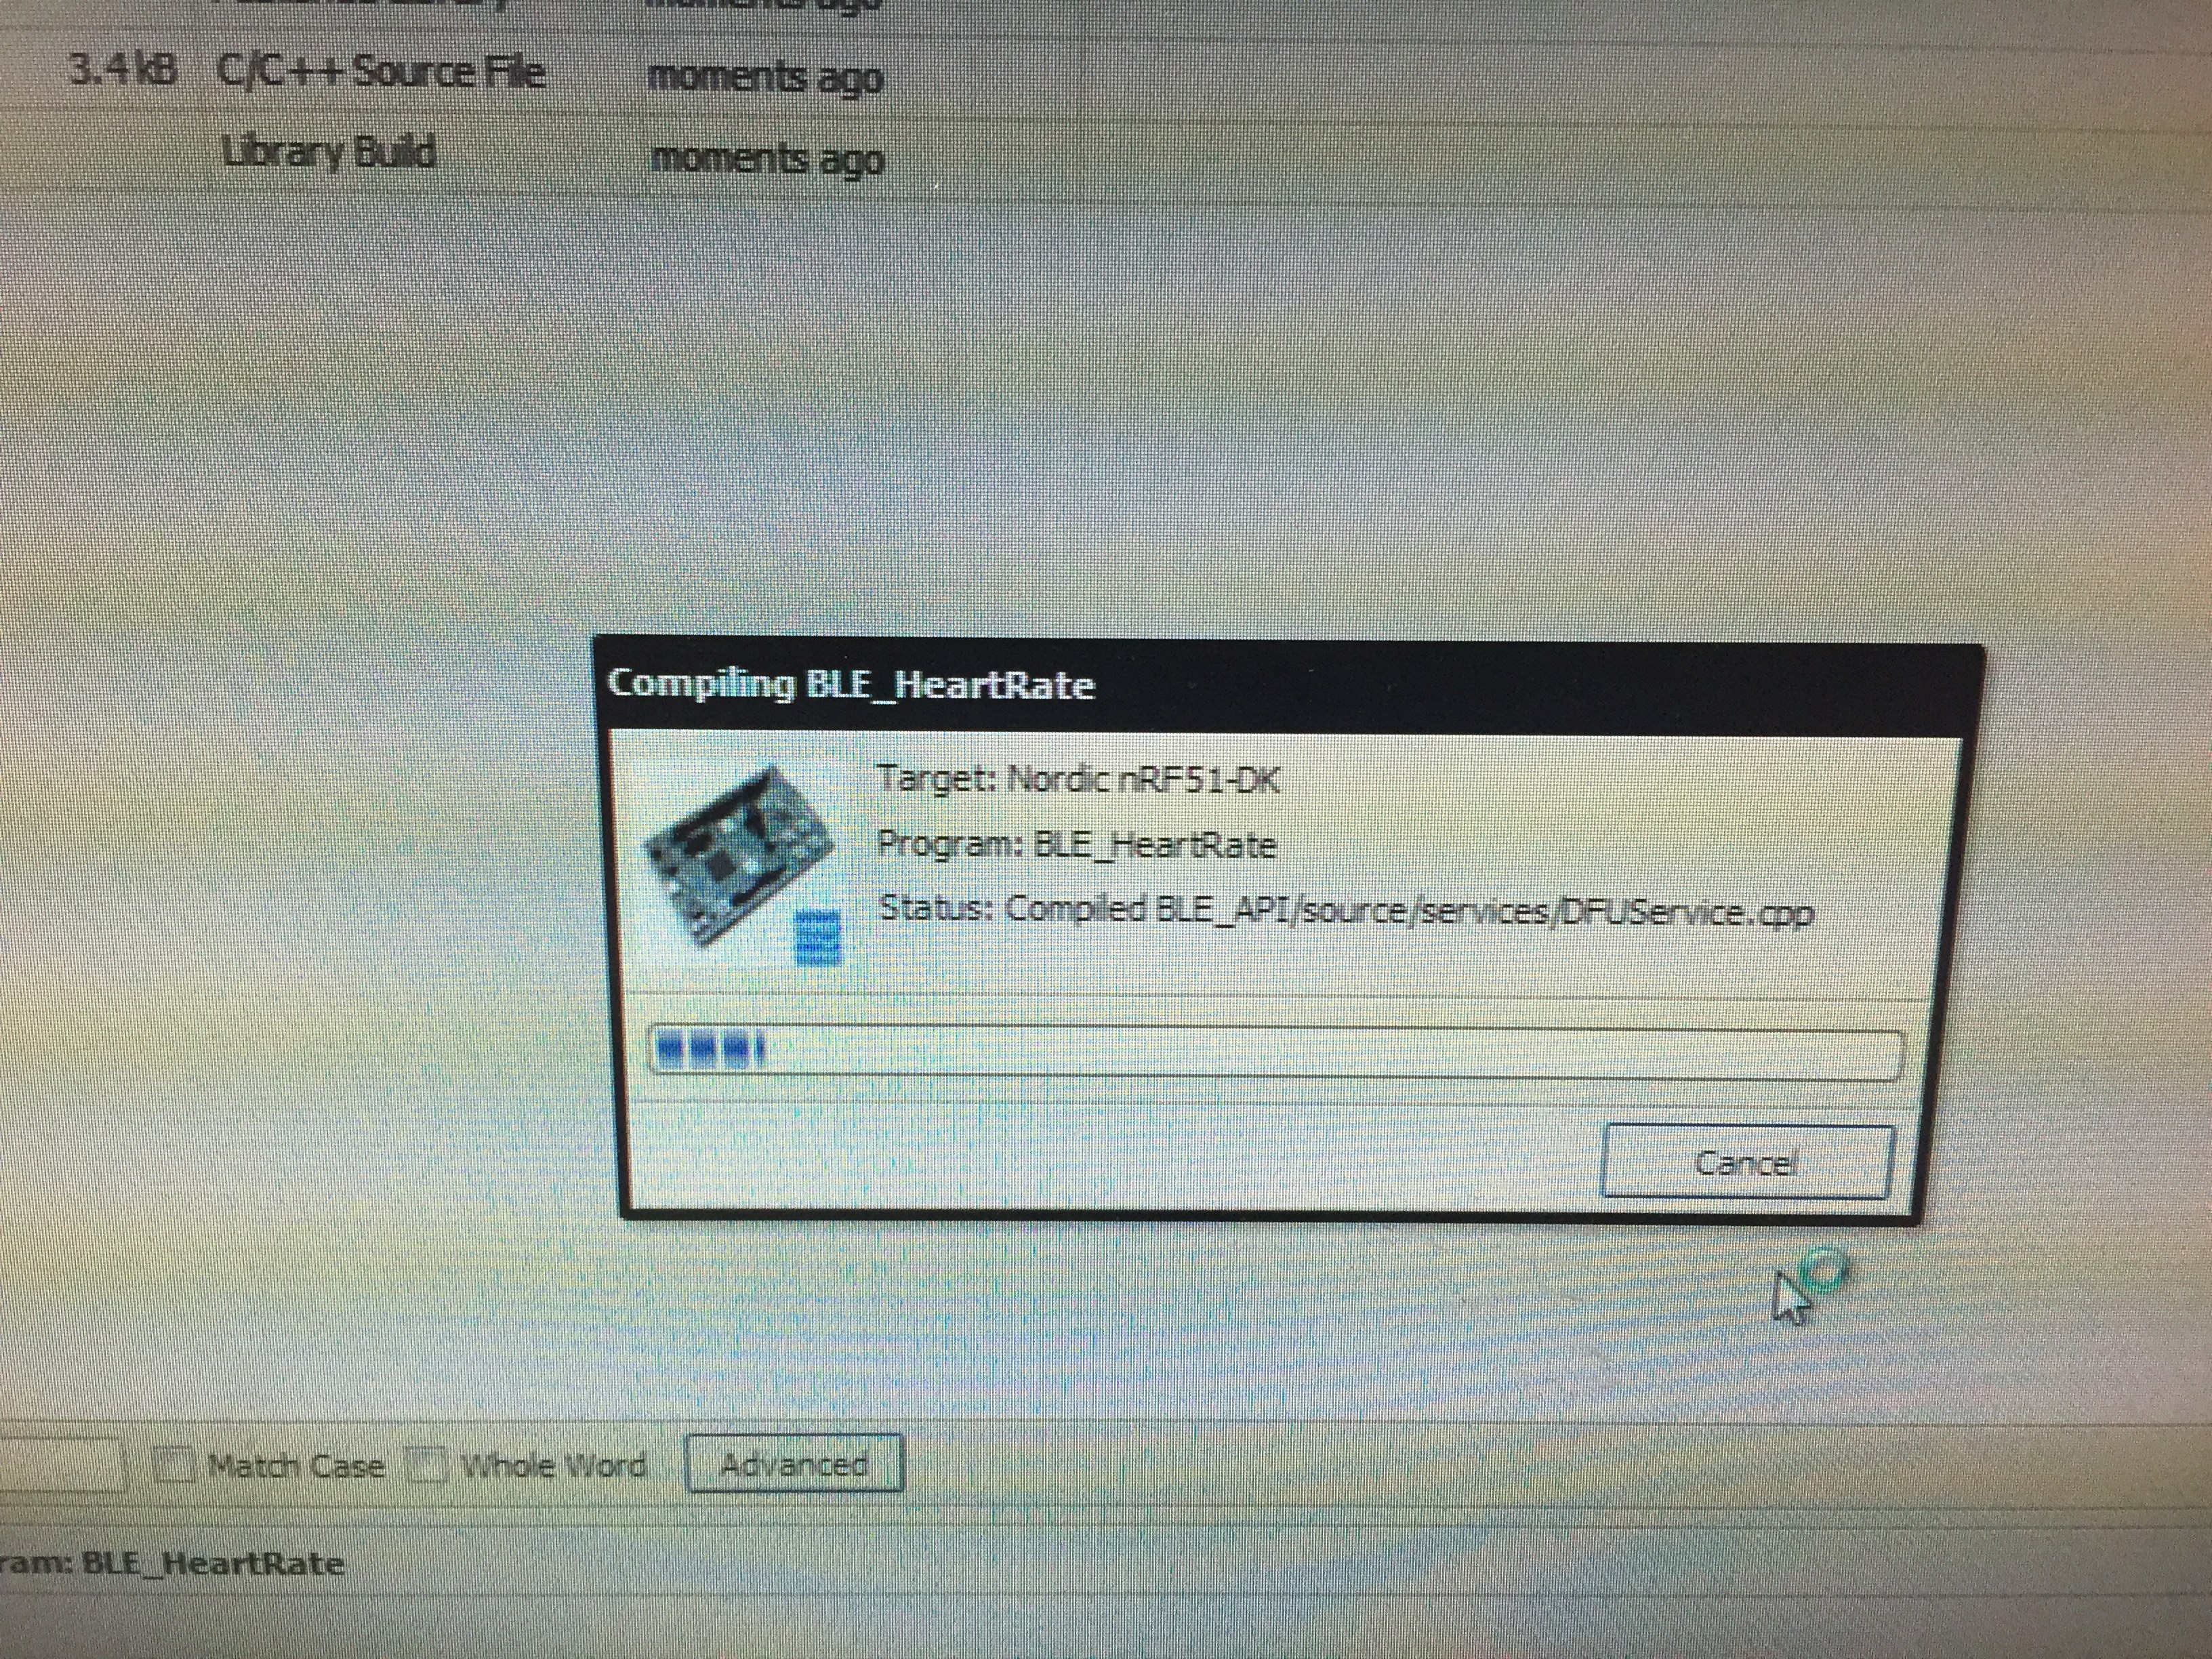
And then click the compile button,

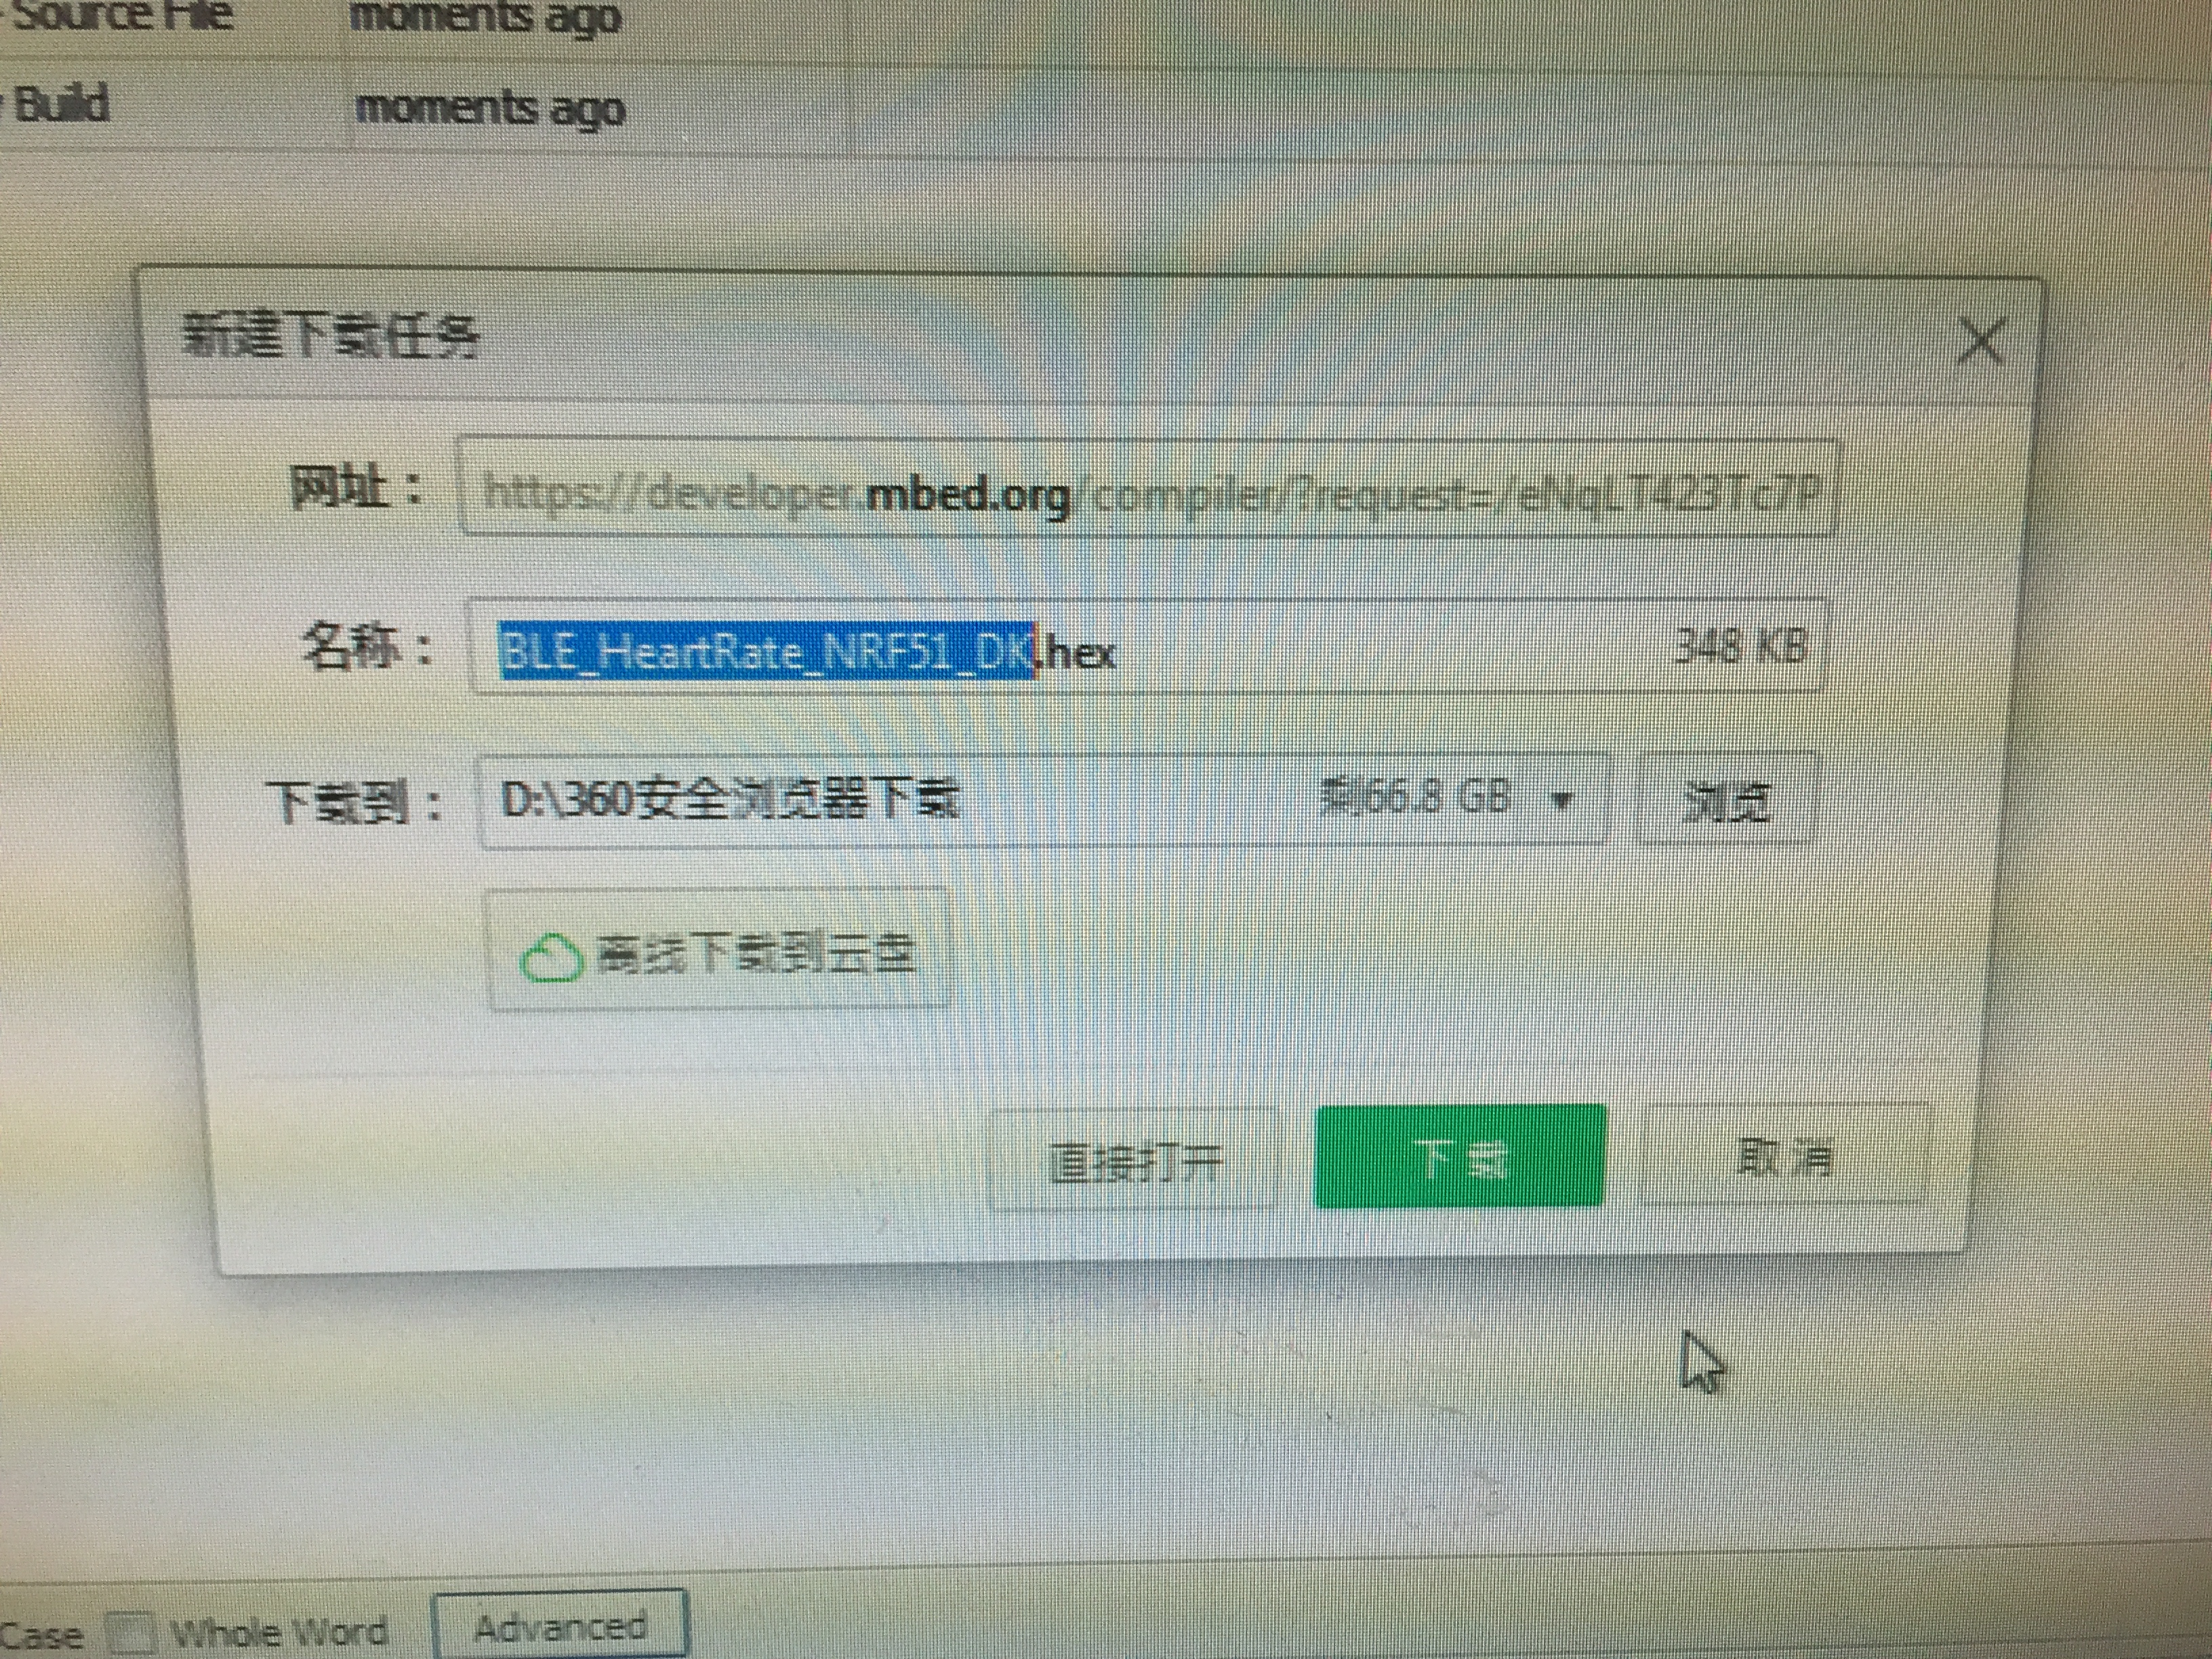
After the build process is finished, it will prompt to save the output hex file:
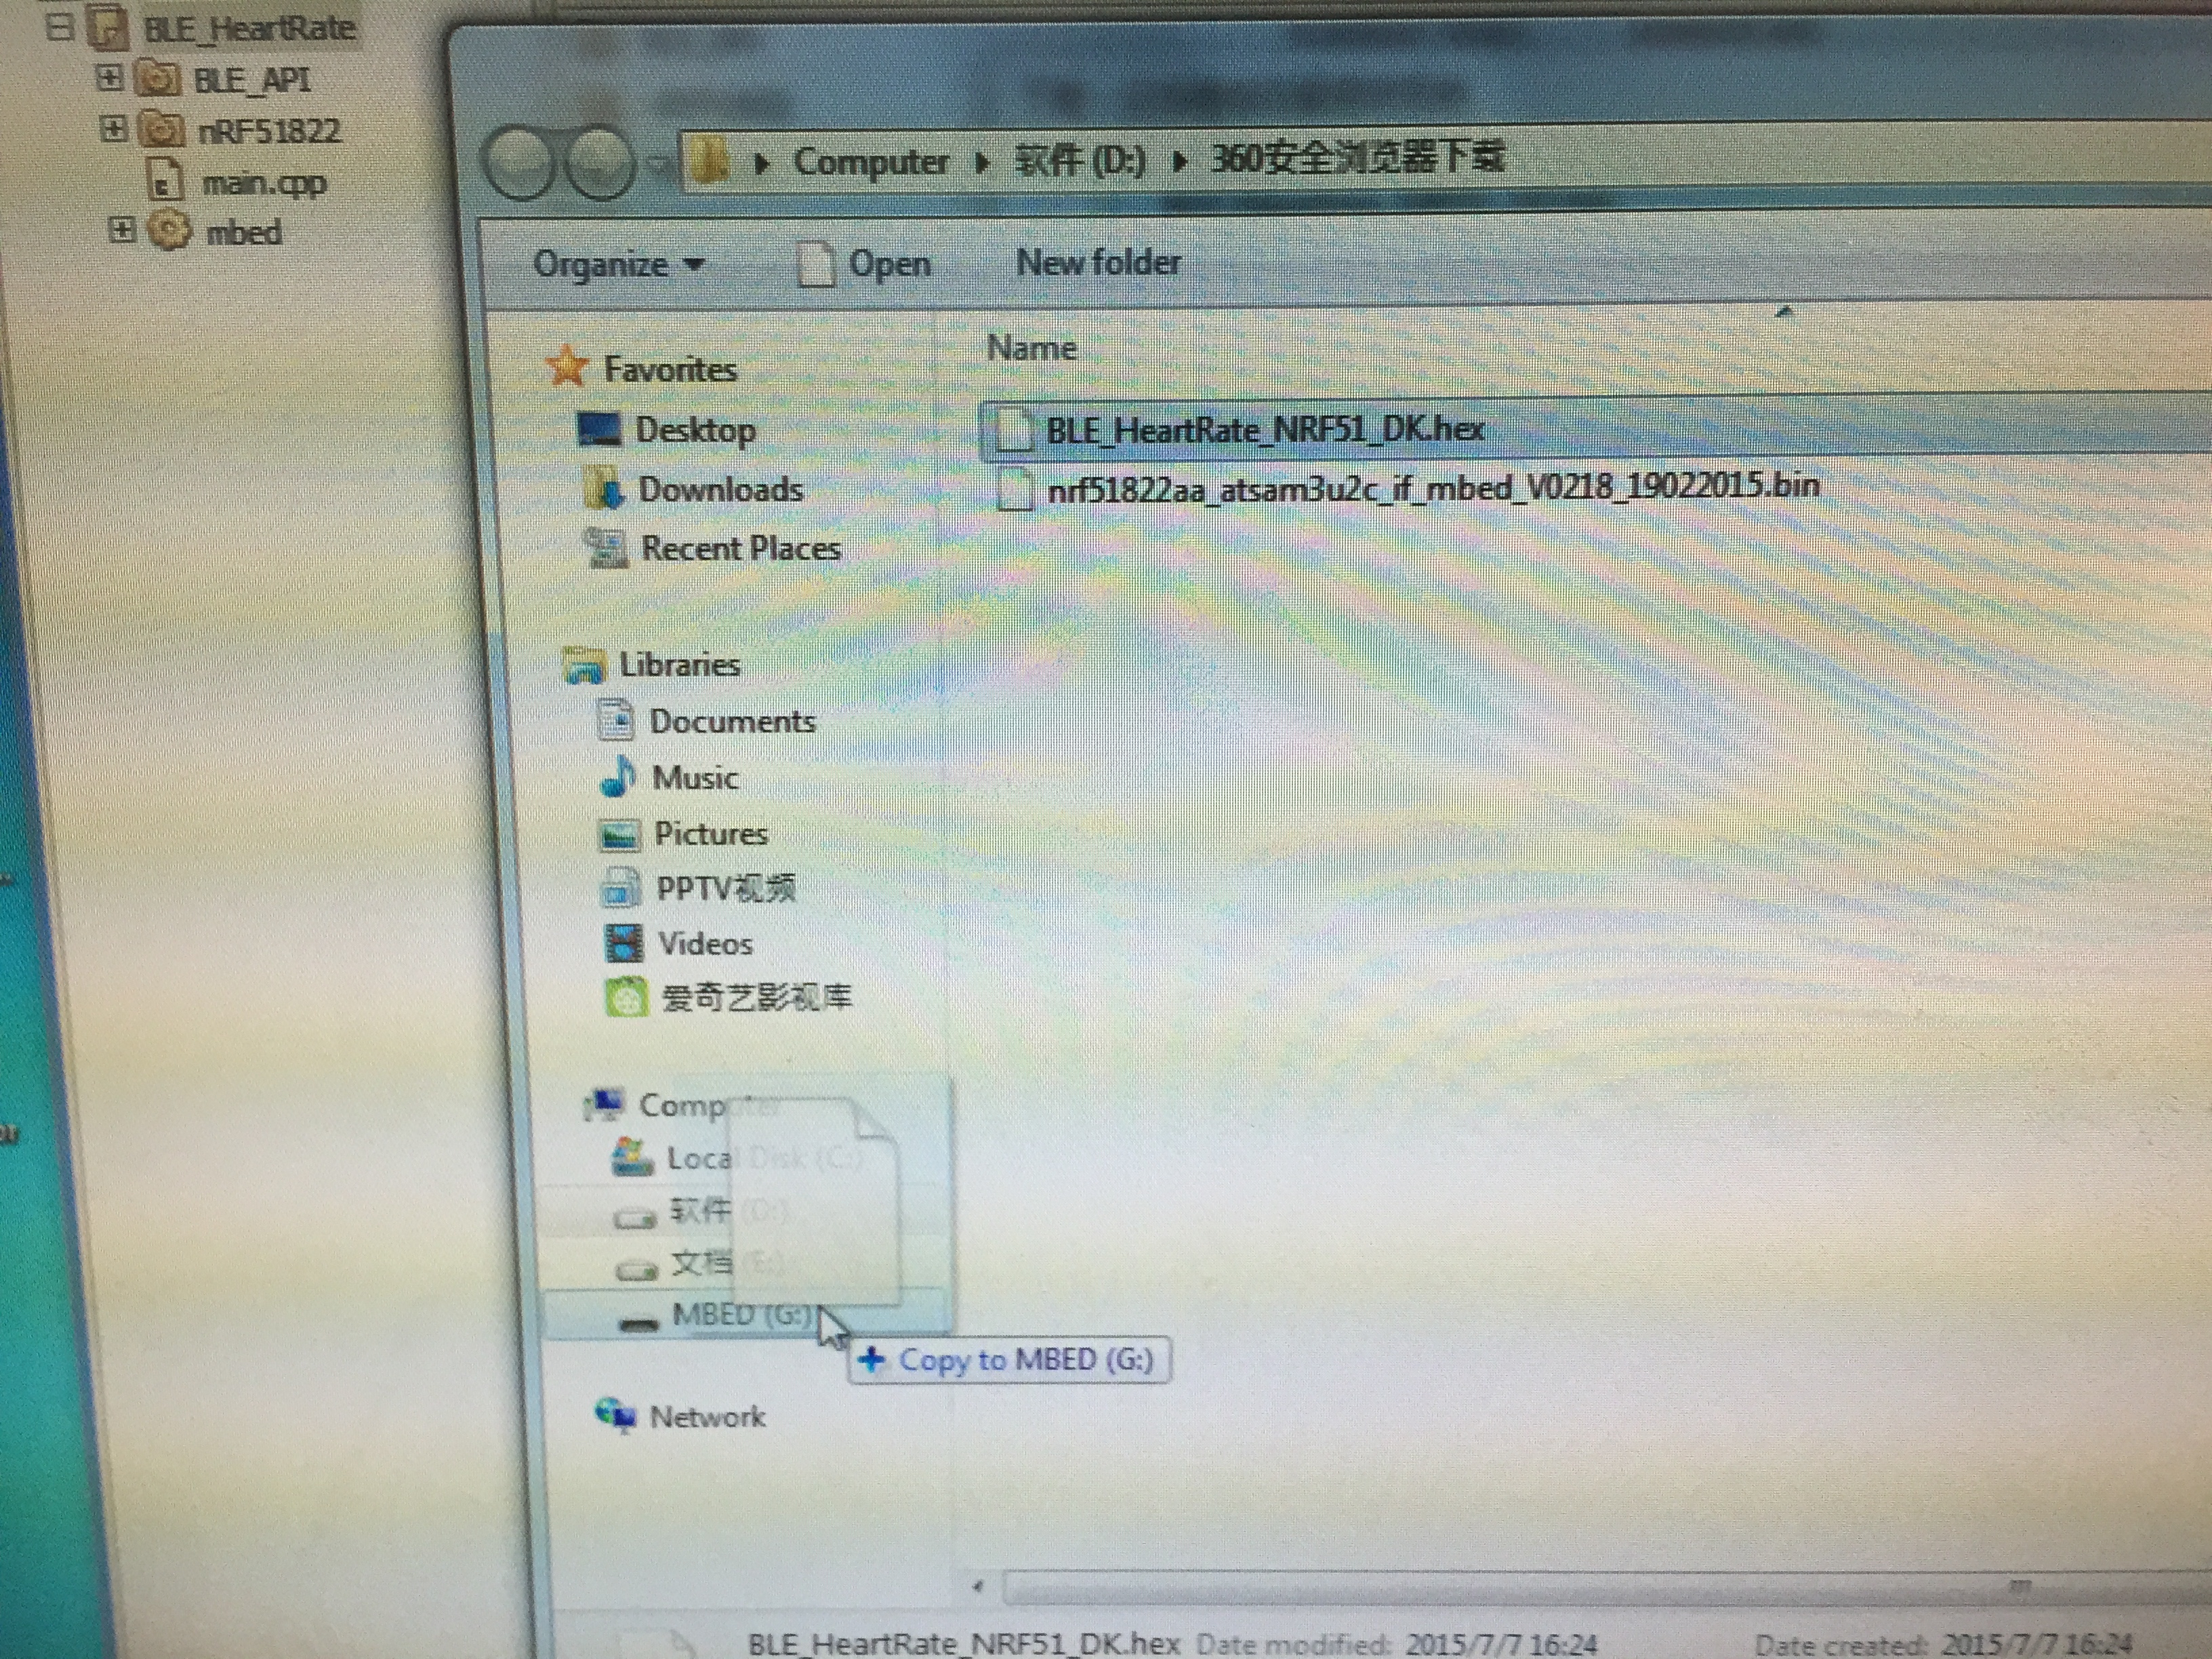
Drag the hex file to the USB drive labeled as ‘mbed’. Power cycle the board.
On the APP side, take an iOS device, and install two apps, ‘lightblue’ and ‘nRF Utility’.
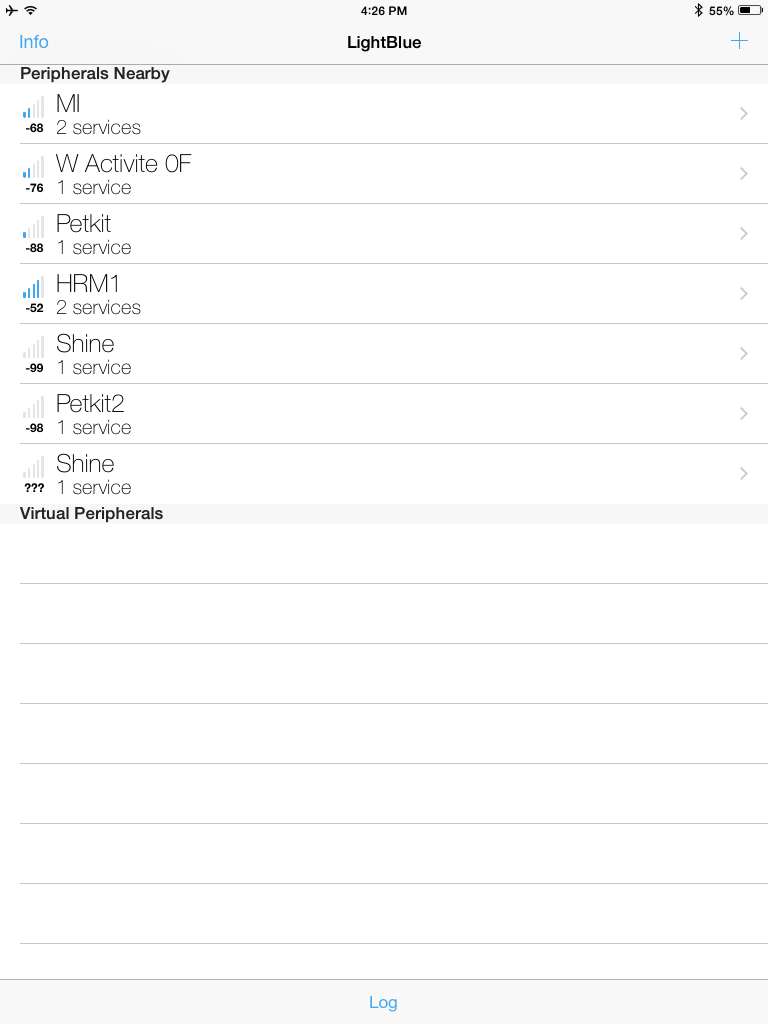
Use lightblue to check the nearby BLE device, and we find a device named ‘HRM1’. This is the board itself.
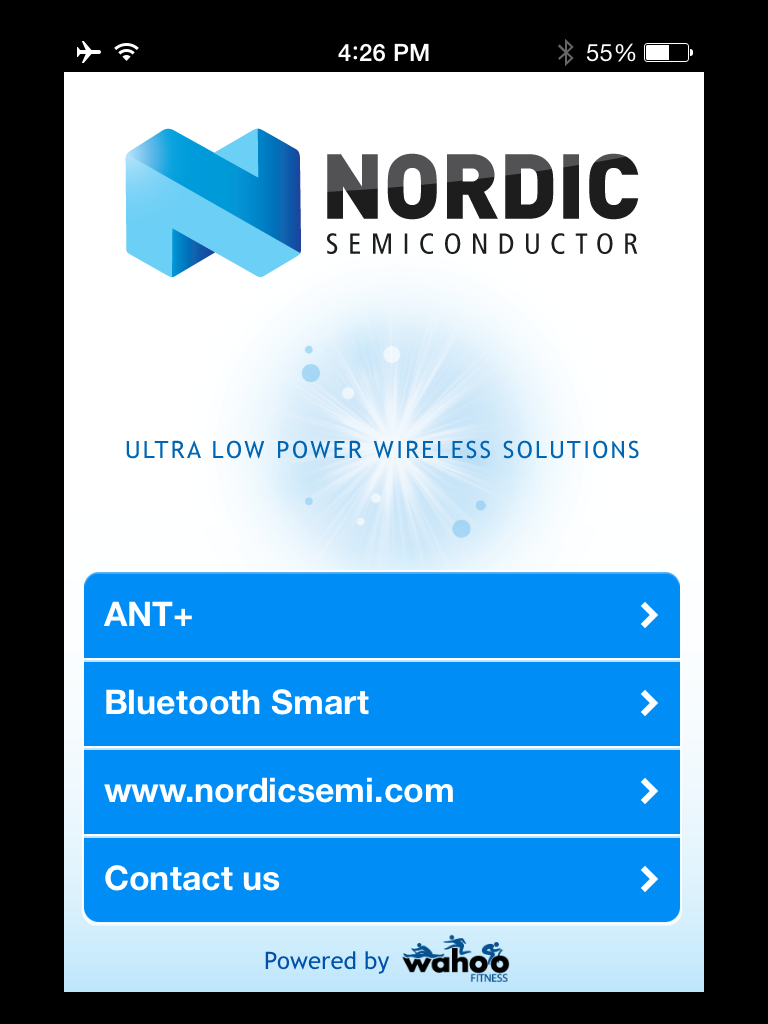
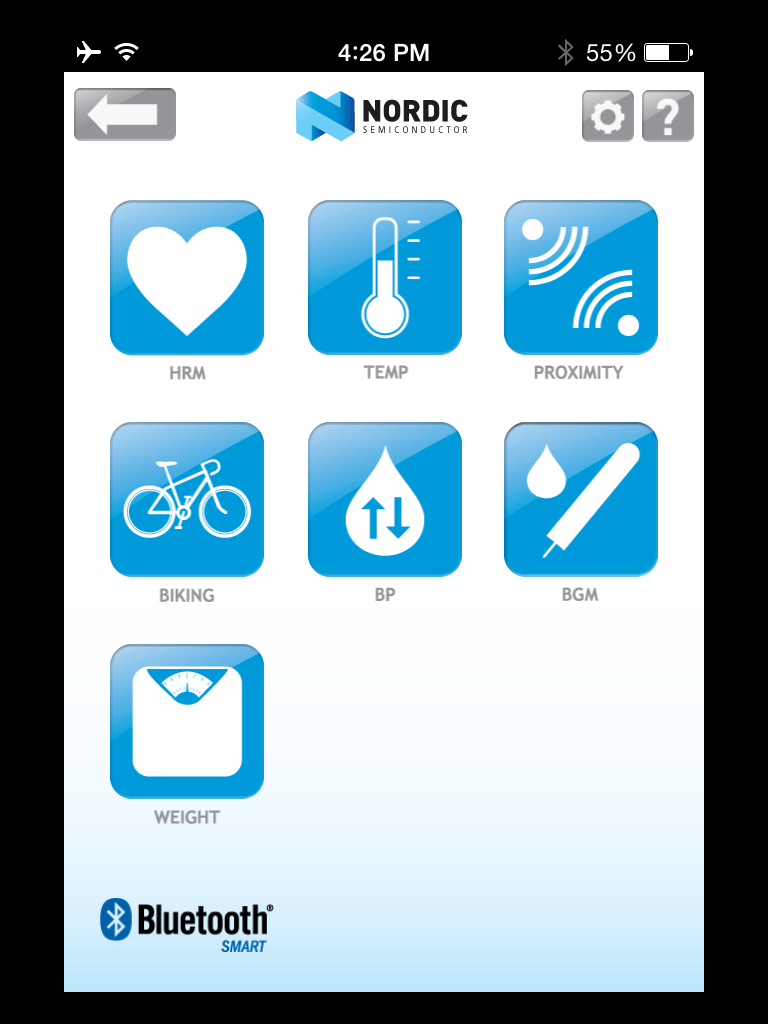
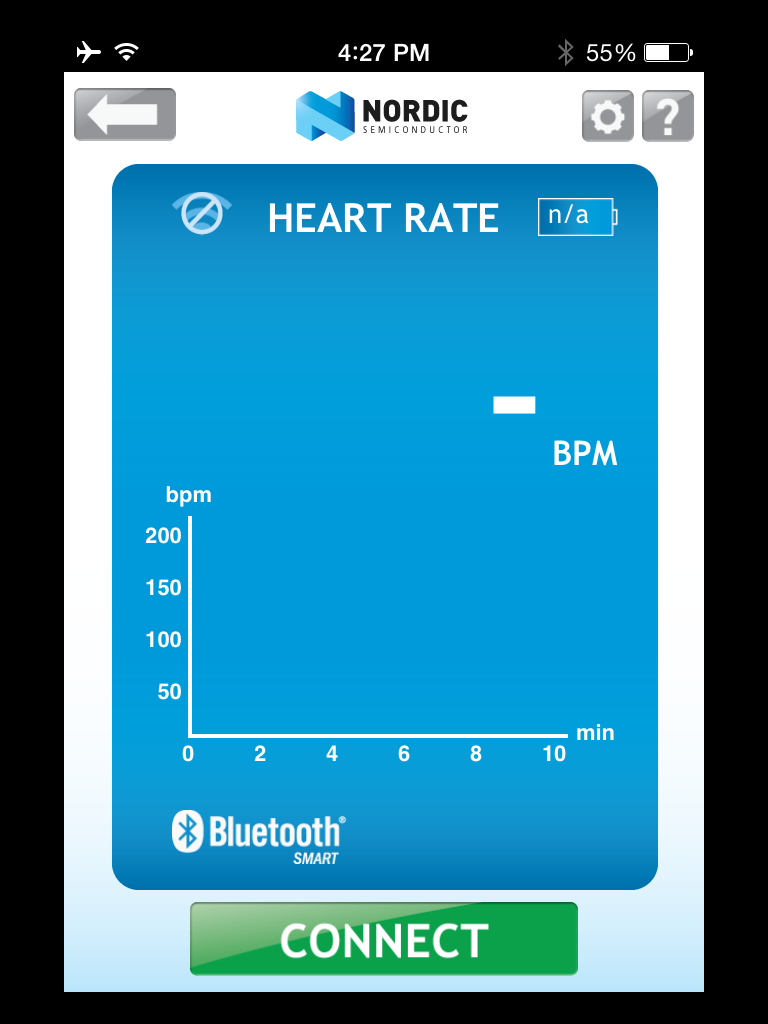
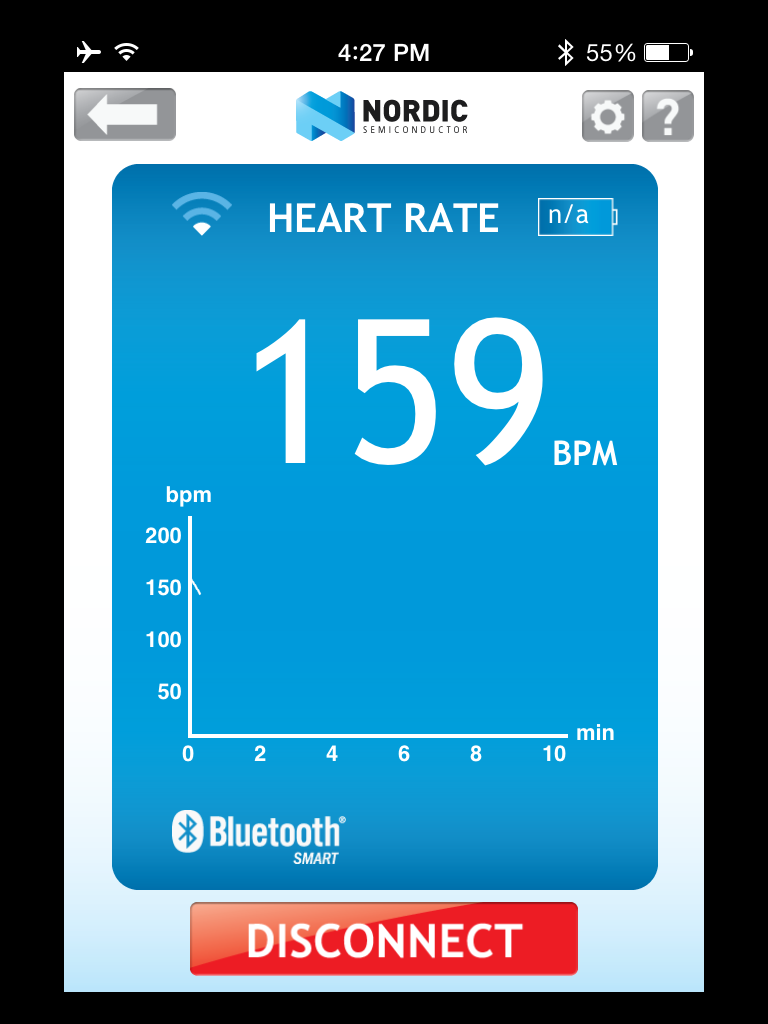
Now we can use nRF Utility to talk to the board.

Leave a Reply
You must be logged in to post a comment.