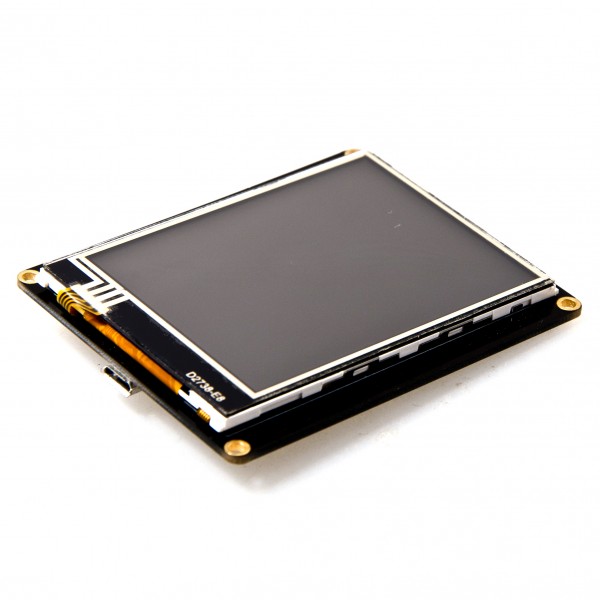
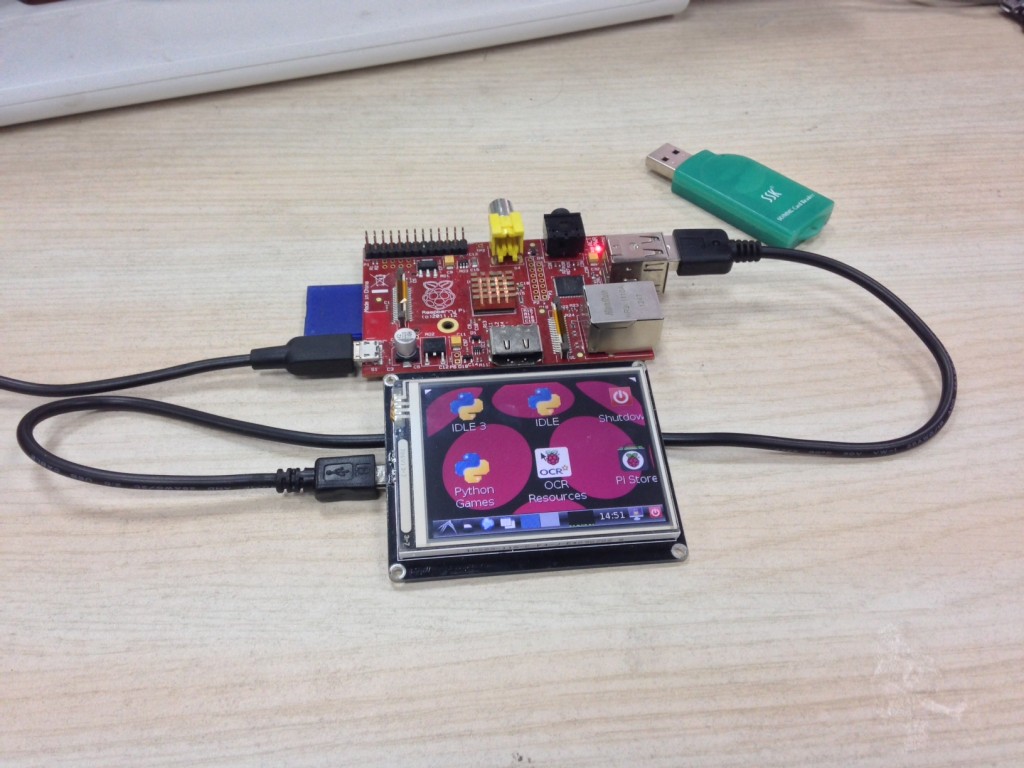
[vc_row][vc_column width=”1/1″][vc_column_text]RoboPeak developed a 2.8″ USB TFT Touch Display Module for SBCs, including pcDuino and Raspberry Pi. In this tutorial, we will look at the steps to use this 2.8″ USB TFT Touch Display module on Raspberry Pi.
 [/vc_column_text][vc_tour][vc_tab title=”Specification” tab_id=”1391133872-1-100″][vc_column_text]
- Extensive Device Support
- Standard Device Interface
- Open Source Brings More Possibilities
- Display Resolution: 320×240
- Color Depth: 16bpp
- Screen Size: 2.8 inch
- Communication: USB2.0 Full-Speed
- USB Interface Specifications: Micro-USB
- Touch Screen: Resistive Single Point
- Size: length 74mm, width 60mm
- Weight: 50g
[/vc_column_text][/vc_tab][vc_tab title=”Parts List” tab_id=”1391133872-2-68″][vc_column_text]
- 1 x Raspberry Pi
- 1 x 2.8″ USB TFT Touch Display Module
- 1 x Micro USB cable
- 8G SD card or larger
[/vc_column_text][/vc_tab][vc_tab title=”Software” tab_id=”1391134042620-2-4″][vc_column_text]
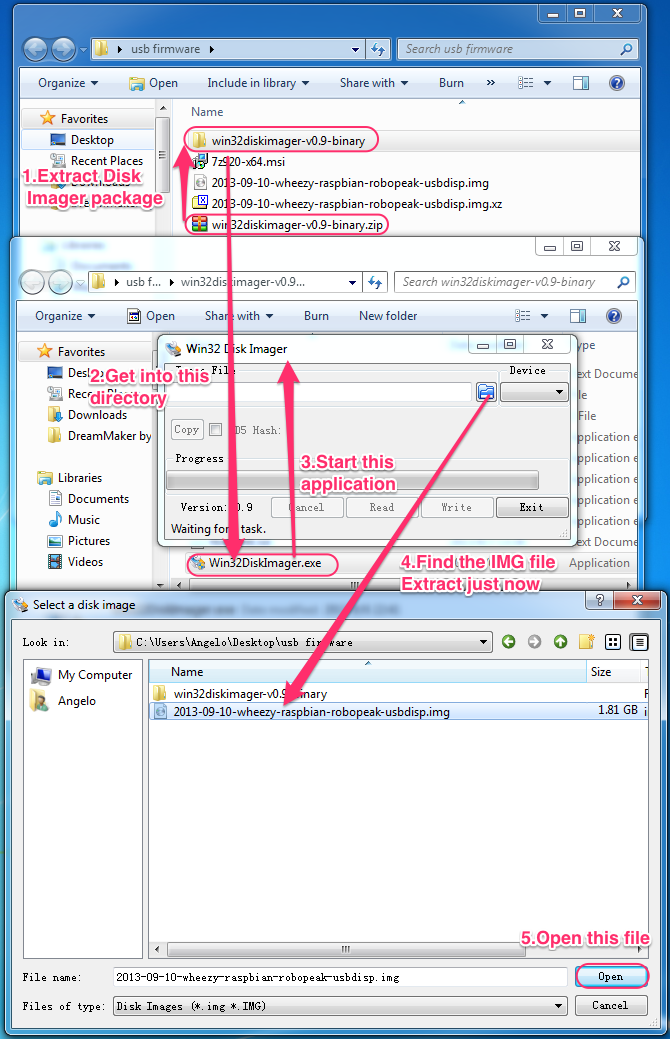
- Win32 Disk Imager
- Prebuilt Firmwares Web Page or directly download the version for Raspberry PI
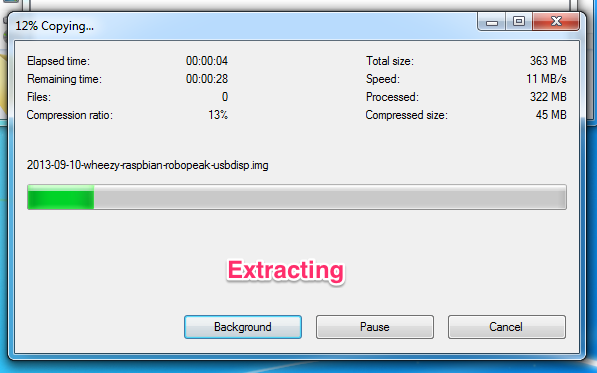
- 7Zip
[/vc_column_text][/vc_tab][vc_tab title=”Documents” tab_id=”1391134075751-3-5″][vc_column_text]The user manual can be found at: https://s3.amazonaws.com/linksprite/pcduino/rpusbdisp_usermanual-enUS.1.0.pdf[/vc_column_text][/vc_tab][vc_tab title=”Steps” tab_id=”1391134150467-4-6″][vc_column_text]Download the three software packages above and following the illustration below :


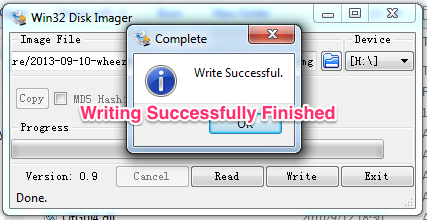
After that, connect the USB Touch LCD to the Raspberry Pi and power it. It will take about 20 seconds to lighten the LCD. Enjoy this product~~
[/vc_column_text][/vc_tab][/vc_tour][/vc_column][/vc_row]
Leave a Reply
You must be logged in to post a comment.