Mobile APP:
Android: Download the Android APP from http://share.deepcam.cn/percepcam , the password is deepcam
IOS: Search for “PercepCam” in Apple Store
web: deepcloud.linksprite.com
Percepcam supports facial recognition camera, network video recorder and IPC camera.
Facial Recognition Camera:
At the time of writing, there are 3 facial recognition cameras supported by percepcam system:Type J1 (we will need this when we add camera)
Type: J1
Reference information for J1 camera
- Where to find the key of my face capture camera
- How to configure face capture camera J1 of needed?
- Change the language of the configuration web page of face capture cameraJ1
- Video: Add J1 to percepcam APP
Type: Z1

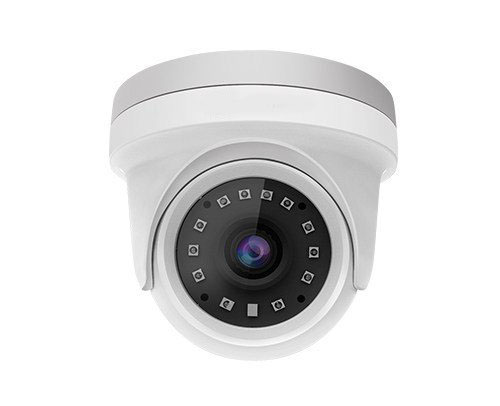
Type: Z2

Non-AI IPC Camera
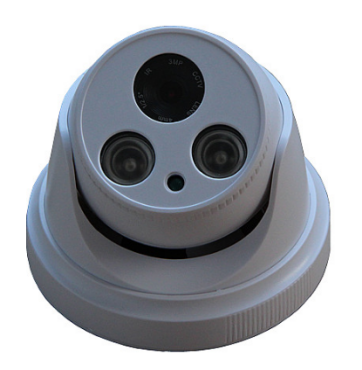
Reference on IPC:
Video: How to setup Percepcam Non-AI IPC Camera
Reference on Z2:
Physical Installation of facial recognition camera:
NVR (Network Video Recorder):
Step 1: Register your account.
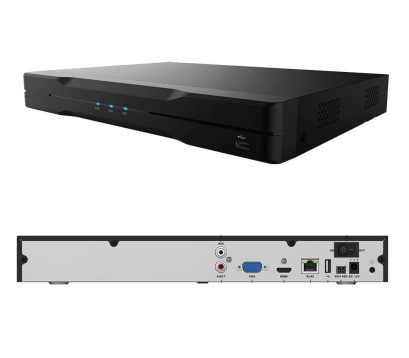
Resources on NVR:
- (video) How to configure NVR
You can register in mobile app: percepcam in google play or iOS app store. Or you can register for an account at aishop.linksprite.com.
The following guide shows steps in Android App. The steps in website are very similar.
- Install PercepCam APP on your phone.

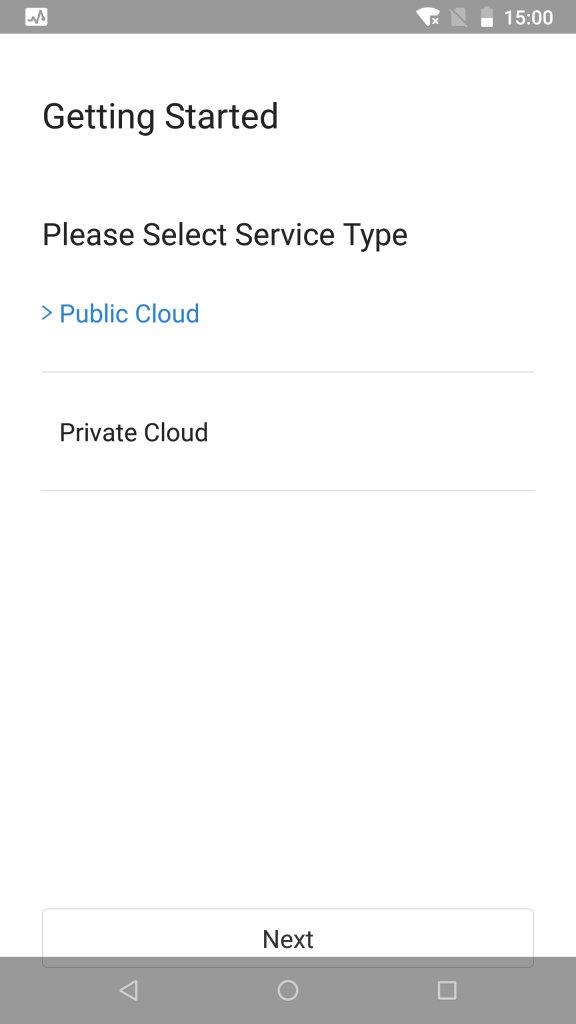
2. Open PercepCam APP, if you are a regular user, please choose to register on Public Cloud.
3. Follow the prompts and enter the relevant information to register your account. After waiting for the approval, log in to the account.
4. Please note only one main account is allowed for a company. You can create sub-account by clicking on Settings/Account Management.
Step 2: Create your store.
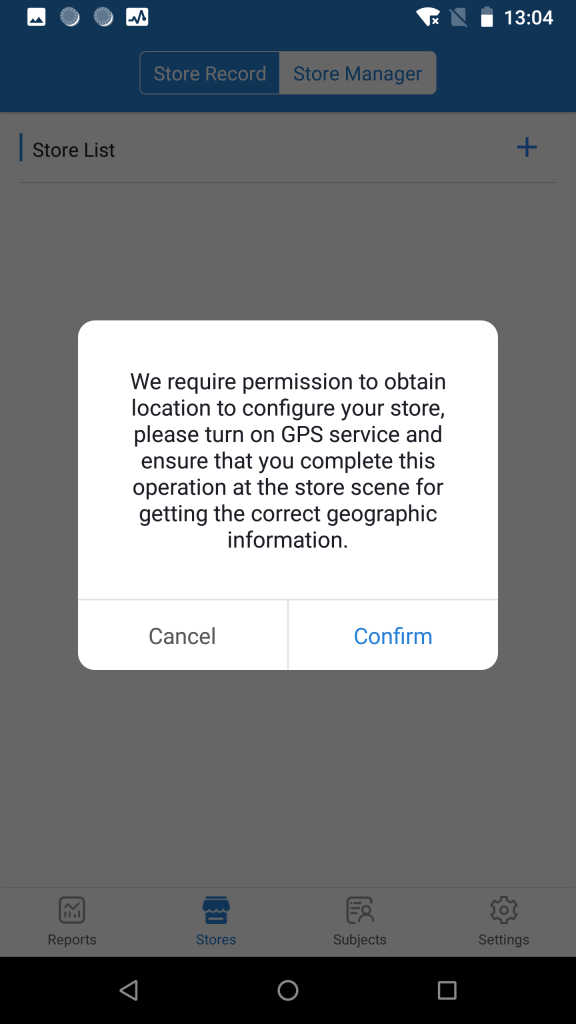
5. Click on “Stores”, then select “Store Manager” and click “+” to add the store.


The software needs to obtain location information, so the GPS location service must be turned on.
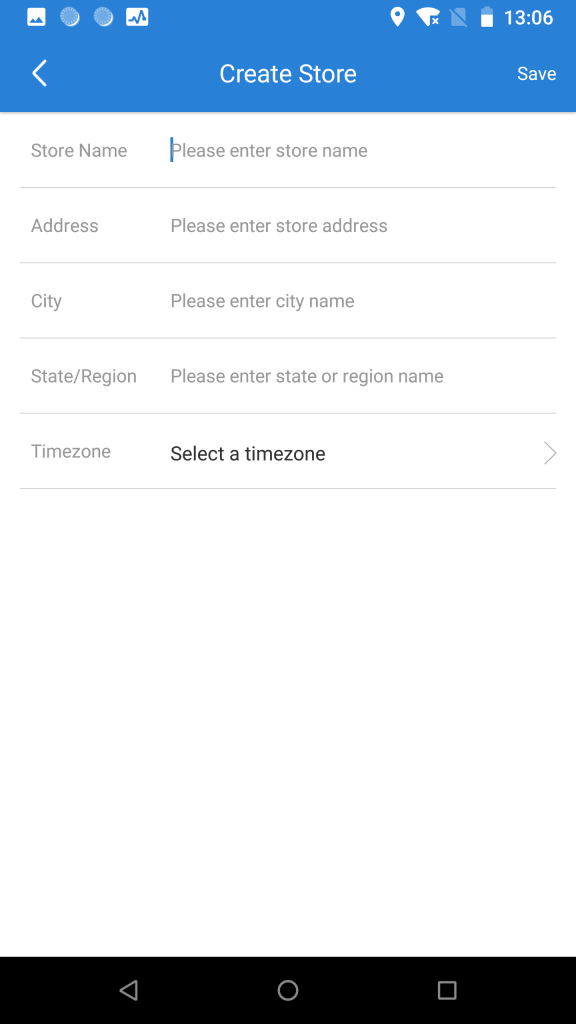
6. Fill in the store information as required.
After the addition is complete, you can view the store information on the store list, as shown below.

Step 3: Add devices
Click on the store you added, and click “+” to add a camera to the store.
7. Fill in the camera device information as required, as shown below
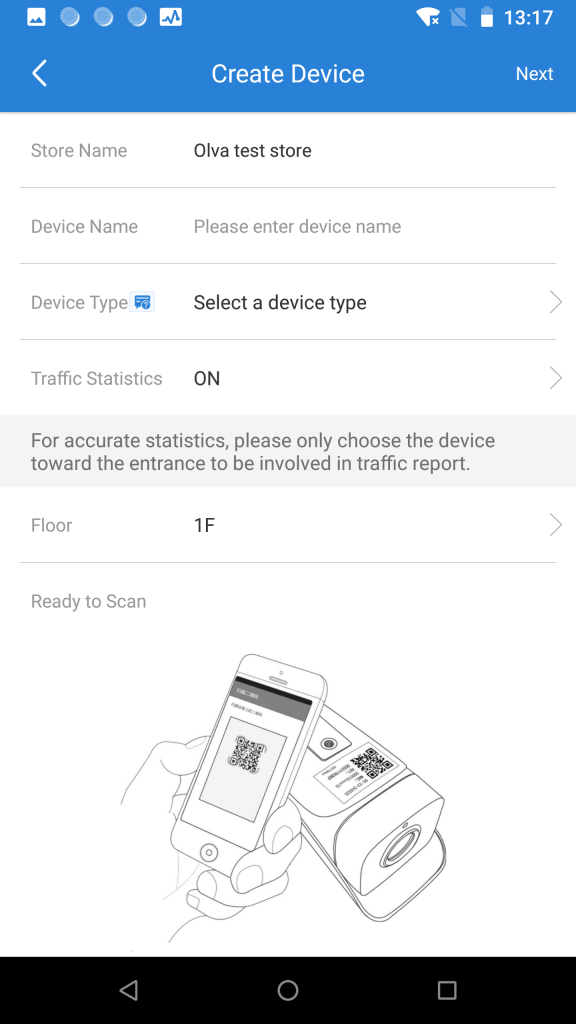
-Device Name: You can set the name yourself.
-Device Type: Select Z2 from the drop-down menu.
Device type introduction, click on the small icon shown below to view detailed device type descriptions to help confirm the type of your device.
-Passenger flow statistics: If you want to count the person traffic statistics, select “ON”. If you don’t need the statistics, select “OFF” from the drop-down menu.
-Device floor: This is for multiple floor building and helps you identify where the camera is installed. Set according to your installation configuration.
-After filling in, select “Next” in the upper right corner, as shown below
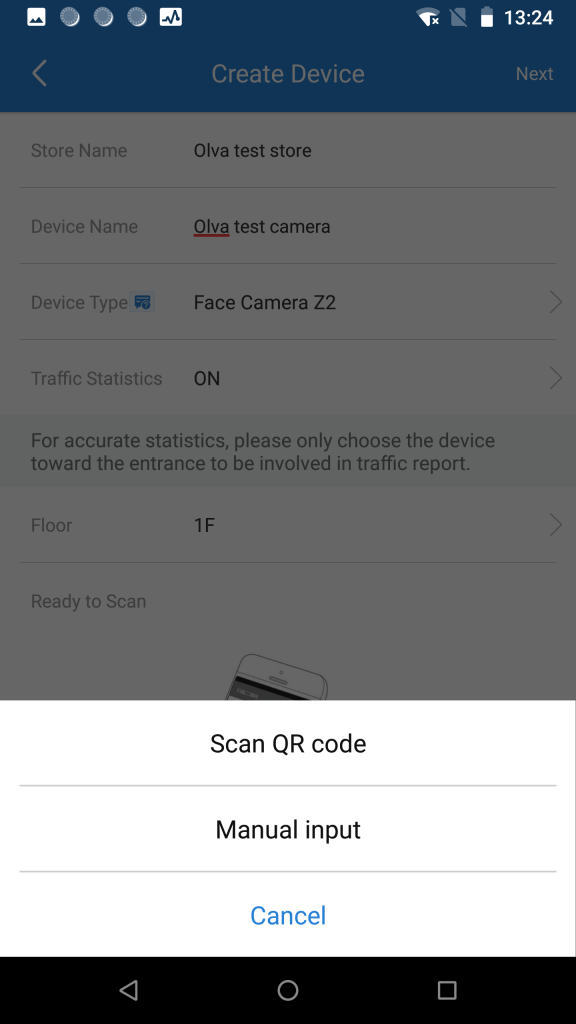
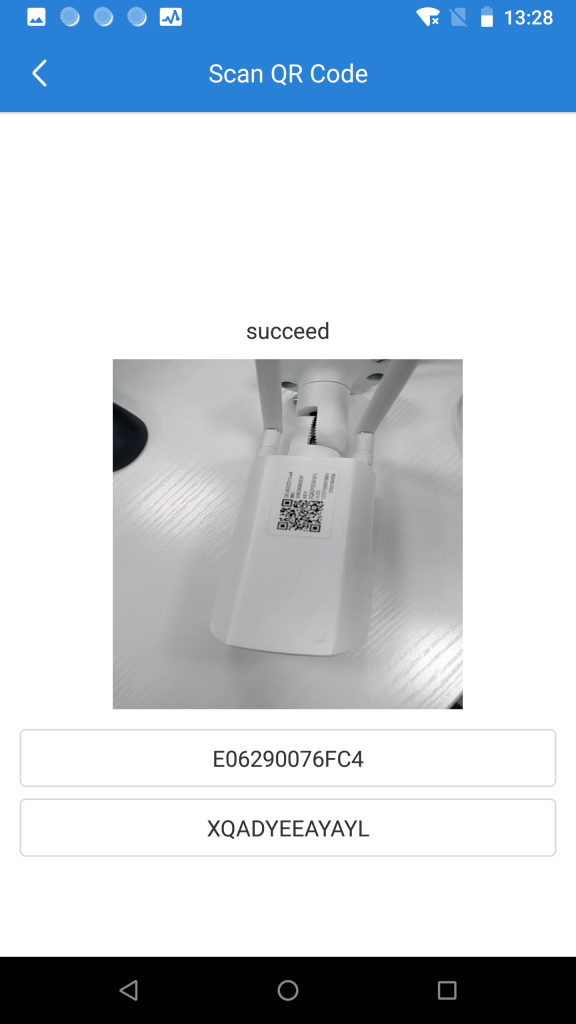
8. Click “Scan QR code”, point the phone camera at the QR code on the camera you want to add and adjust the distance appropriately until the image below appears.
Note:Please check whether the MAC and KEY are consistent with the MAC and key on the label.
After the addition is successful, it will automatically jump to the “Store Details” page, as shown below,
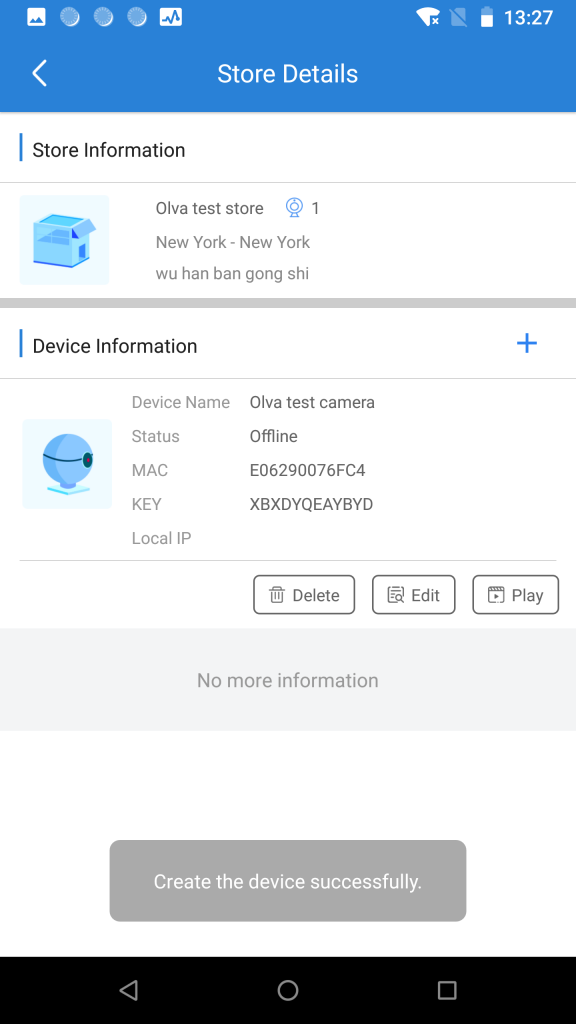
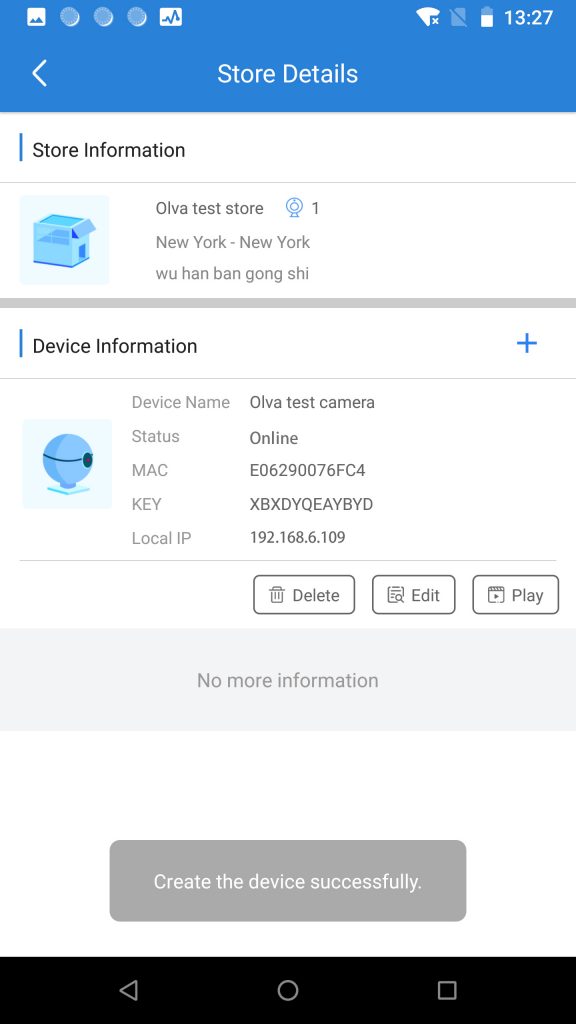
Note: At this time, the device status displays “Offline”. Please restart the camera by powering it off, wait 2-3 minutes, refresh the page. At this time, the device status displays “Online”, indicating that the device is successfully added.
Step 4: Optional Z2 only. Set up WiFi connection for your WiFi-Camera
Please Note that current WiFi camera does not support WiFi set up by scanning the QR code. You have to follow above instructions to set up the camera using wired connection and get it online first.
9. If you want to connect the camera device to WiFi, please record the local IP of the device, such as the local IP of my device is 192.168.6.109. There are two ways to find out this IP address. If your camera is already online in your store, then you can find it by clicking on the Store Management / Device List, as shown below.
Another way is to find it in your router. Common router shows both the IP address and the MAC address. Double check the MAC address matches your camera. Please refer to your router manual for more details.
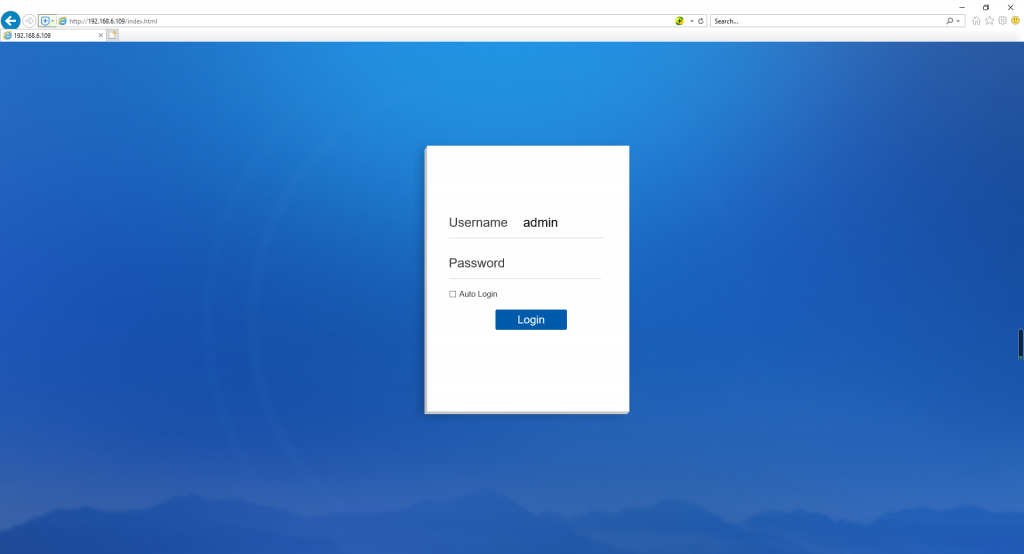
10. Enter the Local IP in your mobile web browser or in your computer browser as shown below:
(Note: Some browsers may not support it. It is recommended to use IE kernel browser)

As shown in the figure below, without entering a password, click login directly
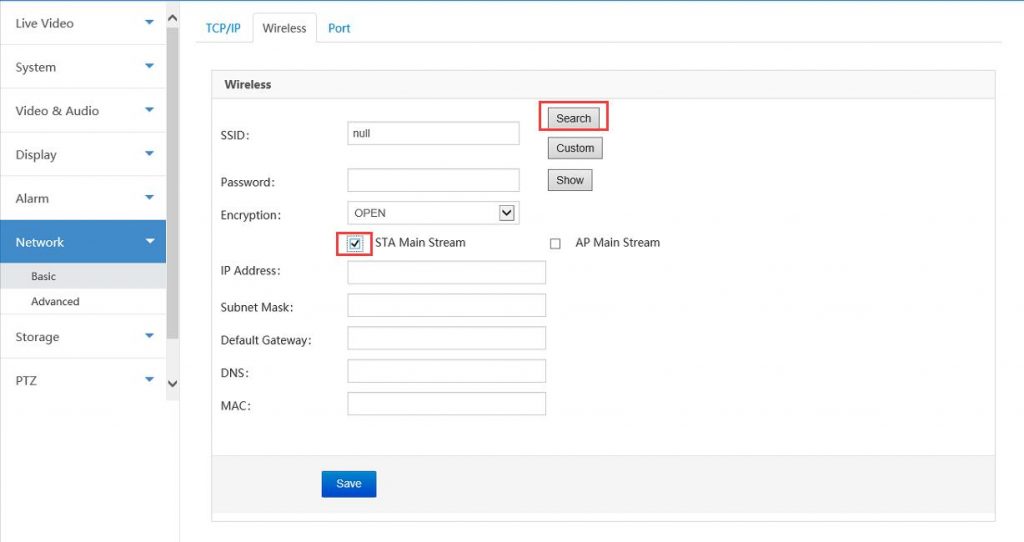
Find “Network”, select “Wireless “, check “STA Main Stream”, click on “Search”, select your WiFi SSID from the drop-down box, enter the wireless WiFi password in the password field, choose the WPA2 security and then click on Save below.
If you click “Search” and there is no SSID shown in the drop-down box, but your know a private SSID and password, you can manually enter the name and password of the SSID, choose the WPA2 security, then click “Save”.
When view the real time video from Z2 camera, the username and password is ‘admin / admin’ when prompt.
Please refer to the following video guide for more details:
More Info:
FAQ page
Contact jingfeng.liu@linksprite.com if you cannot make it

Leave a Reply
You must be logged in to post a comment.