[vc_row][vc_column width=”1/1″][vc_column_text]
Product Description
2.4GHz Antenna 2.2dBi with SMA RF connector. 50 ohm impedance. 4″ long.
Buy: http://store.linksprite.com/2-4ghz-antenna-sma/
Turn your standard WIFI antenna into one just like the $30 range extender antennas for about 5 cents! Follow these easy steps, and then check out the video if you need extra clarification. Digg if you like my very first Instructable.[/vc_column_text][vc_tour][vc_tab title=”Step 1: Remove the top of your stock WIFI antenna.” tab_id=”1407745929-1-53″][vc_column_text]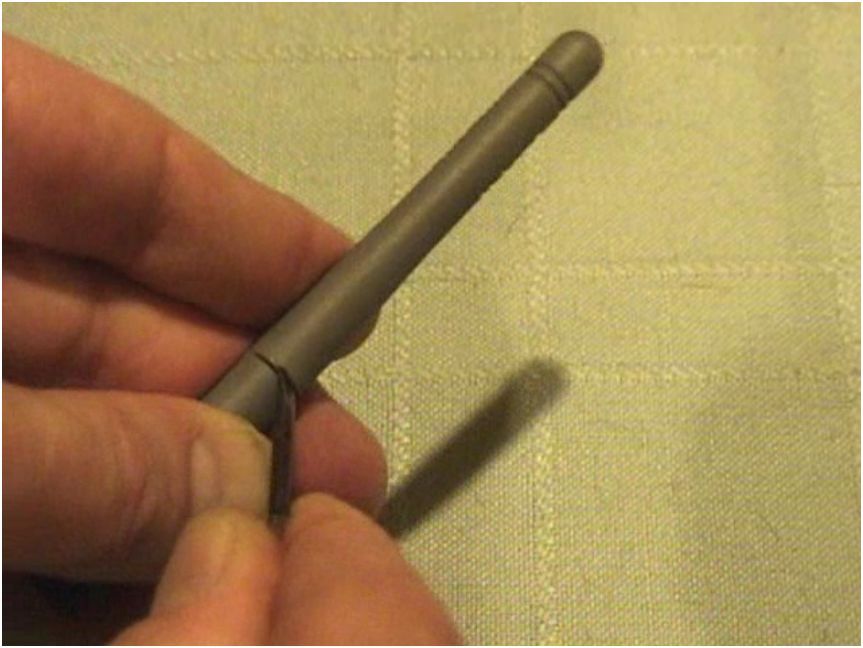
A small flat jeweler’s screwdriver works great![/vc_column_text][/vc_tab][vc_tab title=”Step 2: We’re going to match the Range Extender layout form as you see here.” tab_id=”1407745929-2-7″][vc_column_text]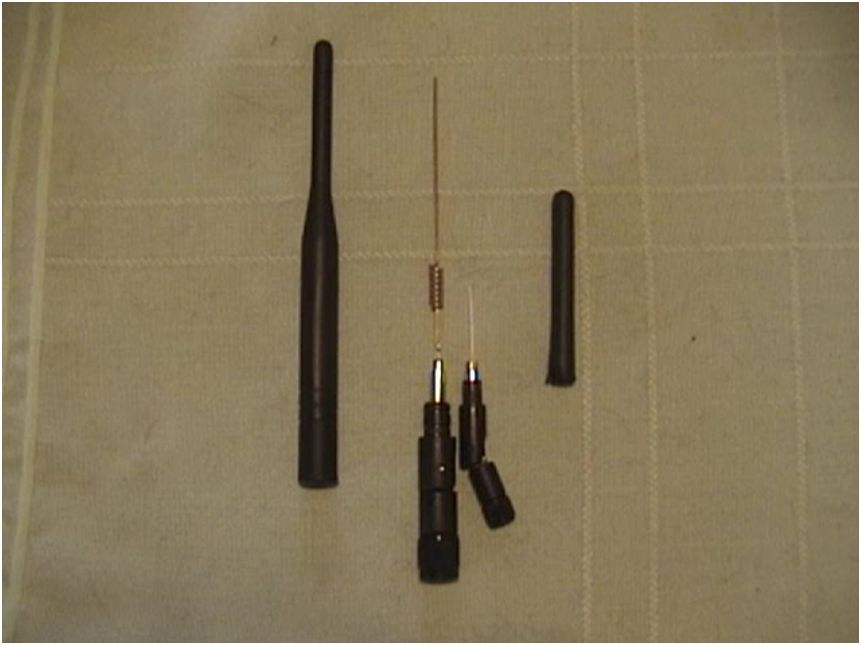
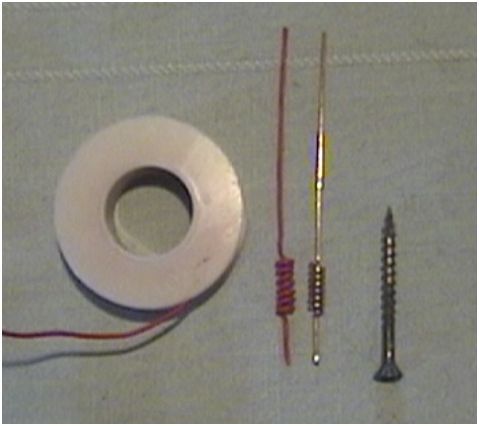
You’ll need: small gauge solid copper wire, insulated or non-insulated, and a wood screw/drywall screw, measuring tape or ruler, and a soldering iron.[/vc_column_text][/vc_tab][vc_tab title=”Step 3: Measure off 2 3/4“ of your wire and make a small bend.” tab_id=”1407746352204-2-1″][vc_column_text]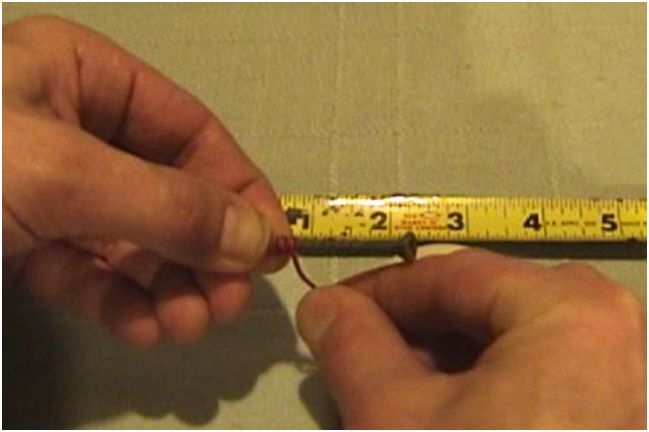
Then, starting with the bend, use the grooves of the drywall screw as a template and make 7 COMPLETE loops, then bend the wire flush to the screw after the sevenh loop. just unscrew the drywall screw to remove it from the wire.[/vc_column_text][/vc_tab][vc_tab title=”Step 4: Measure off 3/4“ from the end of the coil and cut.” tab_id=”1407746353985-3-3″][vc_column_text]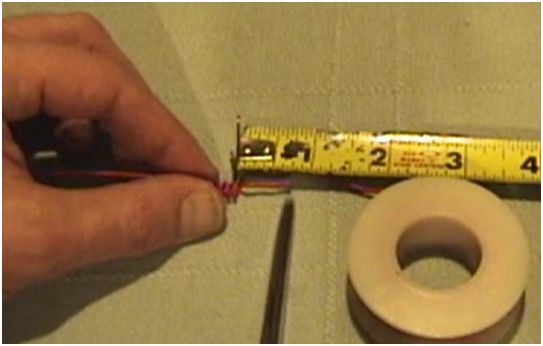
Then strip off 1/8″ of the insulation or sand off 1/8″ of the coating on non-insulated wire (depending on what you’re using).[/vc_column_text][/vc_tab][vc_tab title=”Step 5: Cut down your stock antenna to 1/4“” tab_id=”1407746354728-4-8″][vc_column_text]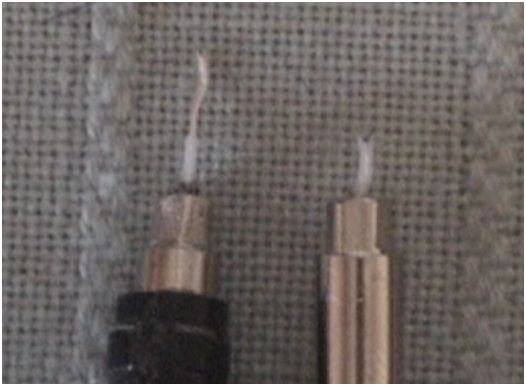
And then strip off 1/8″ of the insulation.[/vc_column_text][/vc_tab][vc_tab title=”Step 6: Solder the new antenna onto your cut down and stripped stock antenna.” tab_id=”1407746450631-5-3″][vc_column_text]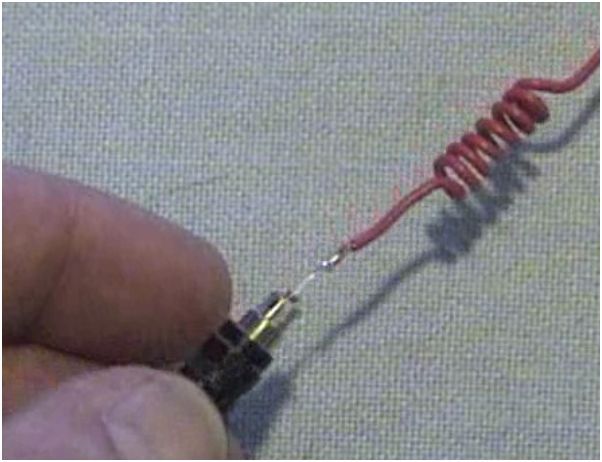
Overlap all the bare wire from the stock antenna base and the new antenna.[/vc_column_text][/vc_tab][vc_tab title=”Step 7: Use a large diameter drinking straw and slide it over the new antenna.” tab_id=”1407746477531-6-5″][vc_column_text]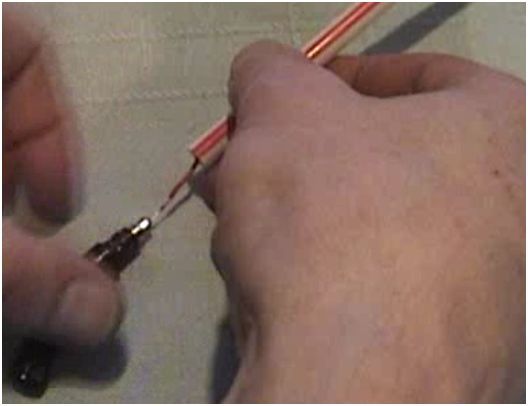
McD’s has them… they’re slightly larger diameter than a regular drinking straw. I think they’re for shakes, etc.[/vc_column_text][/vc_tab][vc_tab title=”Step 8: The straw fits perfectly and snugly on stock WIFI antenna bases.” tab_id=”1407746512435-7-0″][vc_column_text]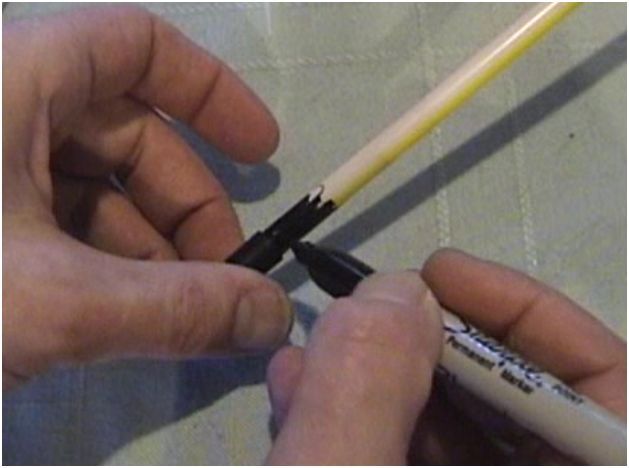
Amazingly, you don’t even have to glue them. It’s a match made in heaven! Use a black permanent marker or paint for a pro look…[/vc_column_text][/vc_tab][vc_tab title=”Step 9: All Done!” tab_id=”1407746513200-8-6″][vc_column_text]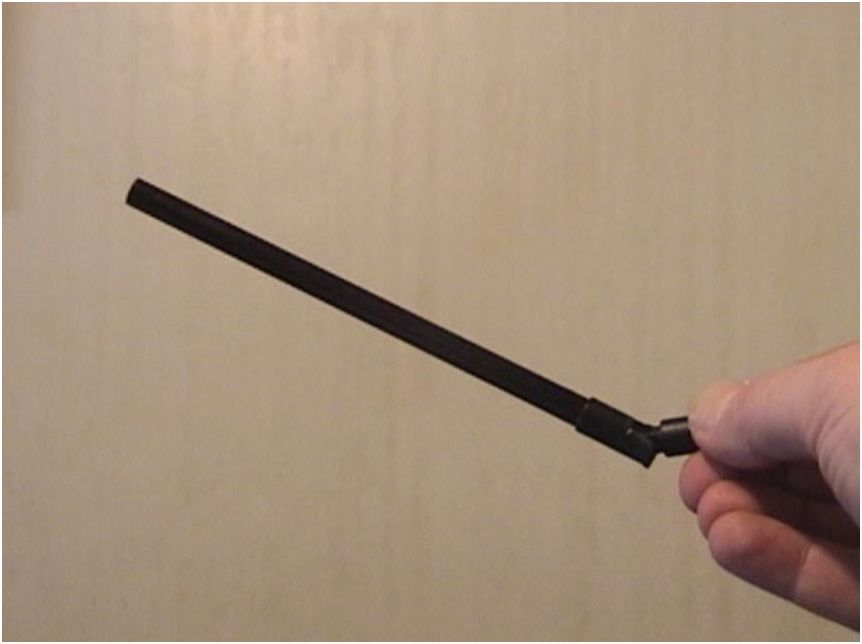
Looks pretty good! You get a more omni-directional output (less fiddling with exact antenna placement) and approx. 5 dB gain. It works REALLY well on both your wireless cards and routers. See my video to see the results, and Digg this if you like my very first Instructable! 8D
via[/vc_column_text][/vc_tab][vc_tab title=”Slide” tab_id=”1407746514200-9-4″][/vc_tab][/vc_tour][/vc_column][/vc_row]
Leave a Reply
You must be logged in to post a comment.